Sale Price:
$195.00
Original Price:
$235.00
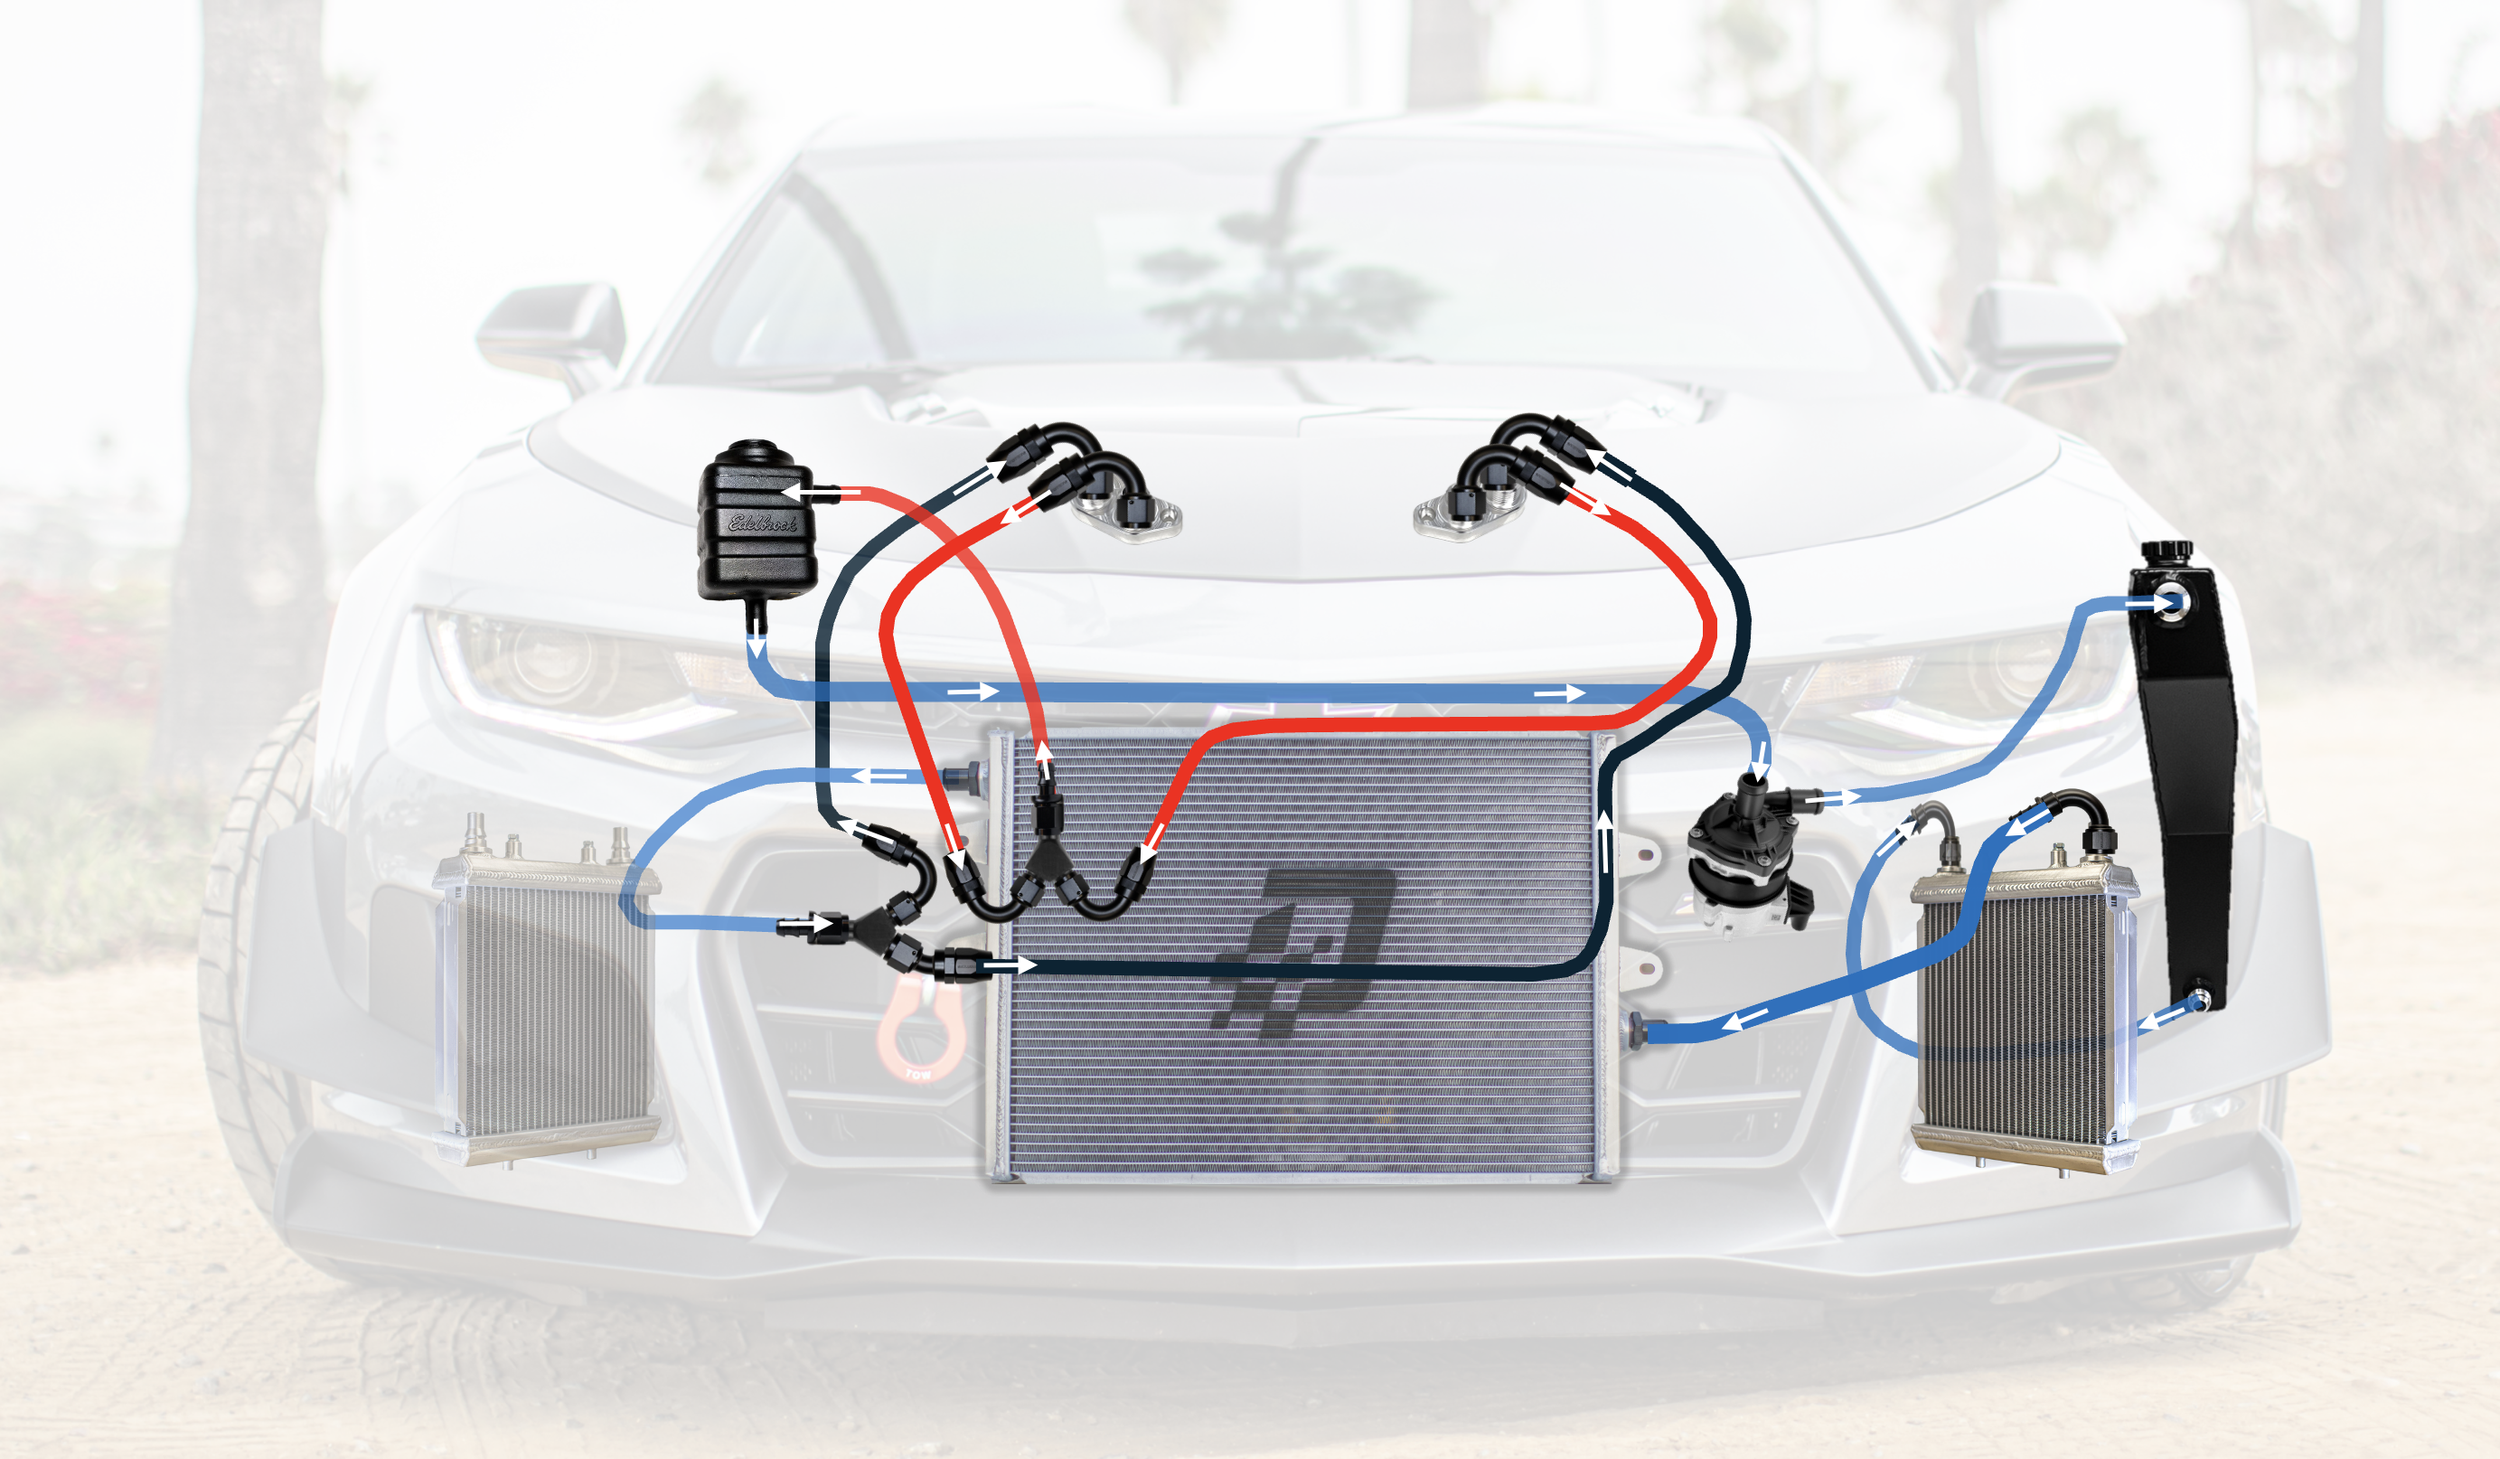
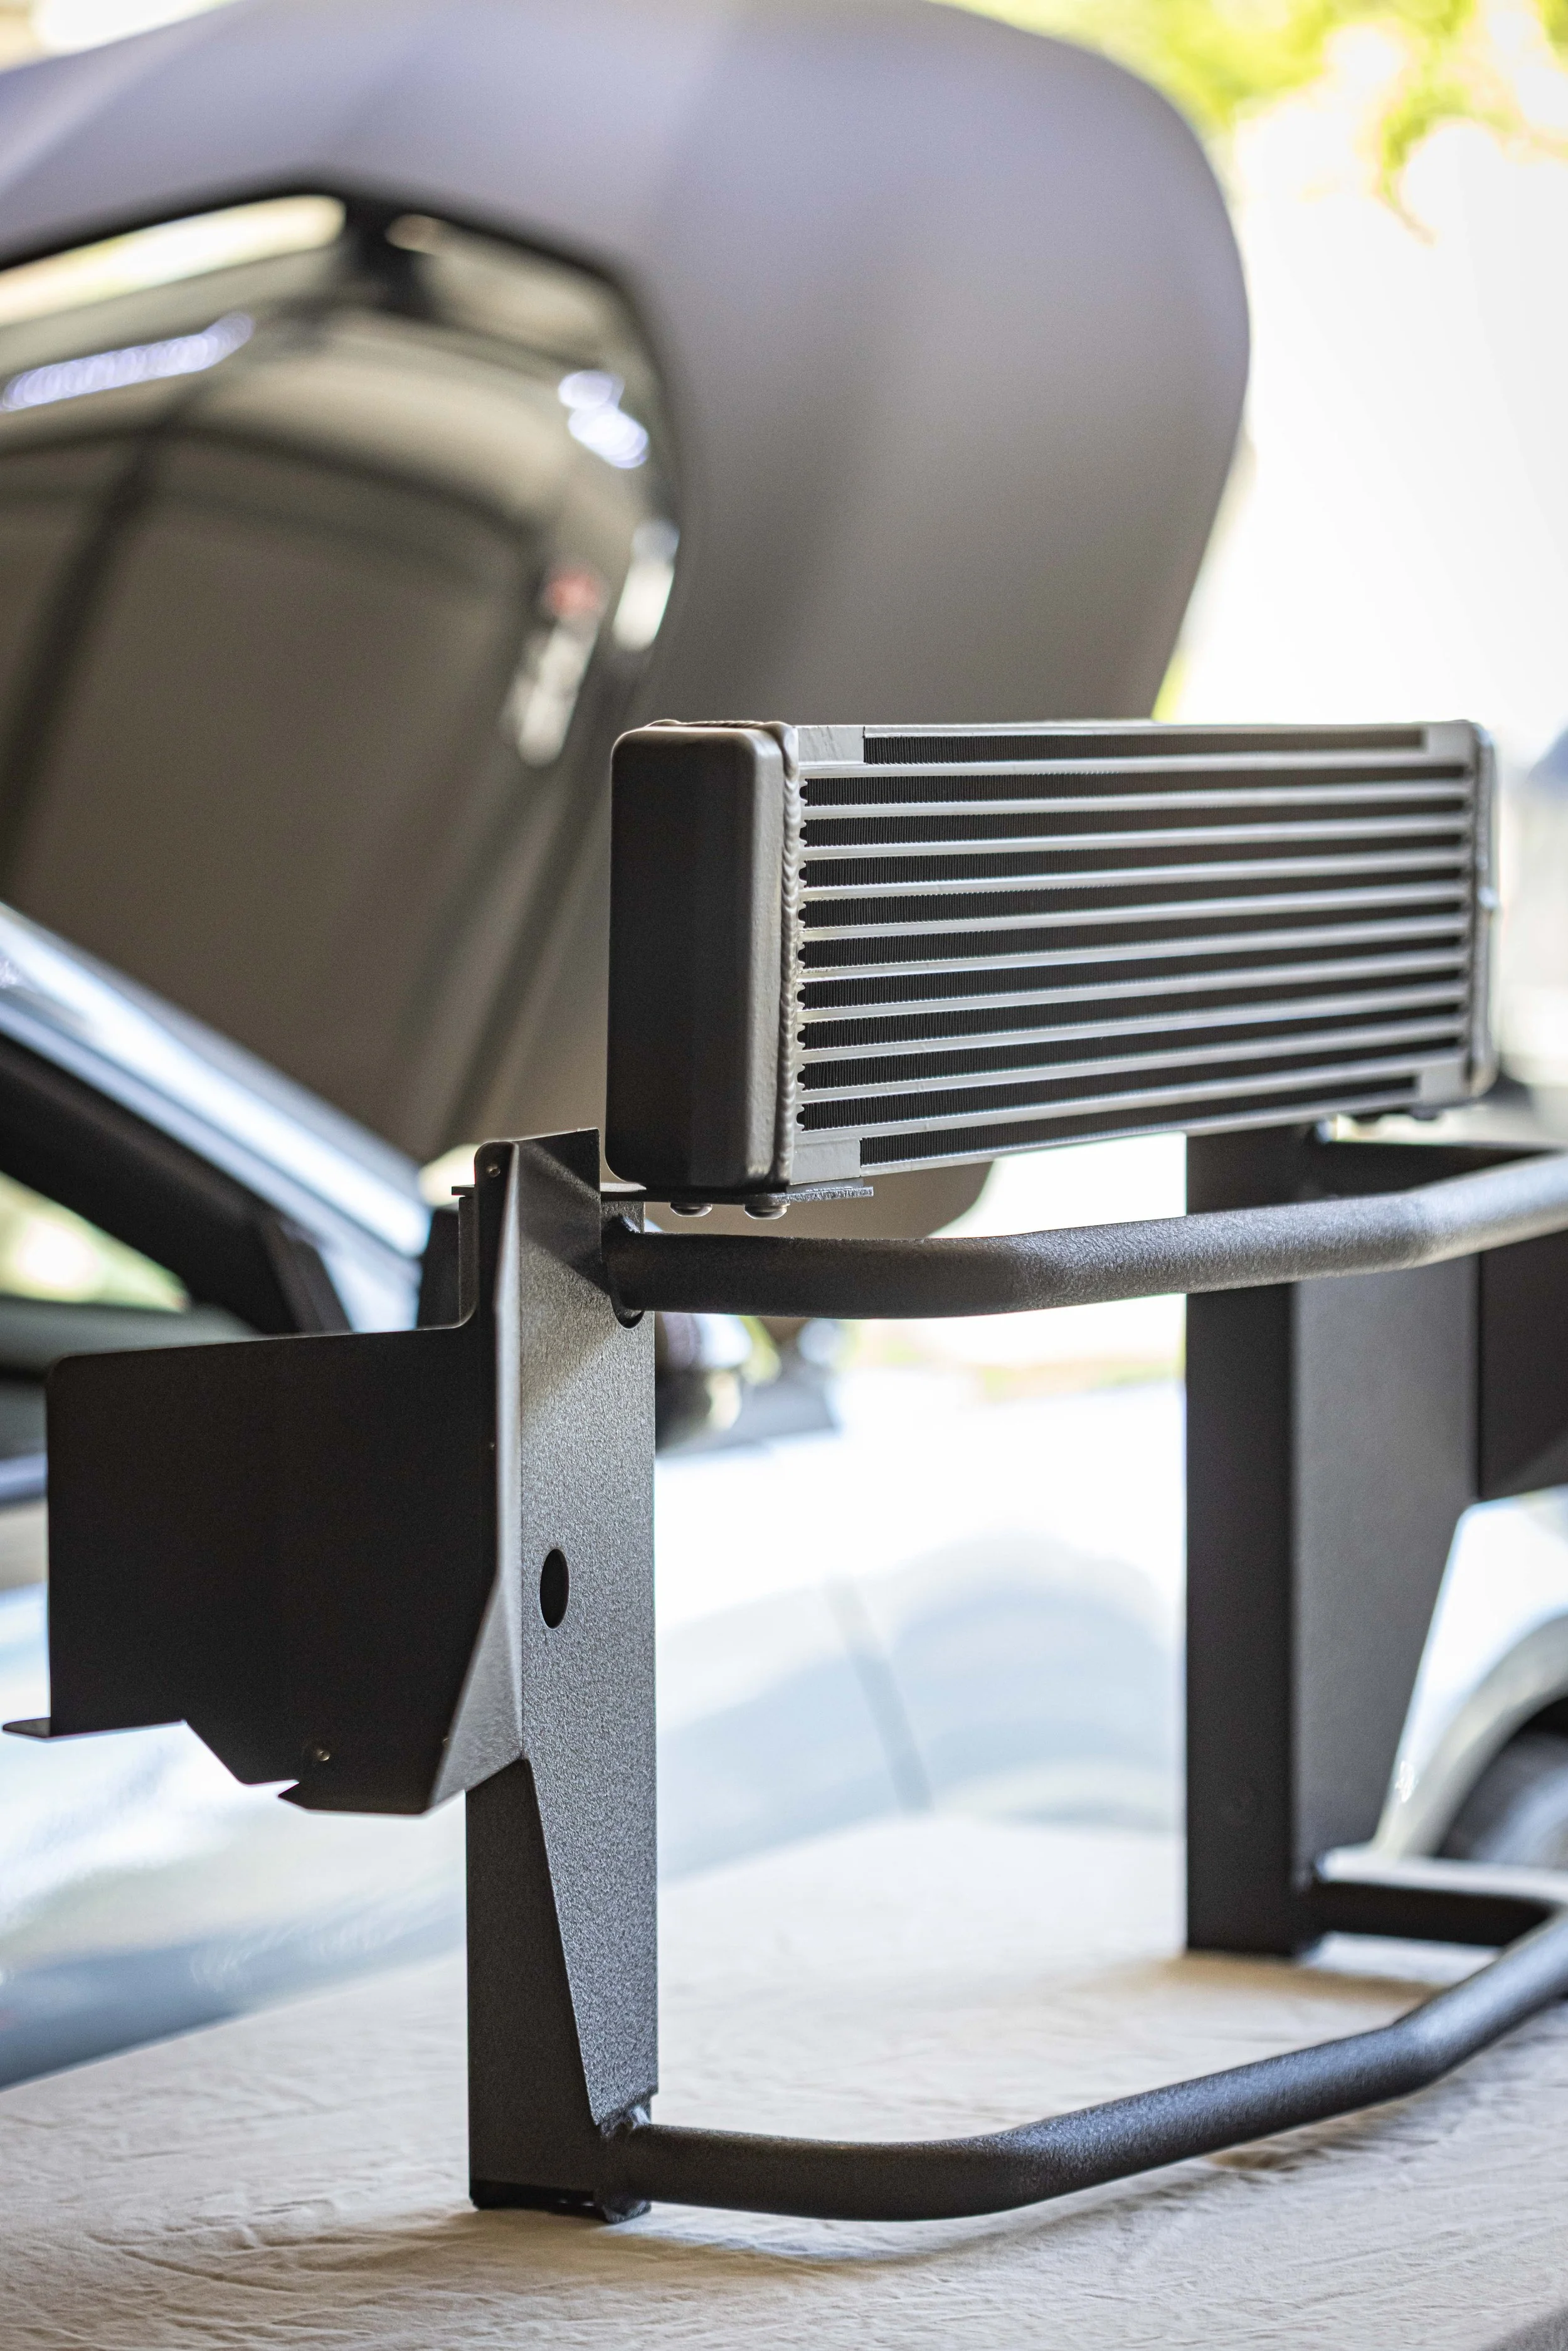
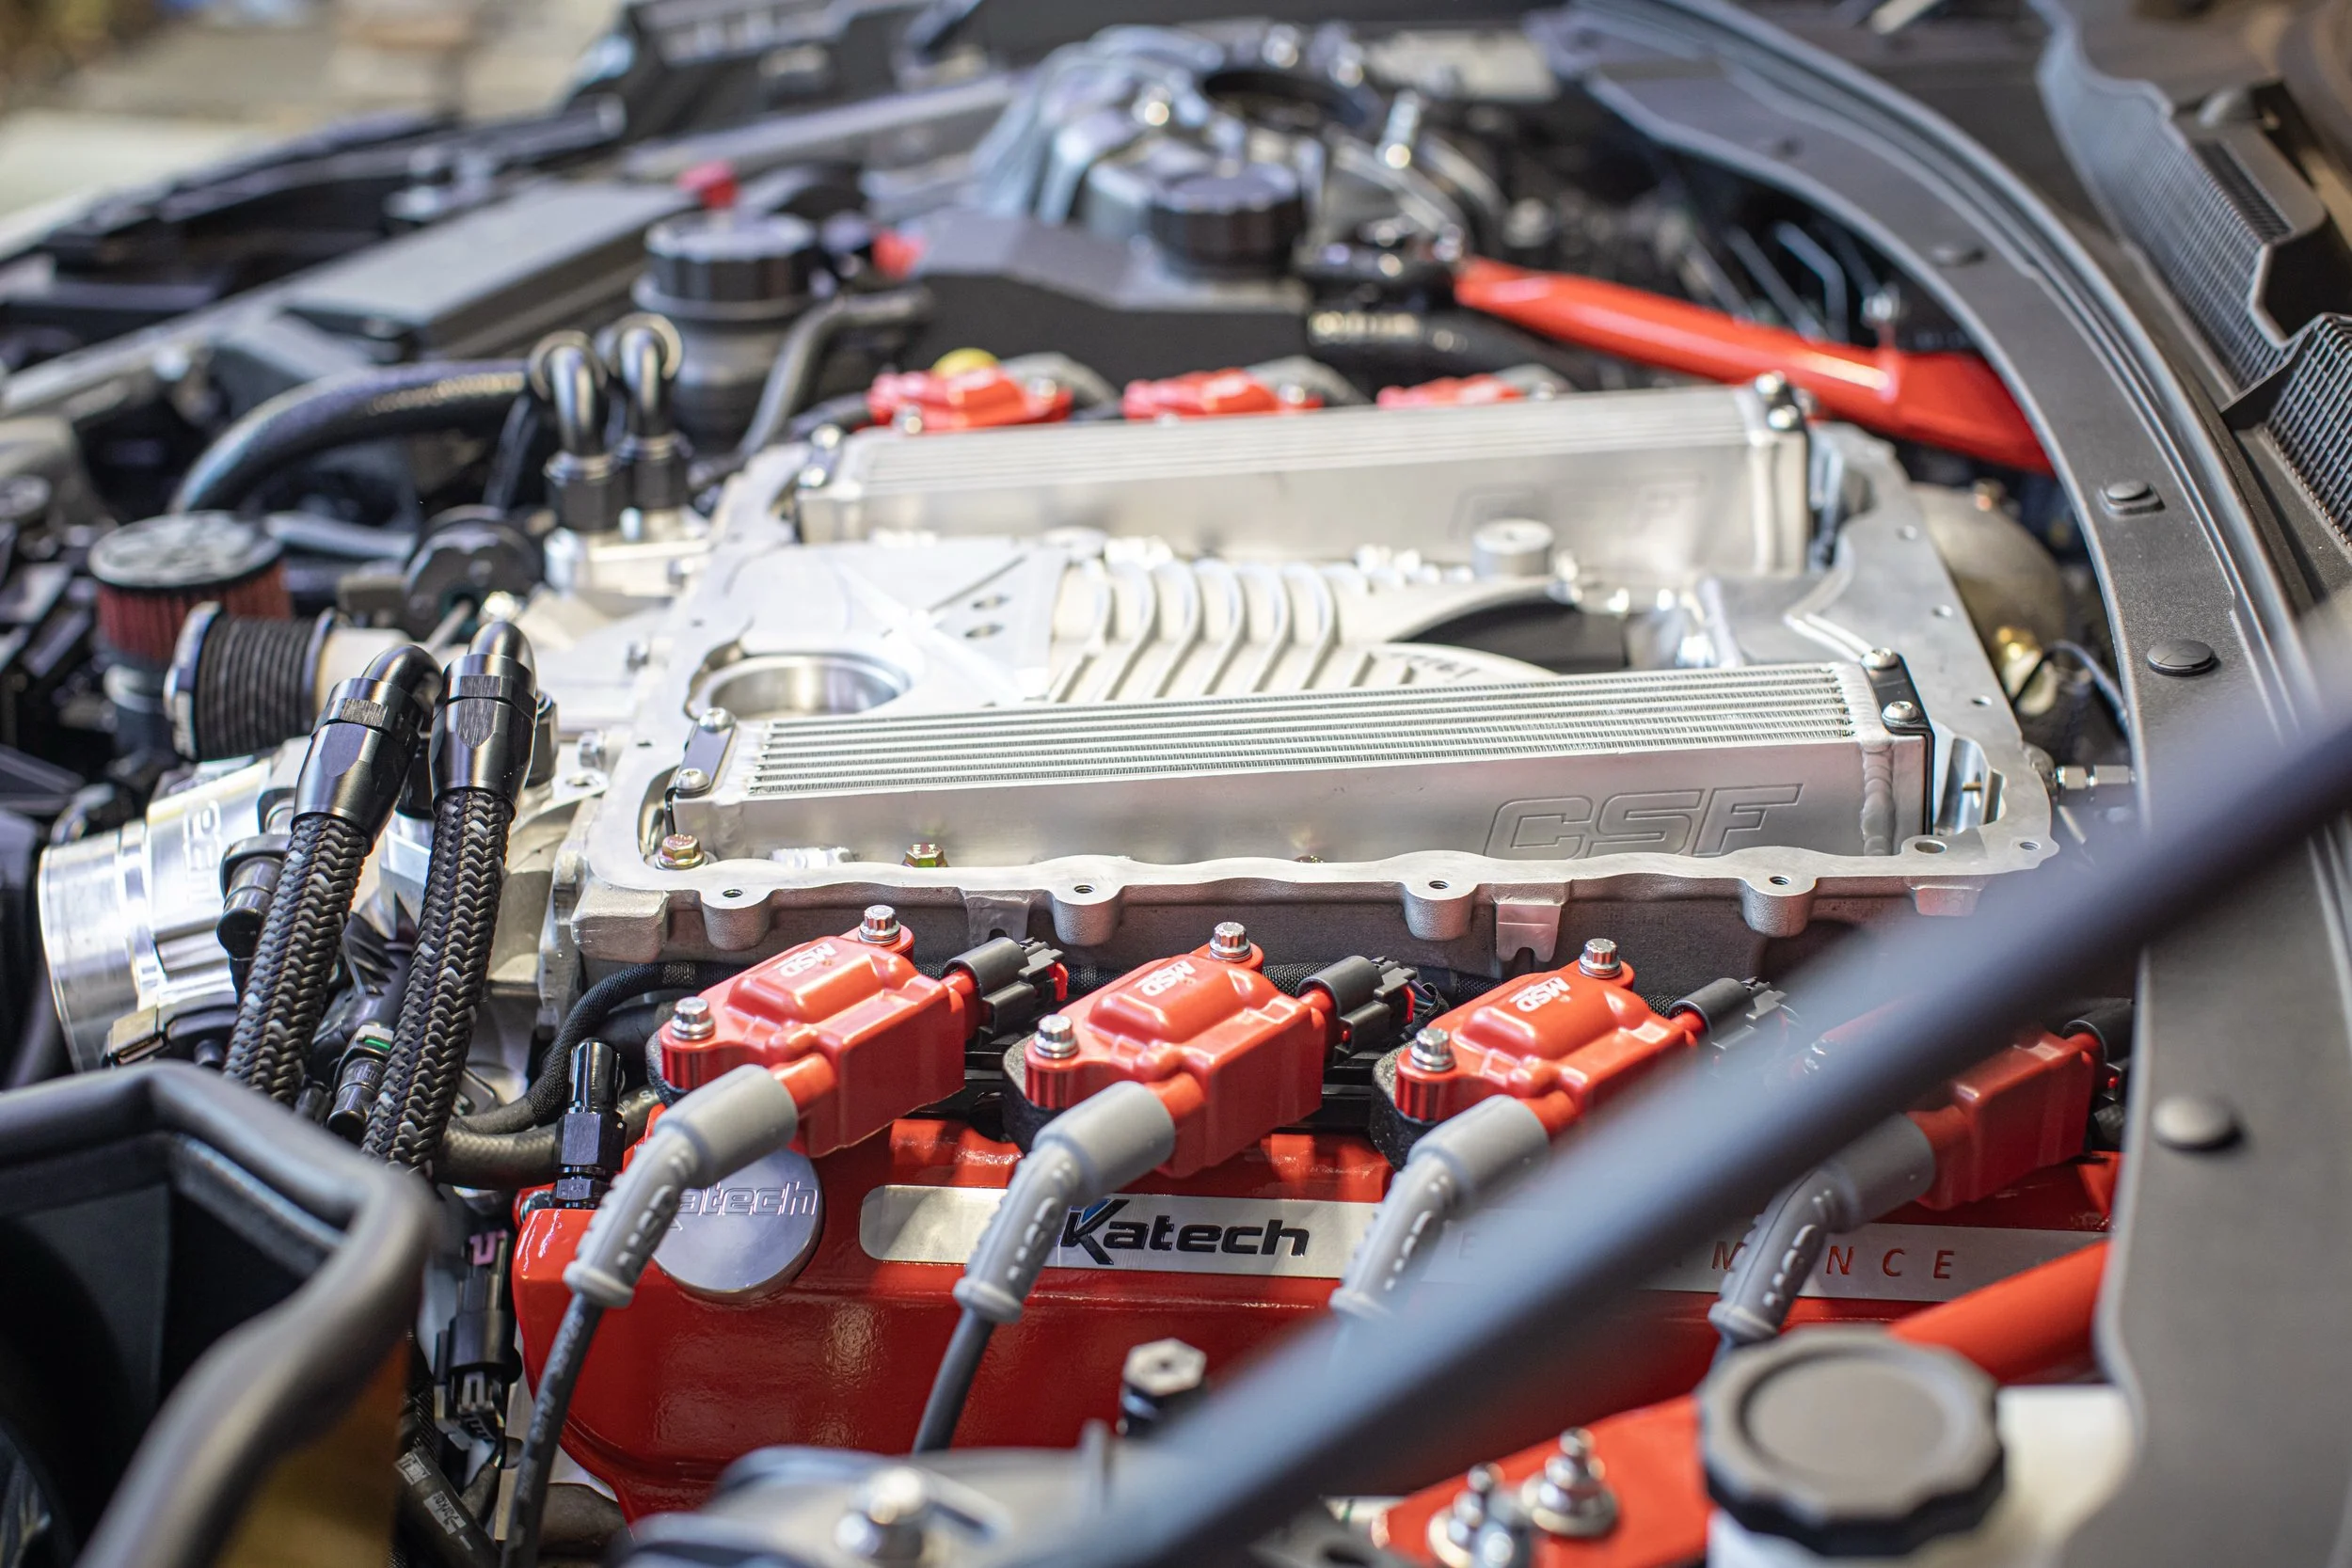
During the development of our Stage.III Super Charger Cooling System, it was clear we needed an auxiliary coolant reservoir in order to not only help prime the OEM HX Pump, but to provide a proper pressure cap which allows the coolant within the heat exchanger system to expand and contract as needed during normal driving, and also prevents an overpressure situation which could damage the pump and or cause a leak in the system.
We tested several existing brands to start, hoping to be able to utilize a part that is already produced at scale in order to pass on maximum savings, and just when we about ran out of options, we found the hidden Edelbrock canister which is only found within the E-Force Supercharger Packages.
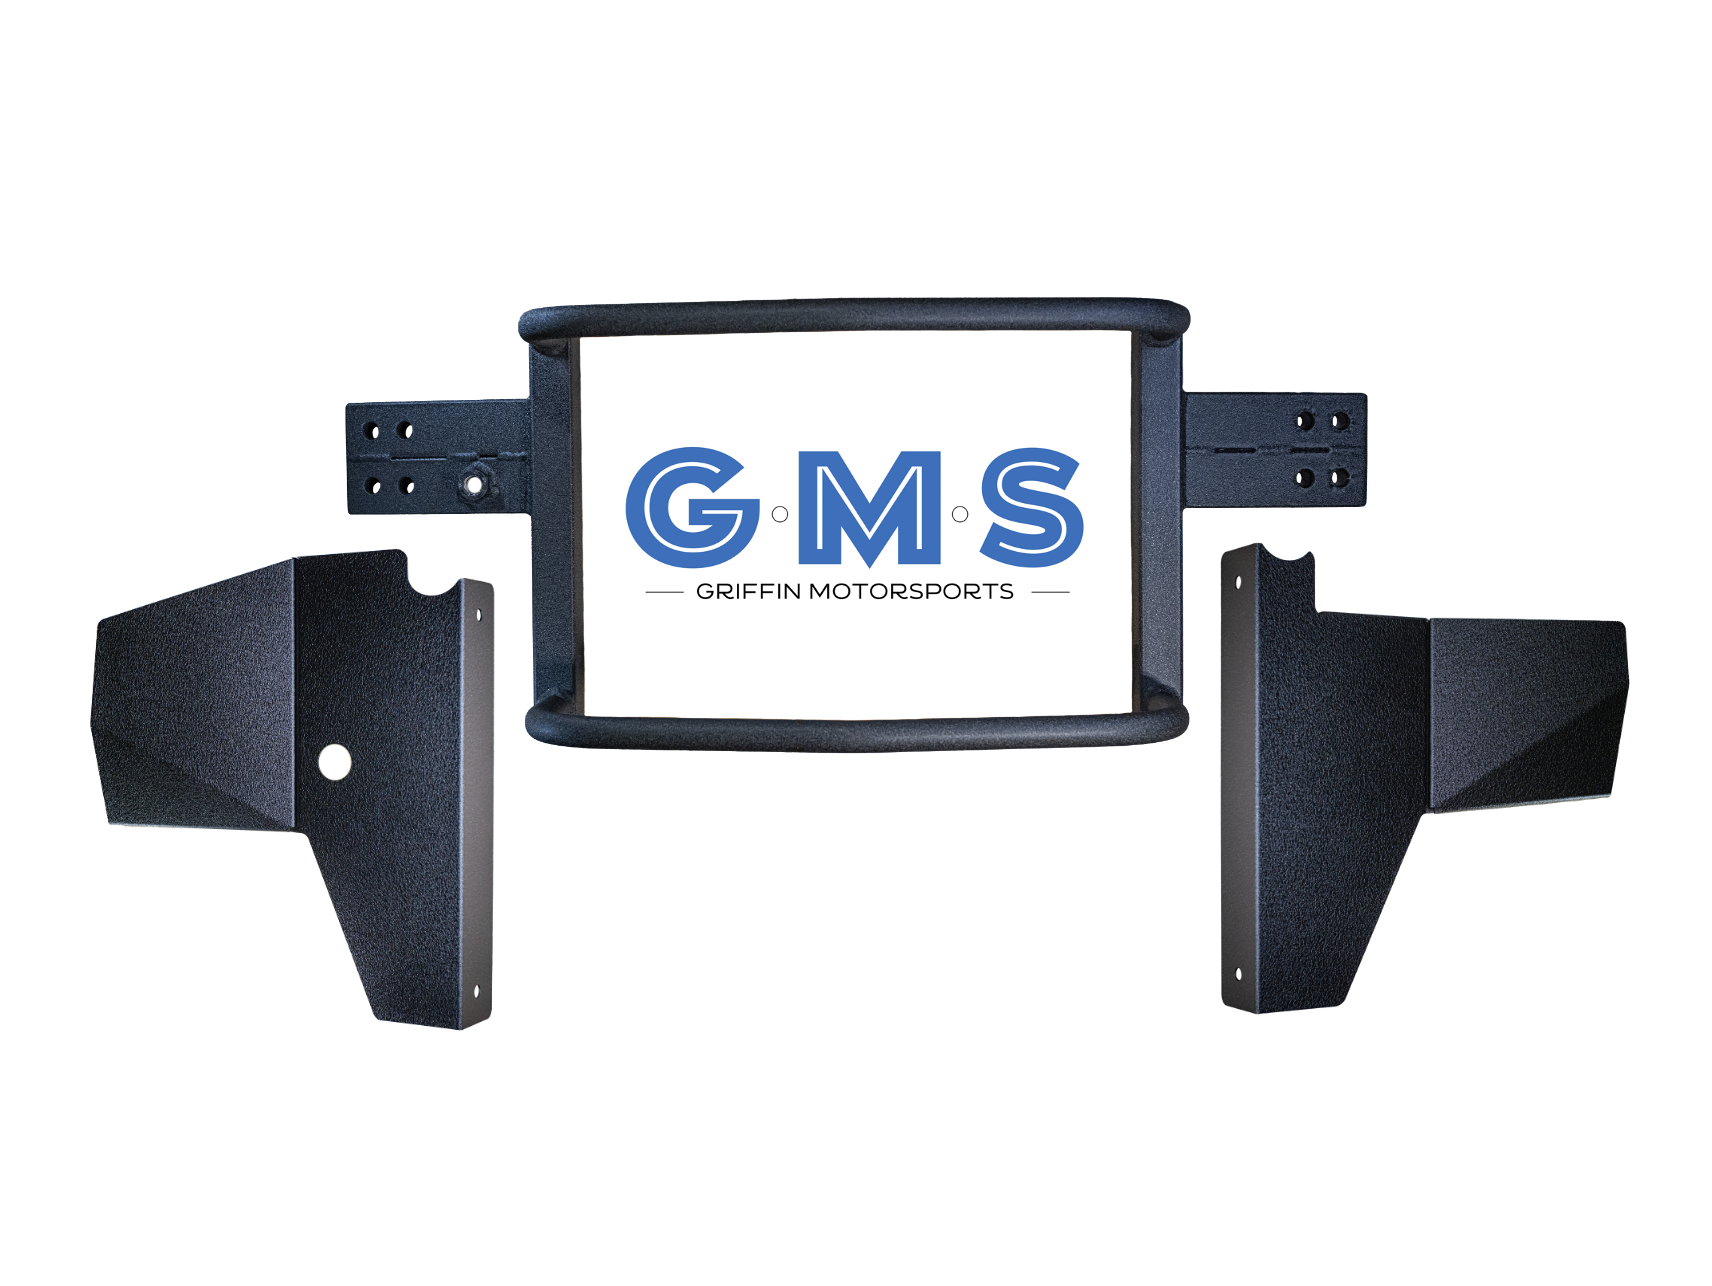
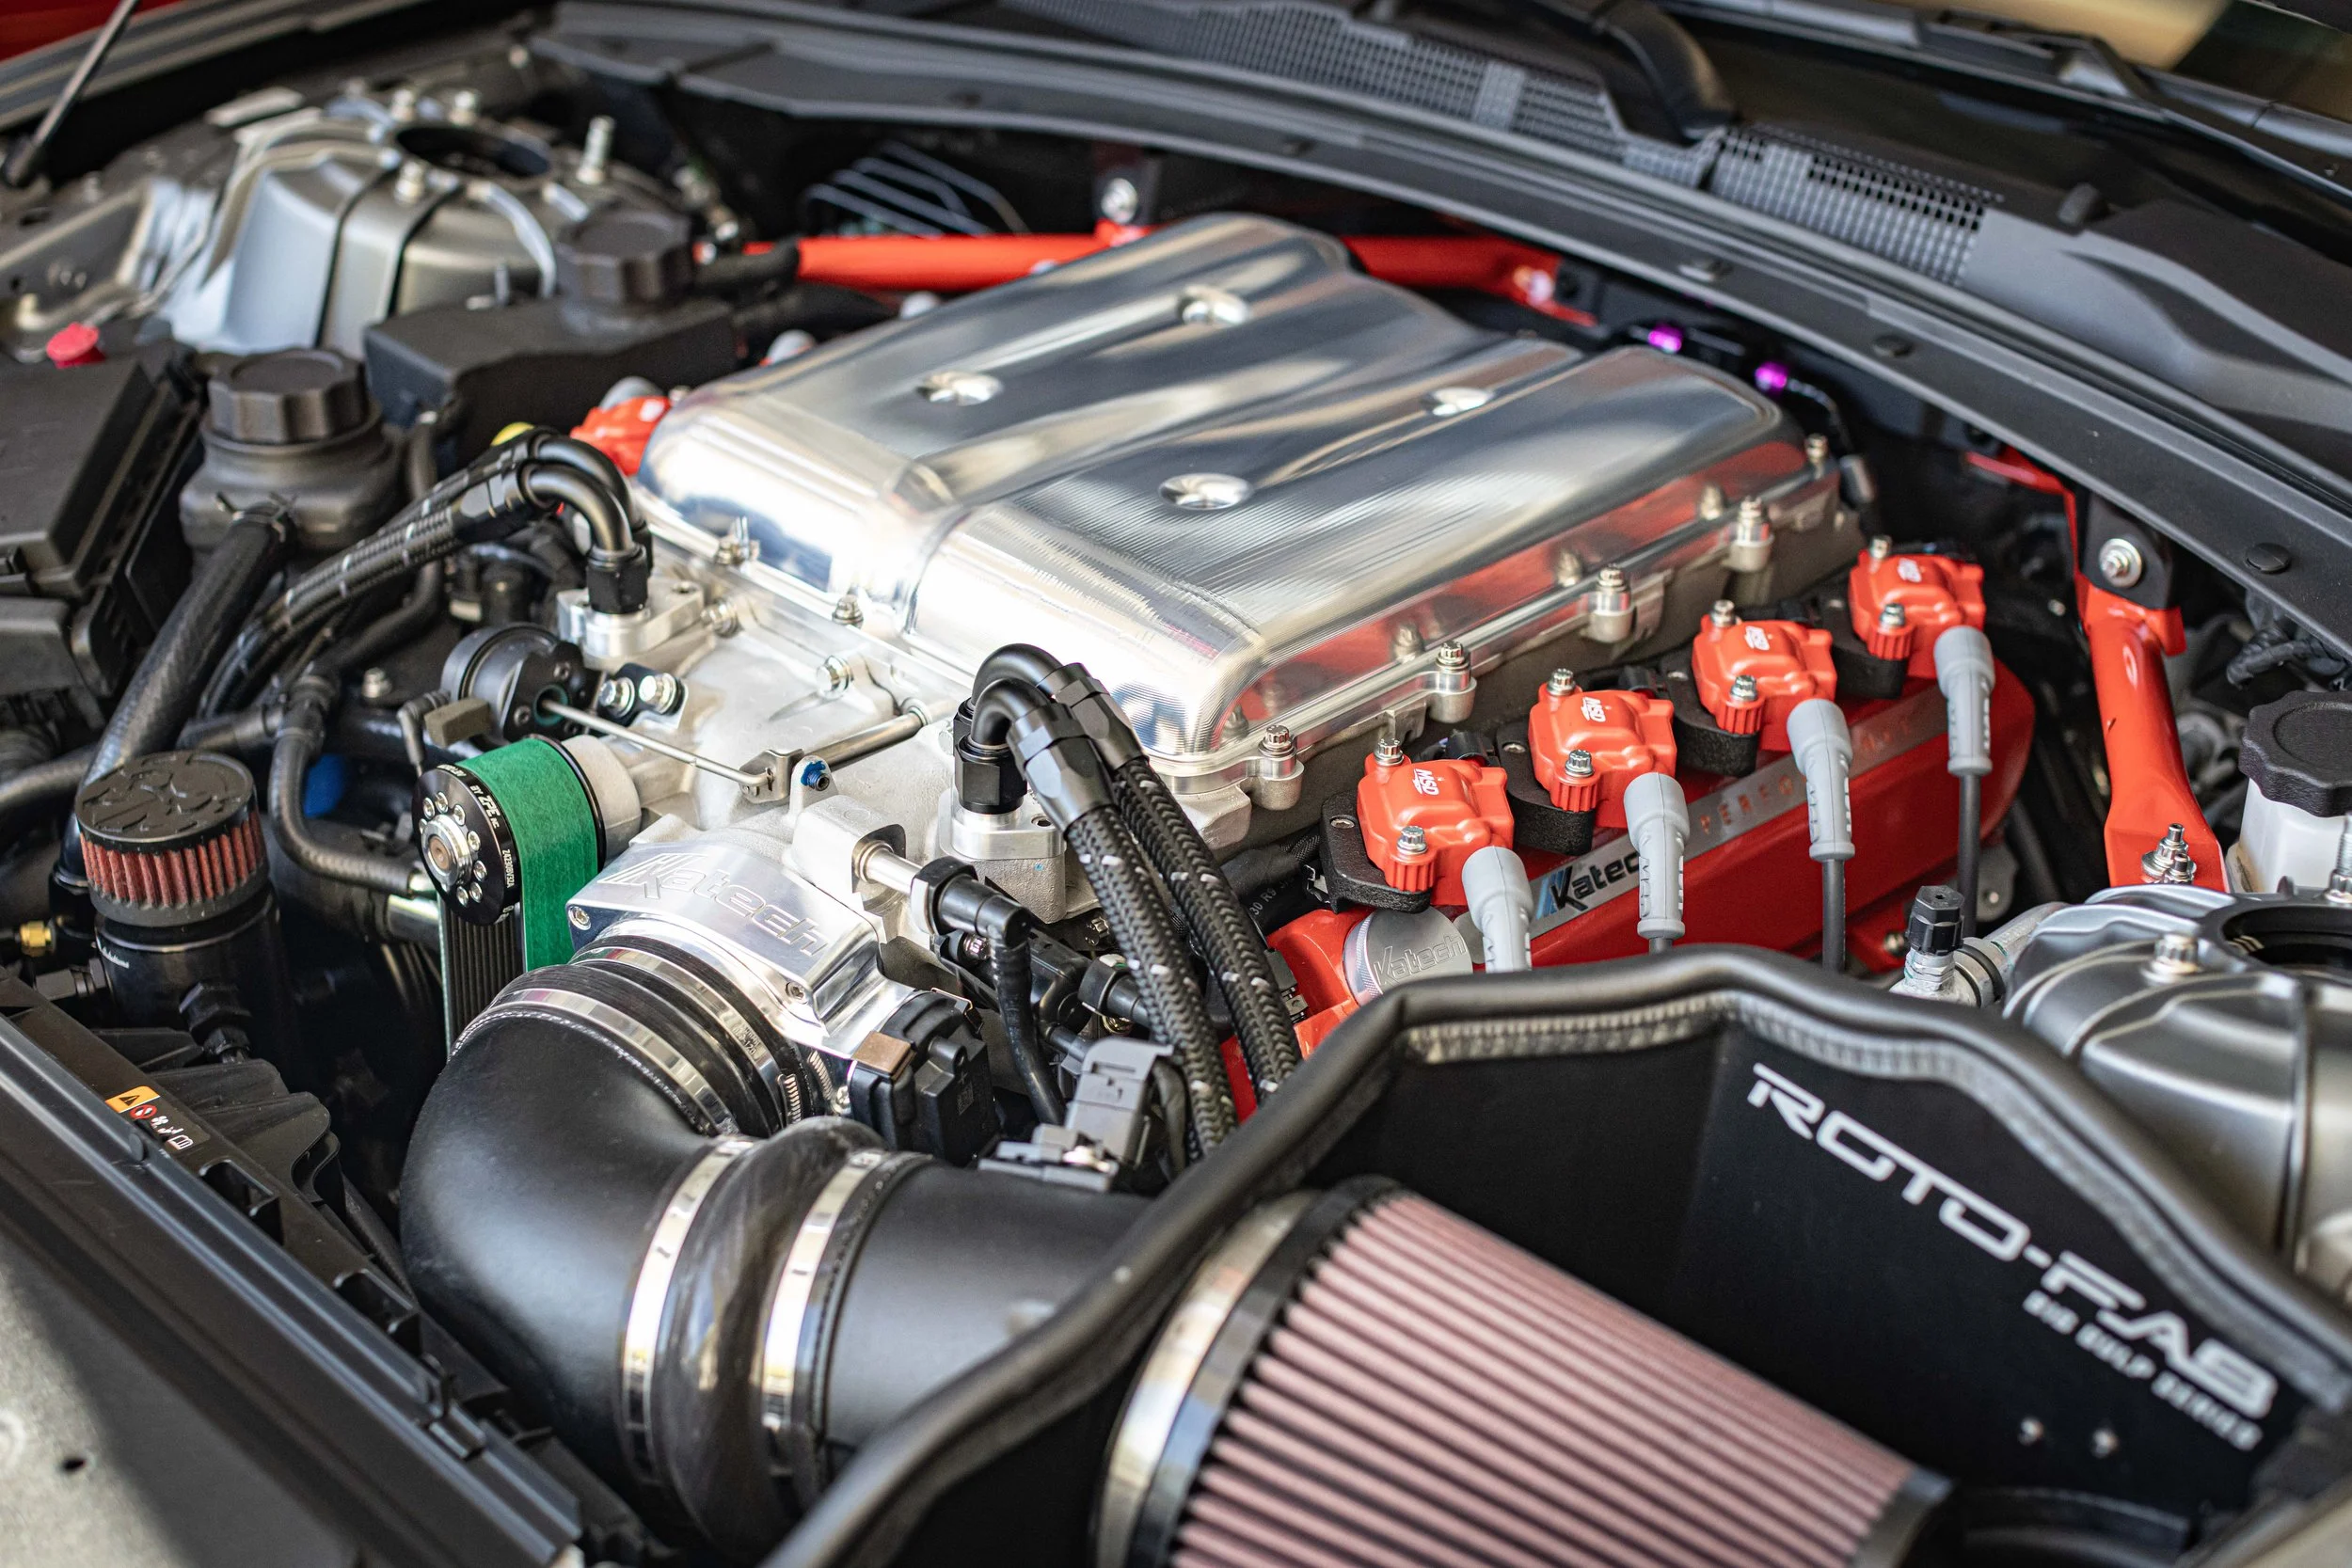
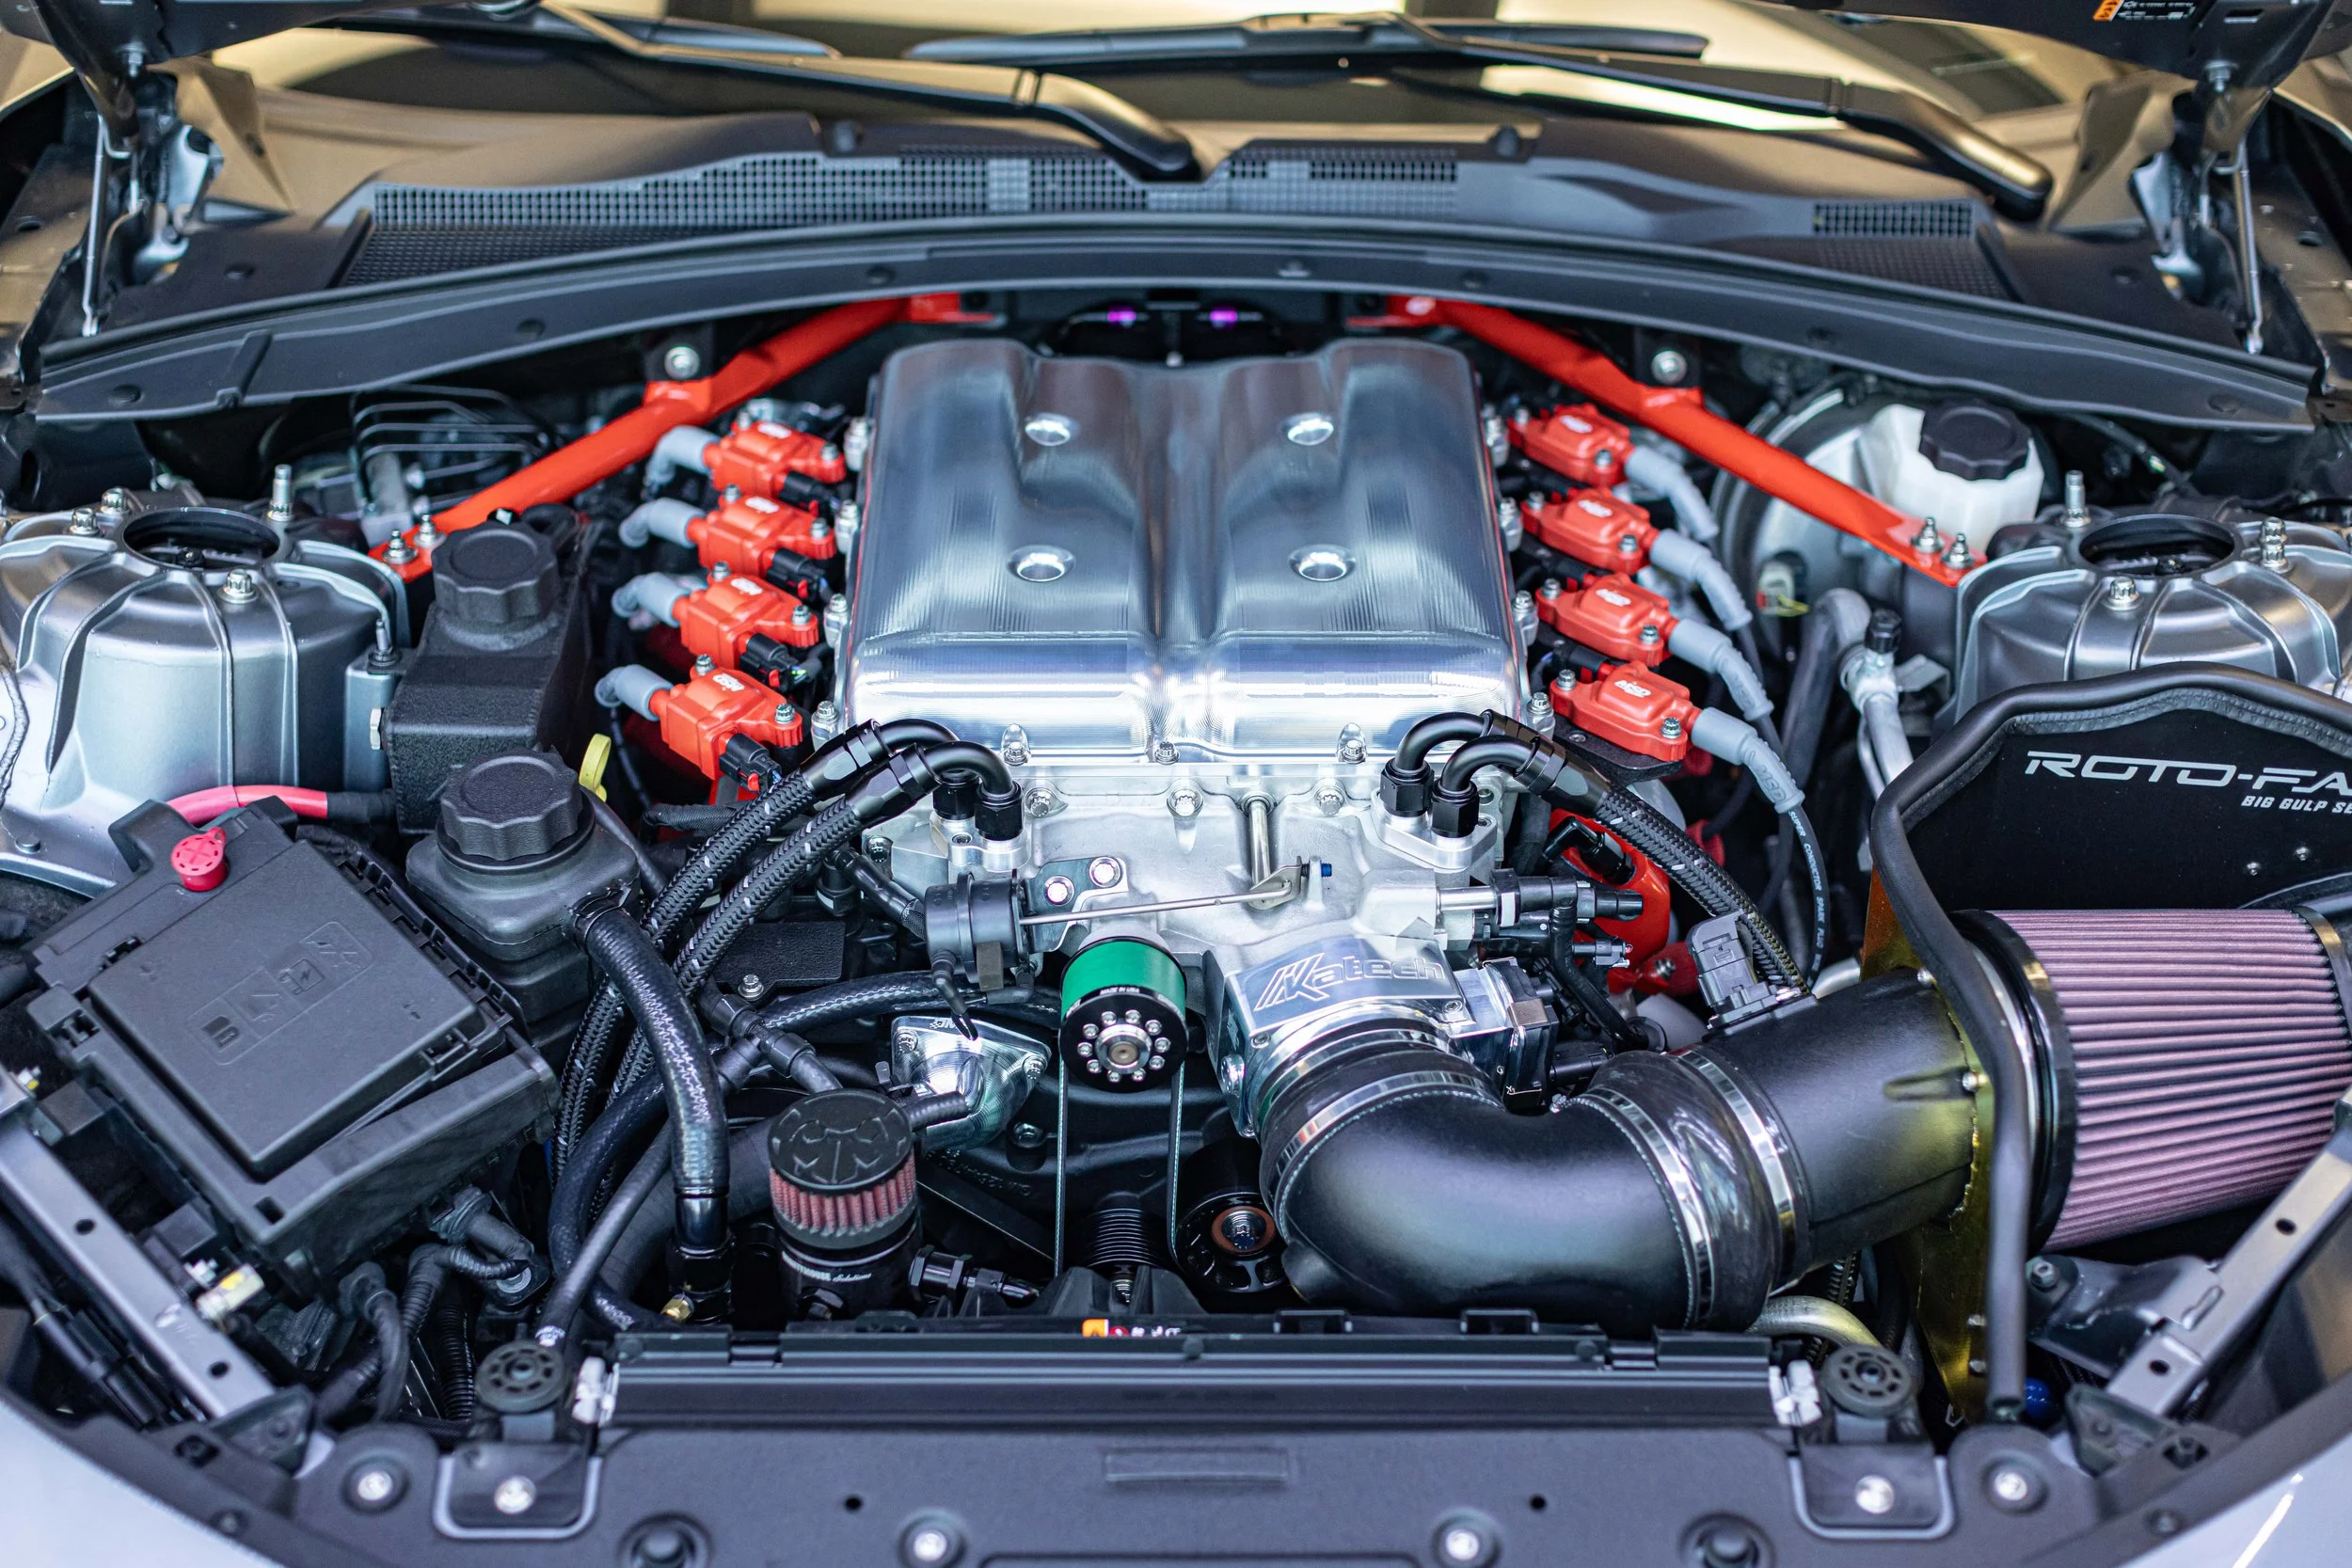
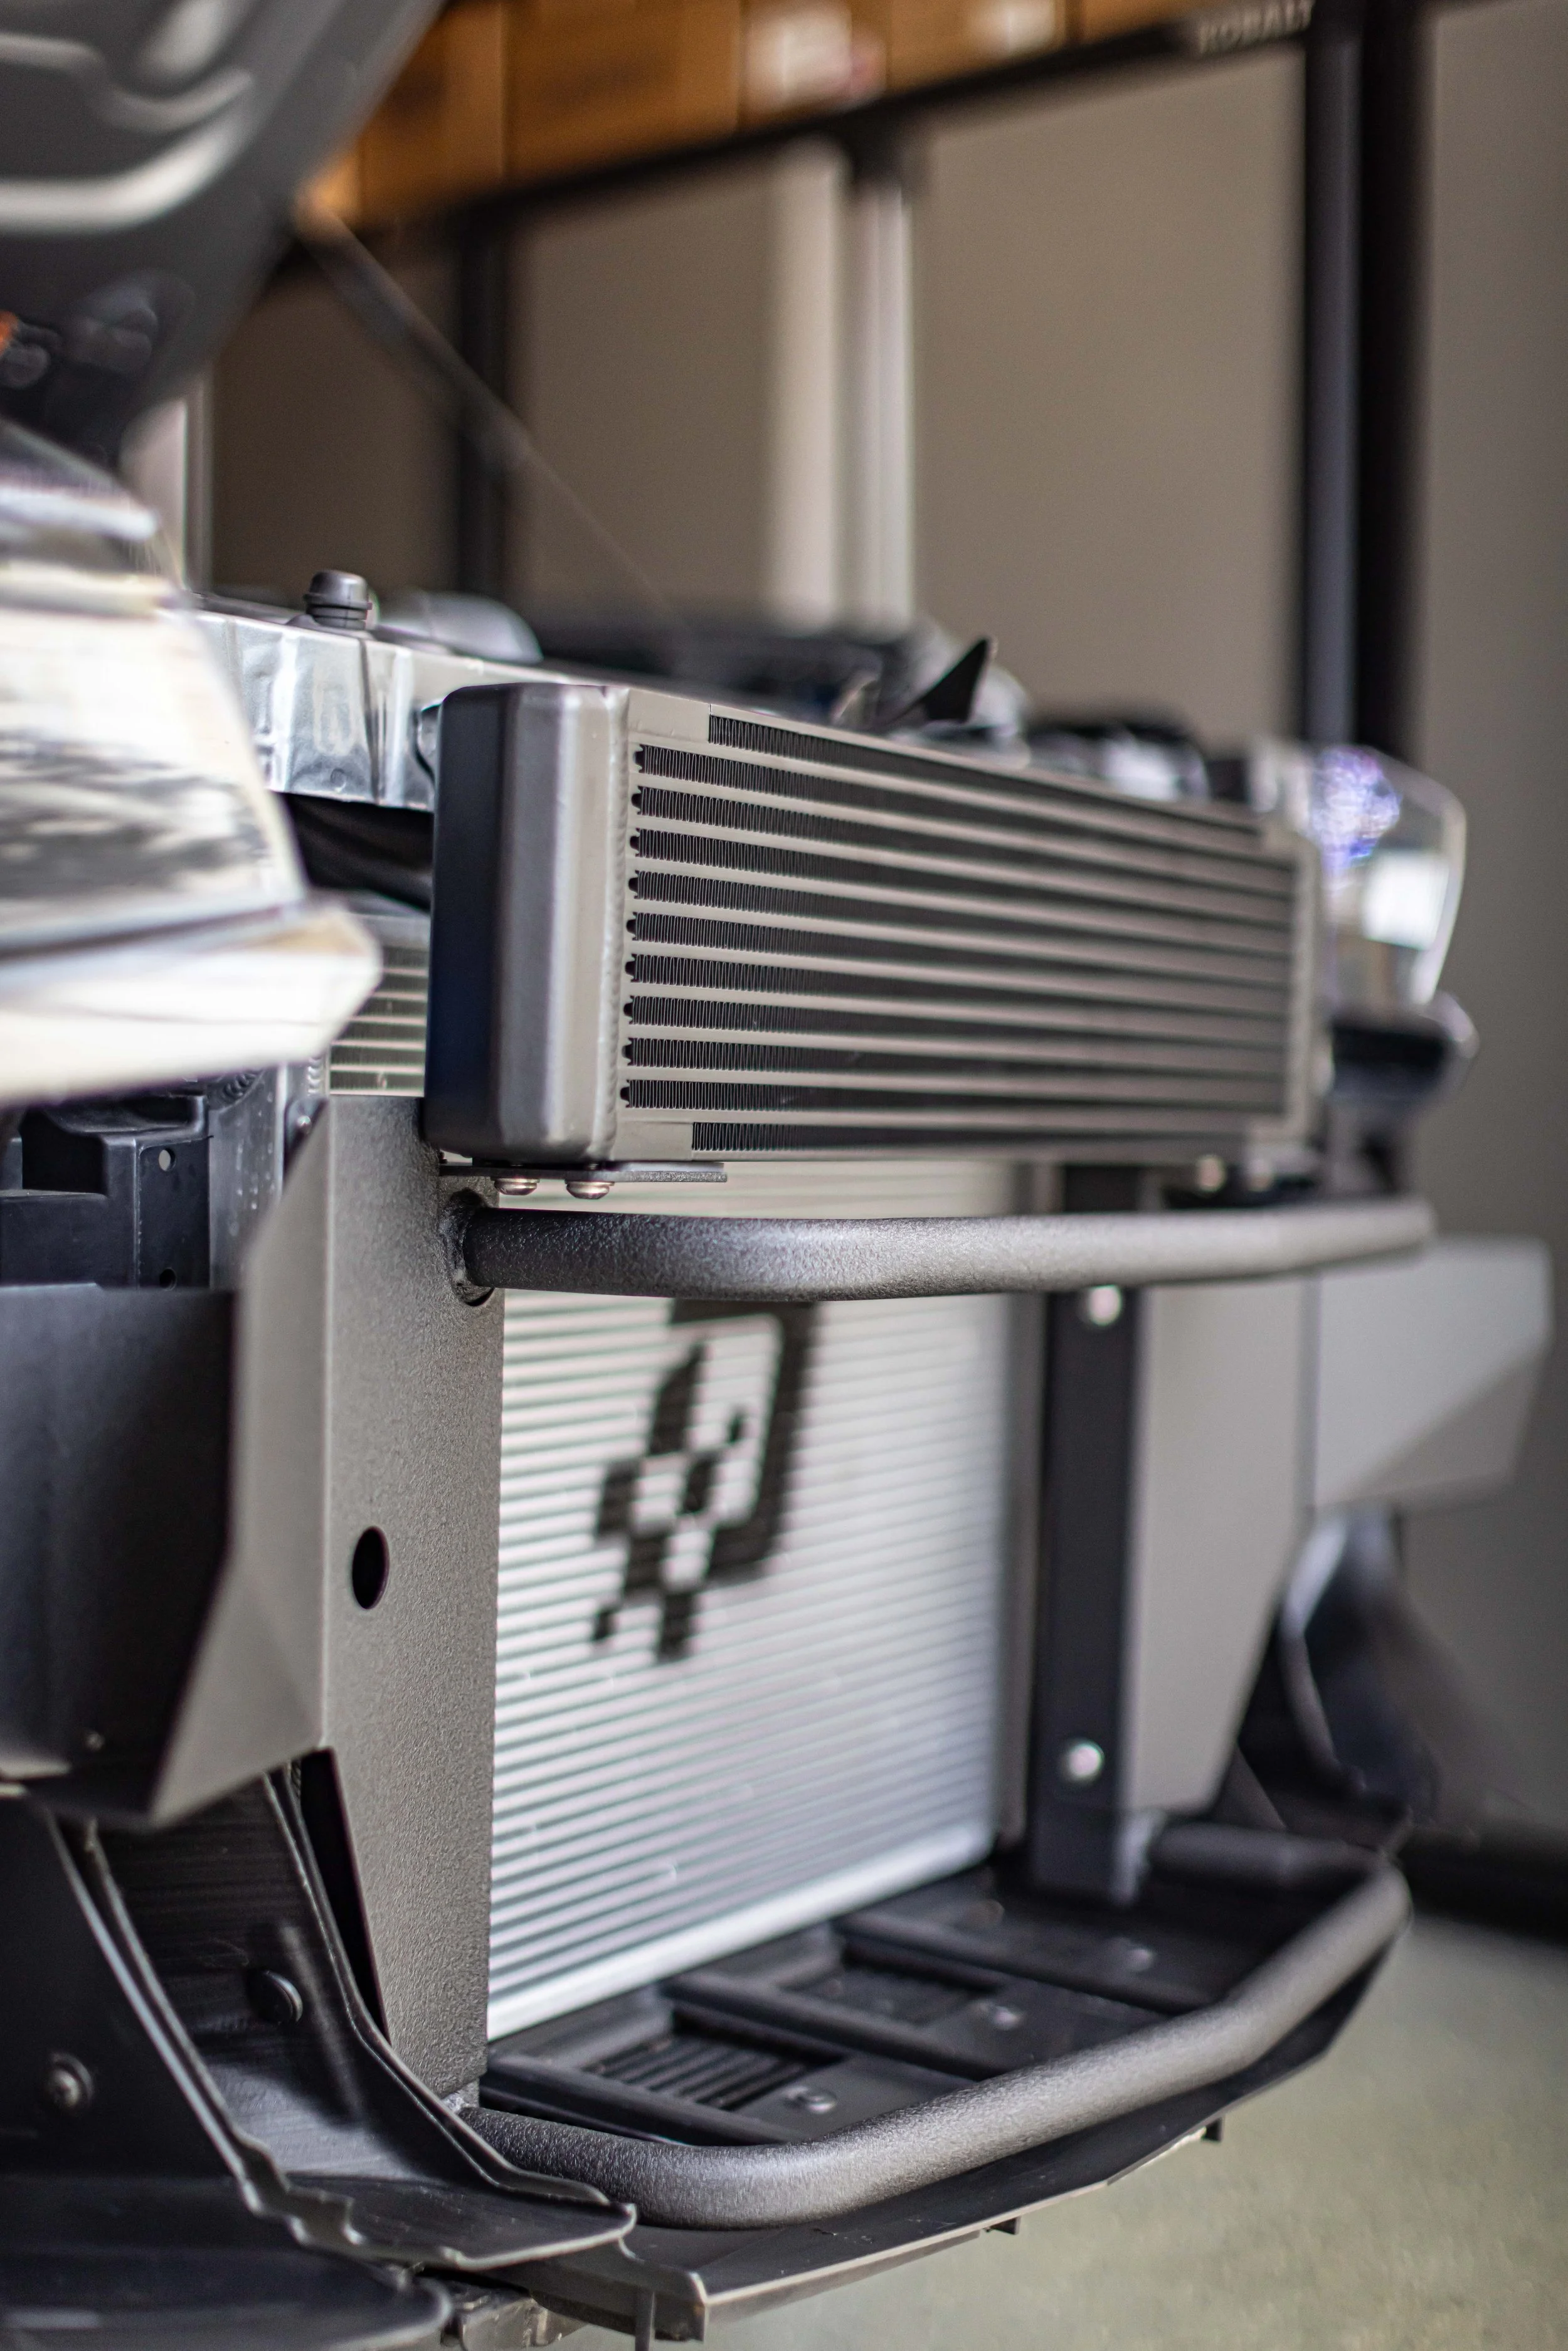
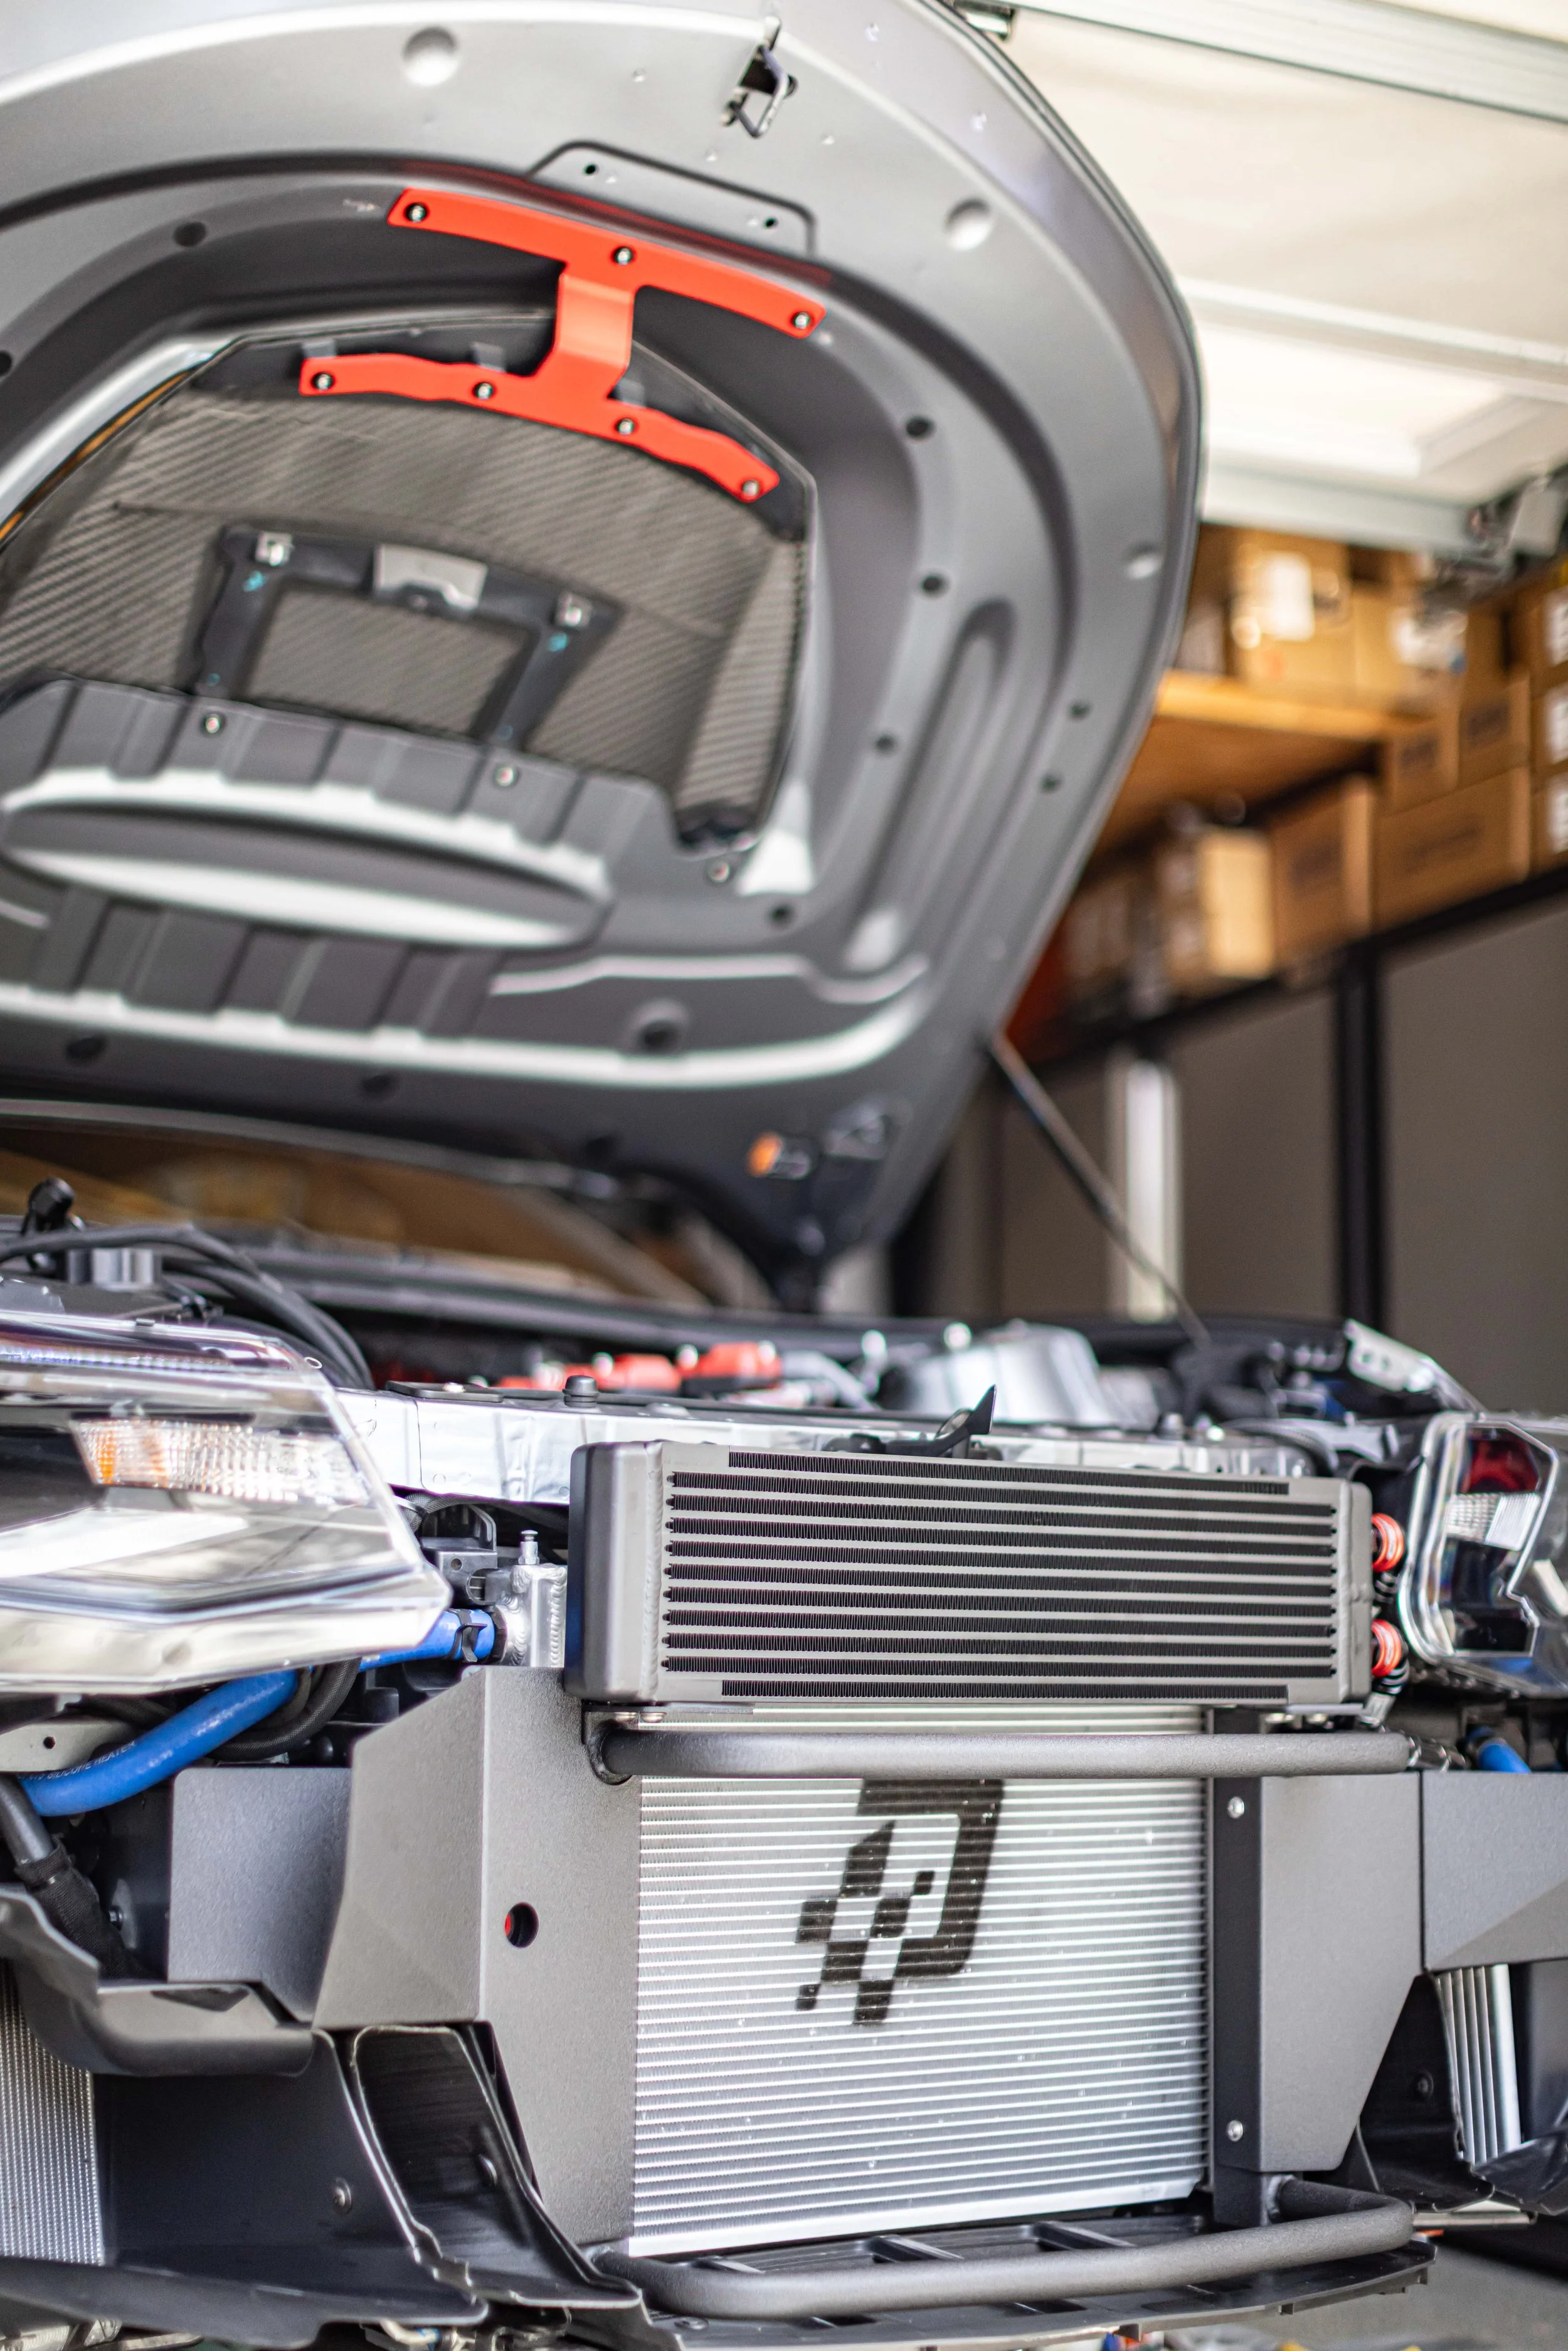
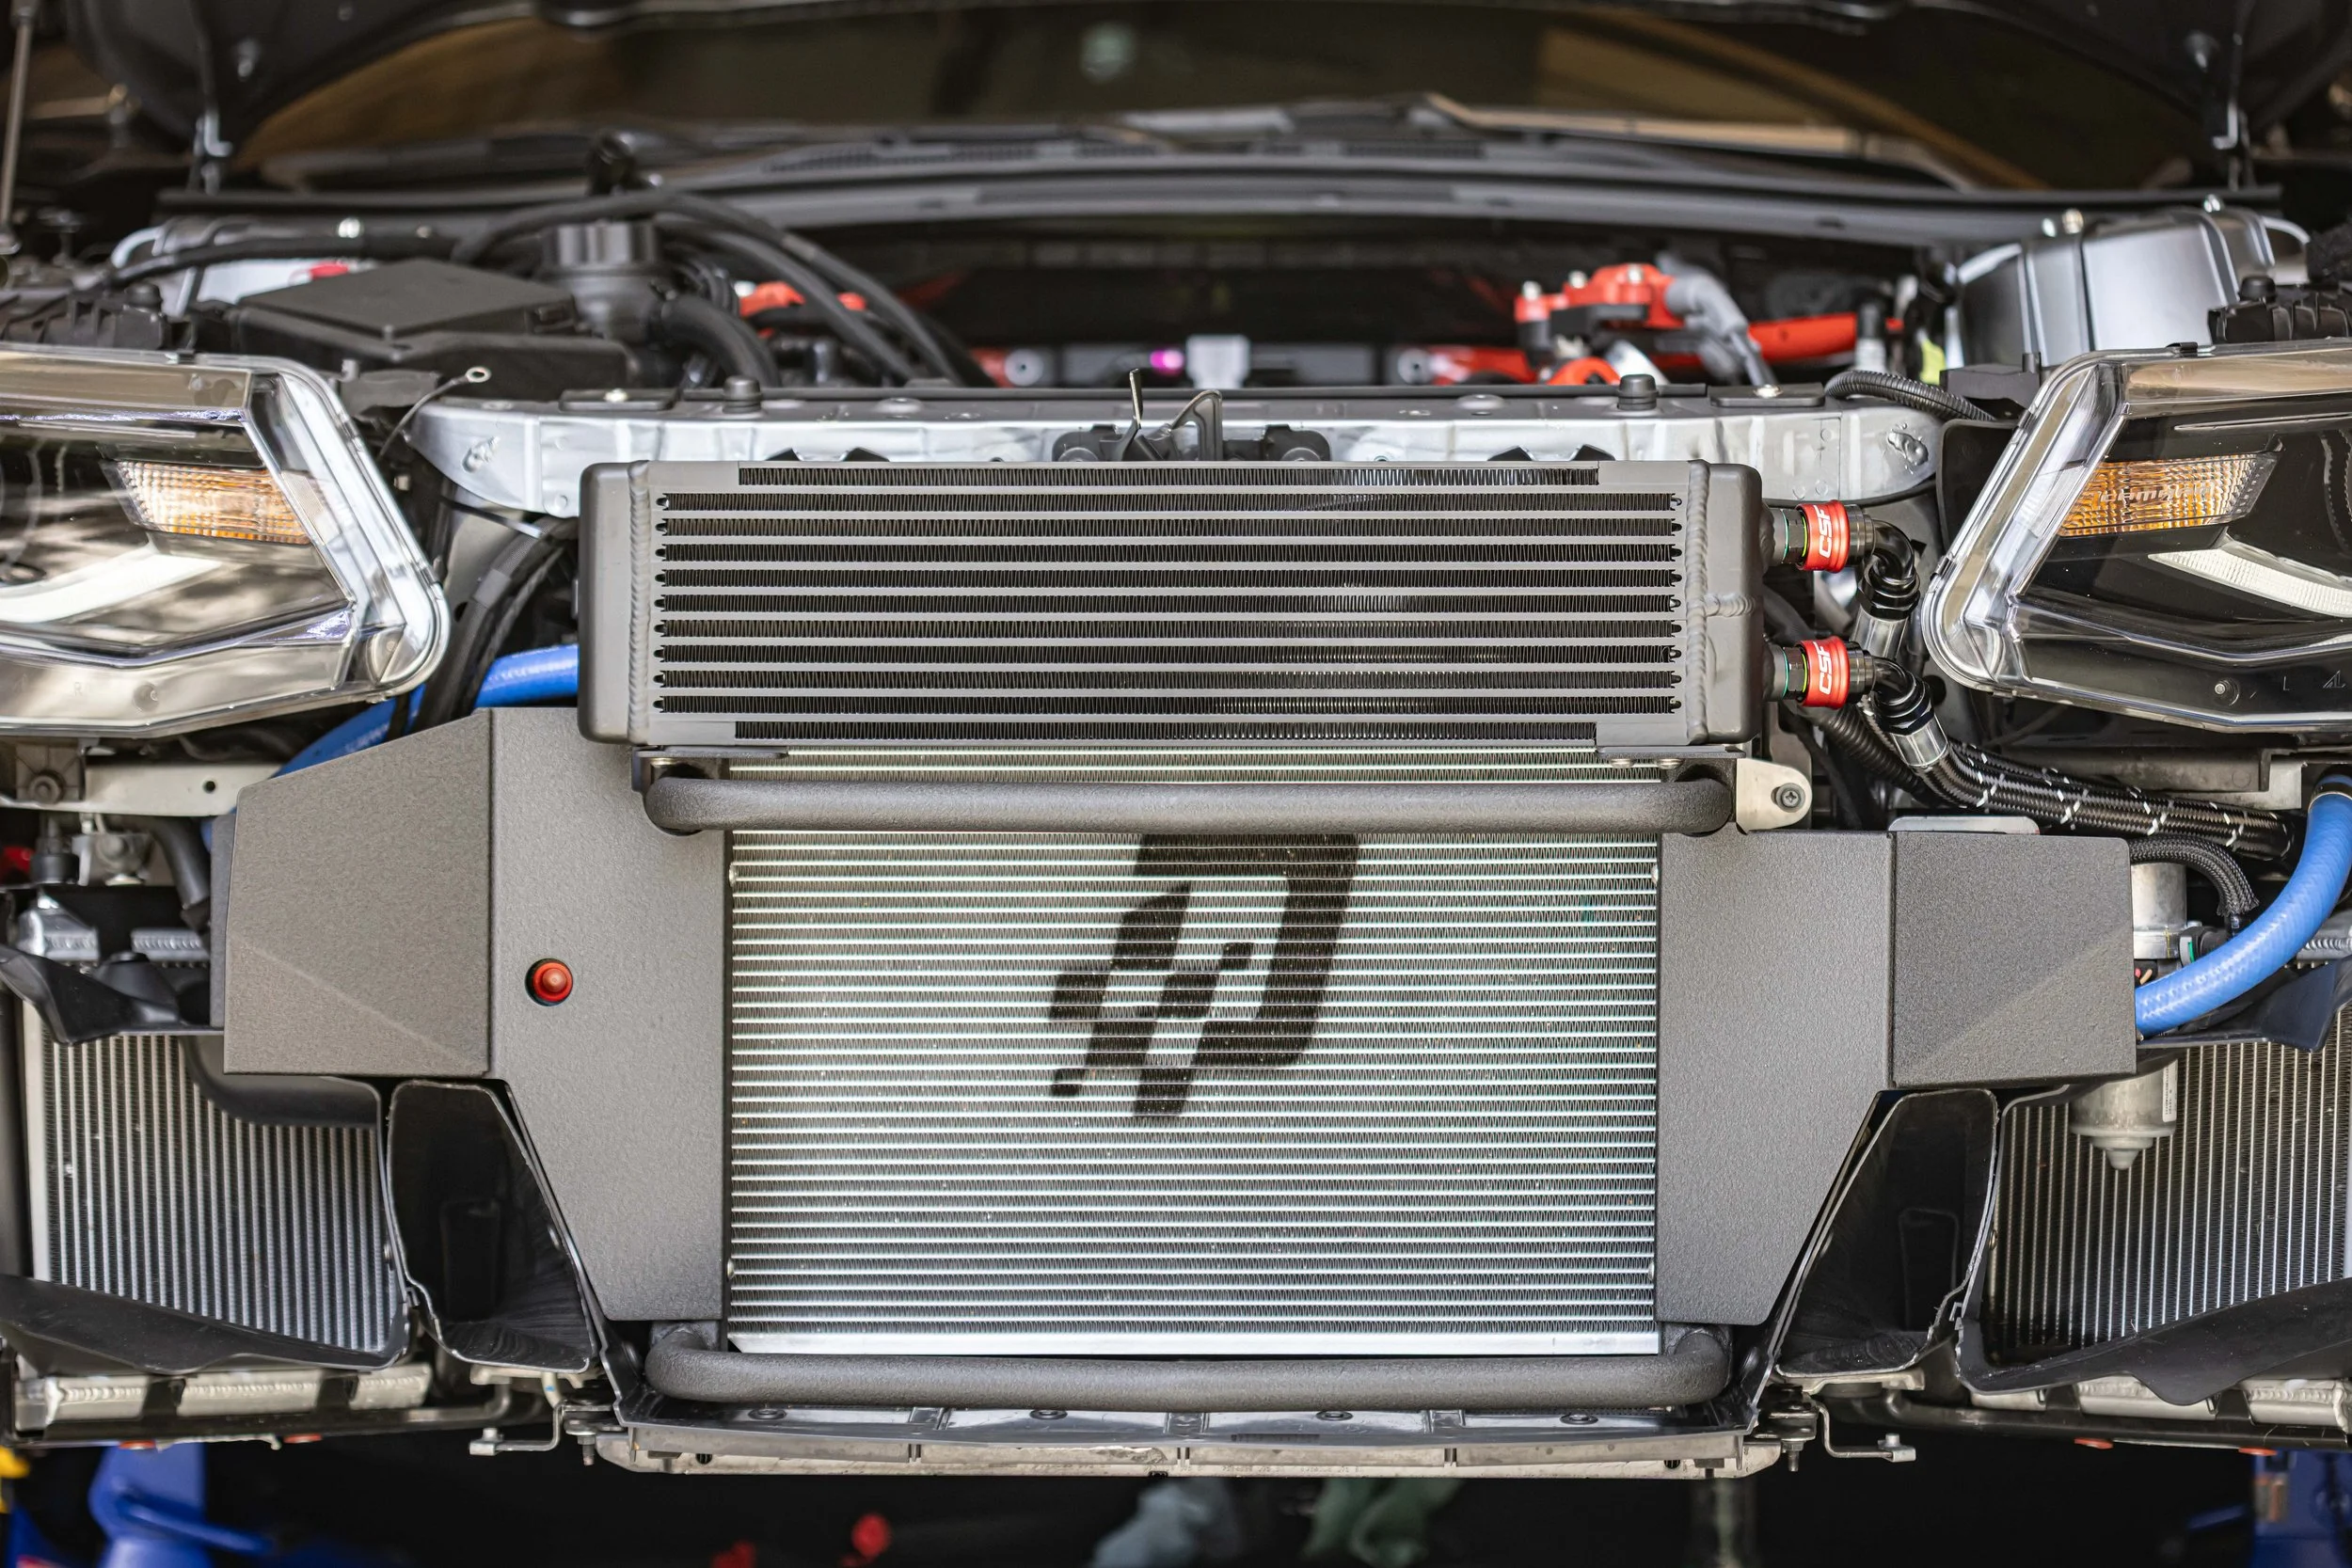
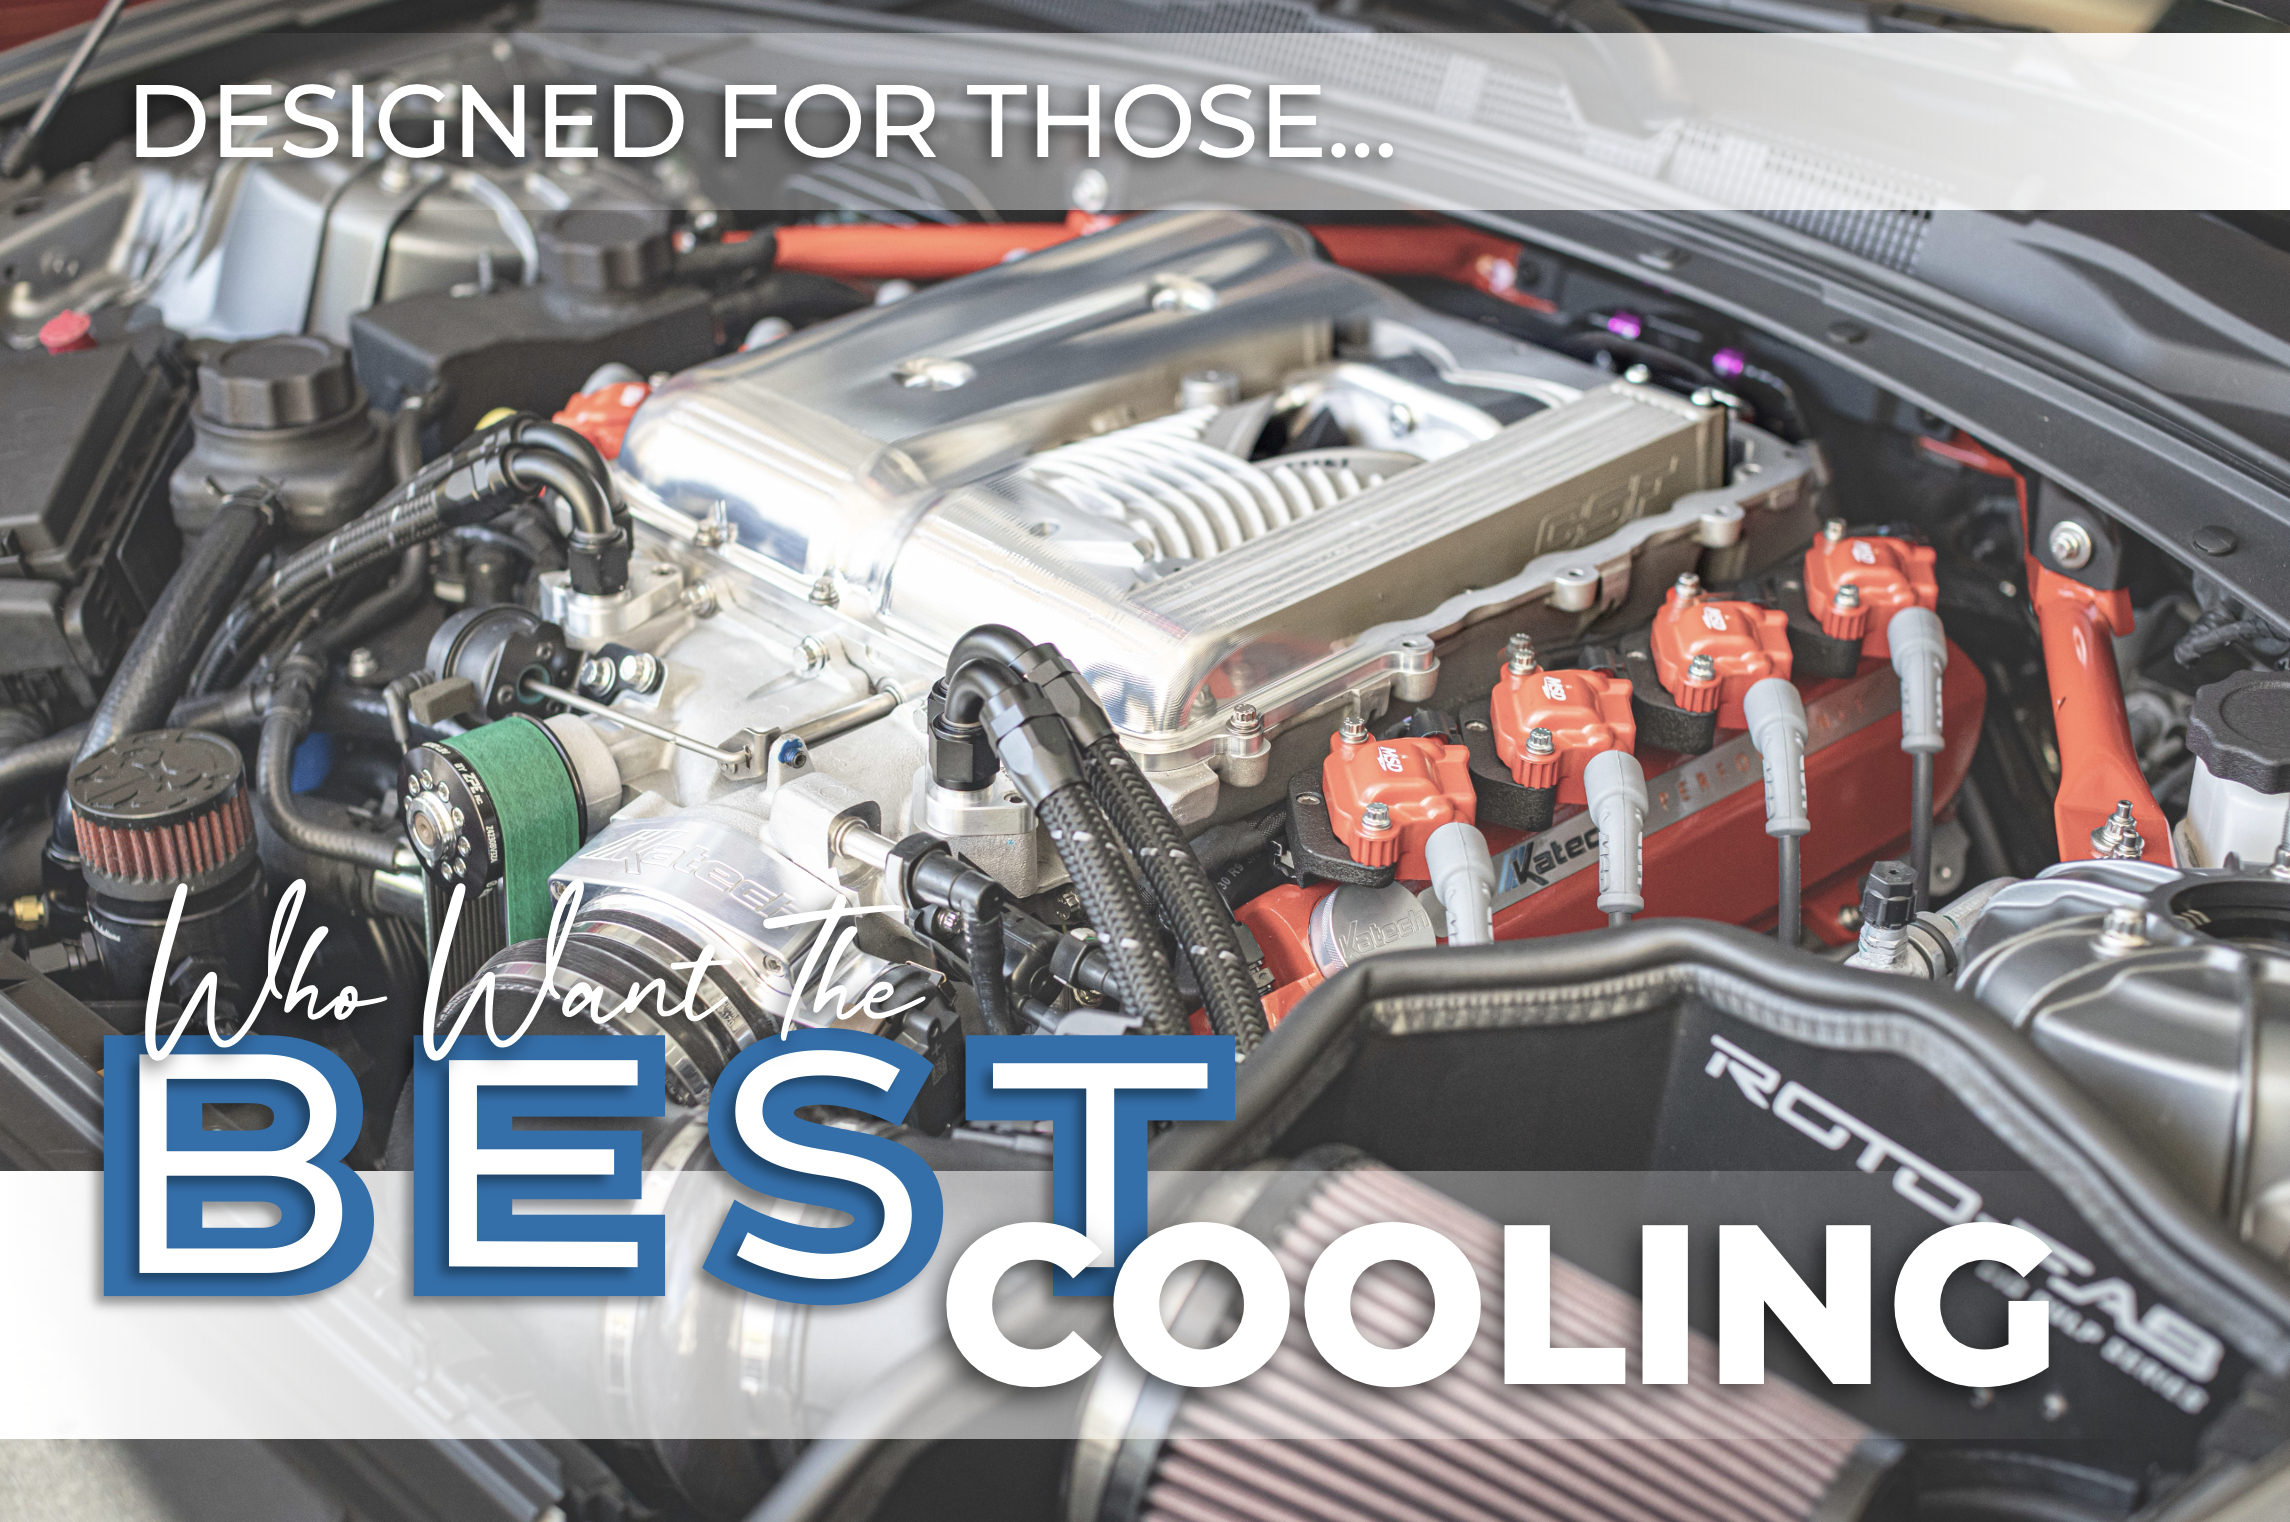
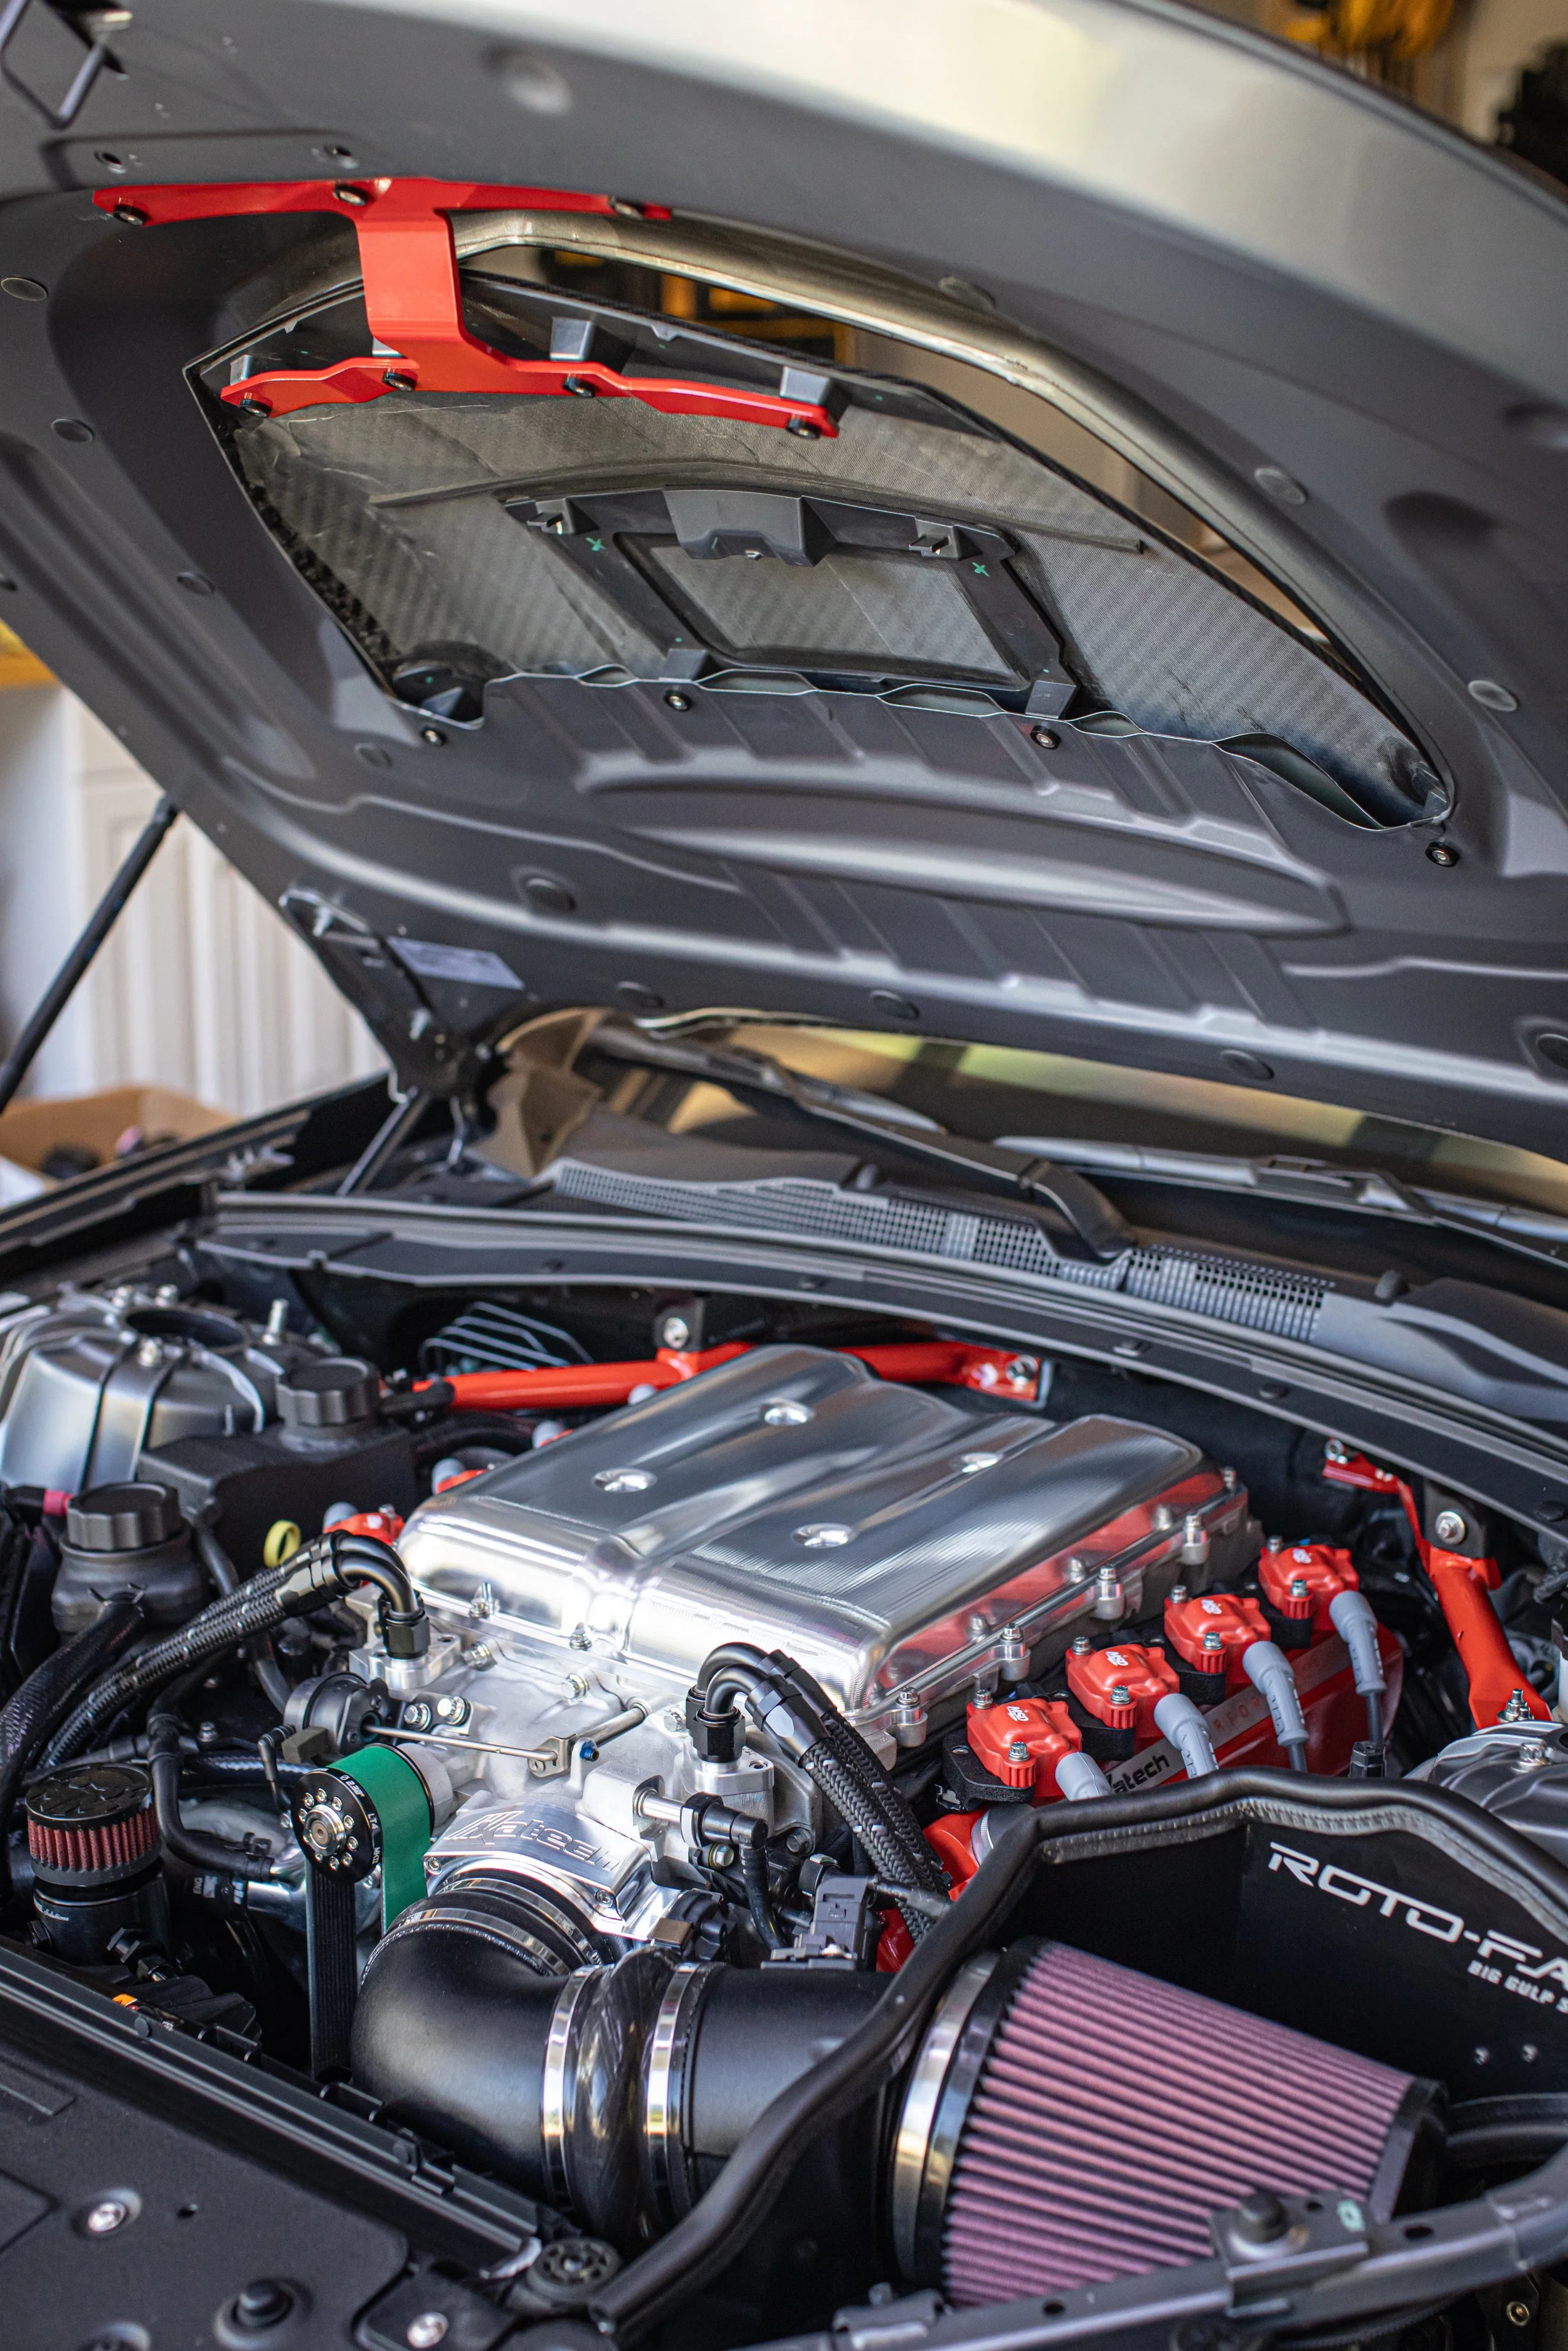
The location of the canister was just as important to us. Our goal was to keep it away from the heat of the headers which eliminated it from the common location on the drivers side strut brace which unfortunately places is directly above the red hot headers, and seems to be counter intuitive to the efforts of keeping this fluid as cool as possible. The other easy location is directly in front of the thermostat, but that is where most of the catch can offerings are used (including my Might Mouse Catch Can). That left us only one small space to try and use. One that required the perfect size reservoir, and a custom 2-piece bracket design in order for it to fit. After several weeks and 6 iterations, the solution was not only complete, it was effective, looked OEM and costs ½ of what some of the other customs solutions cost.
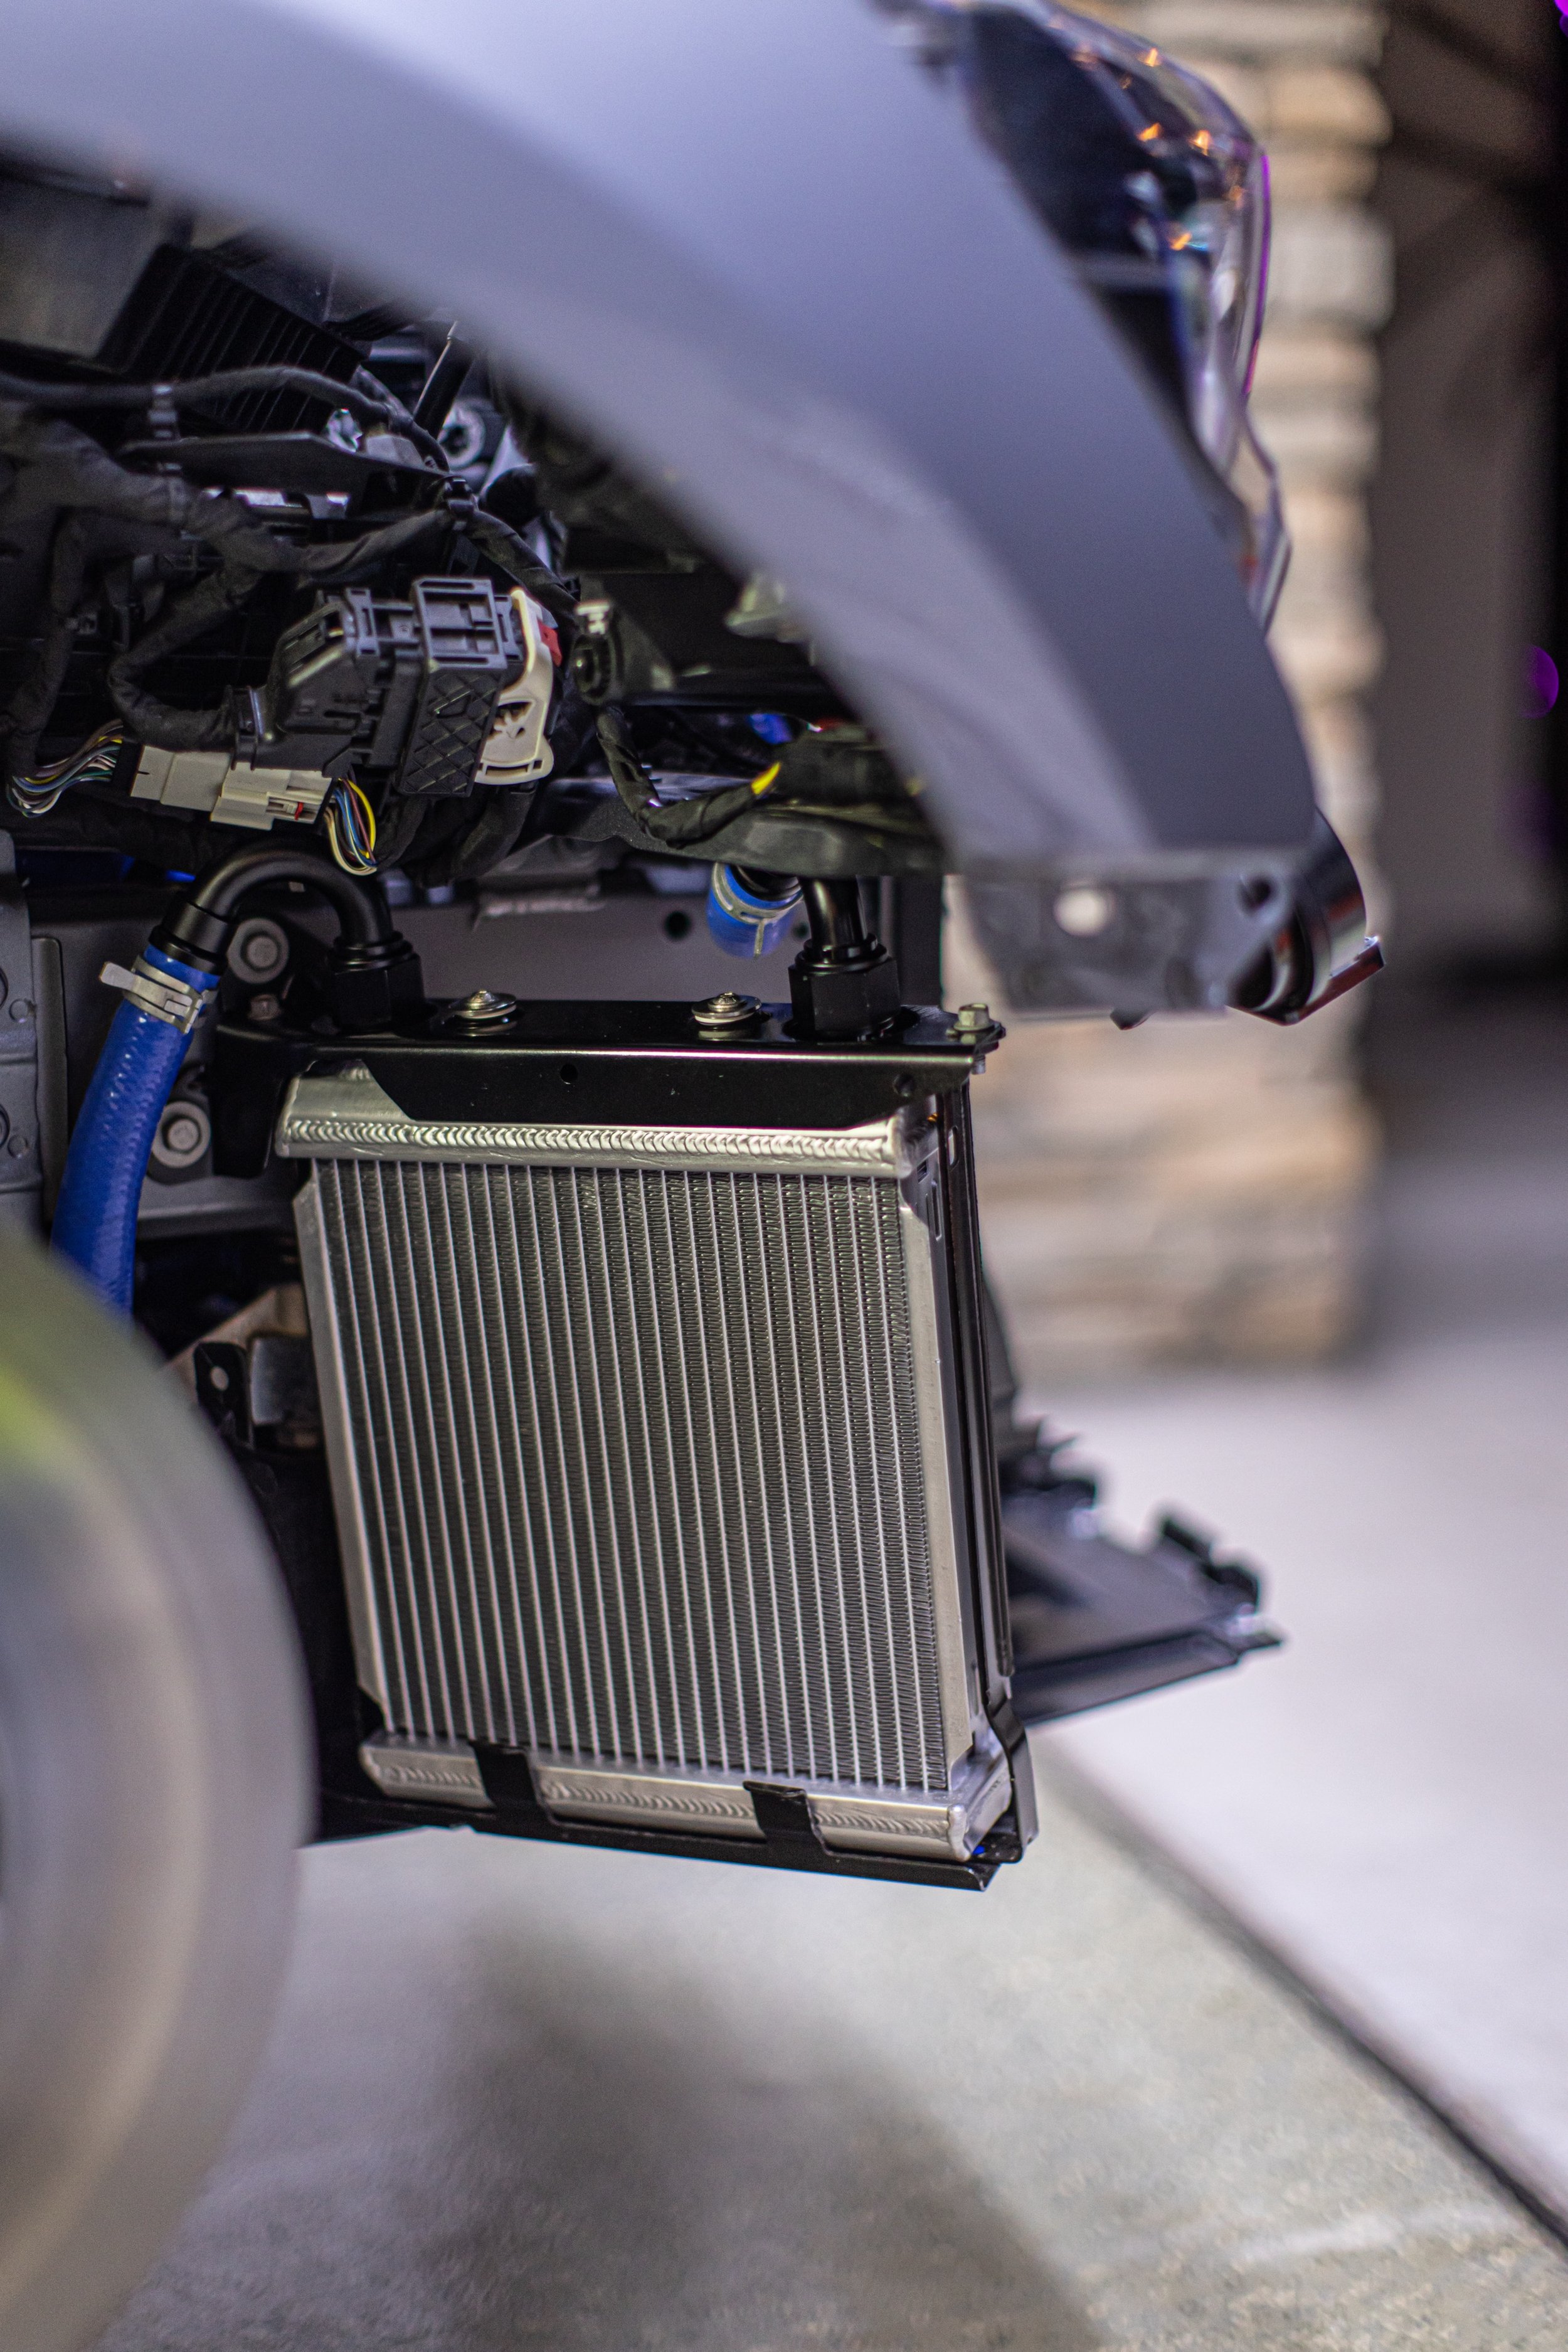
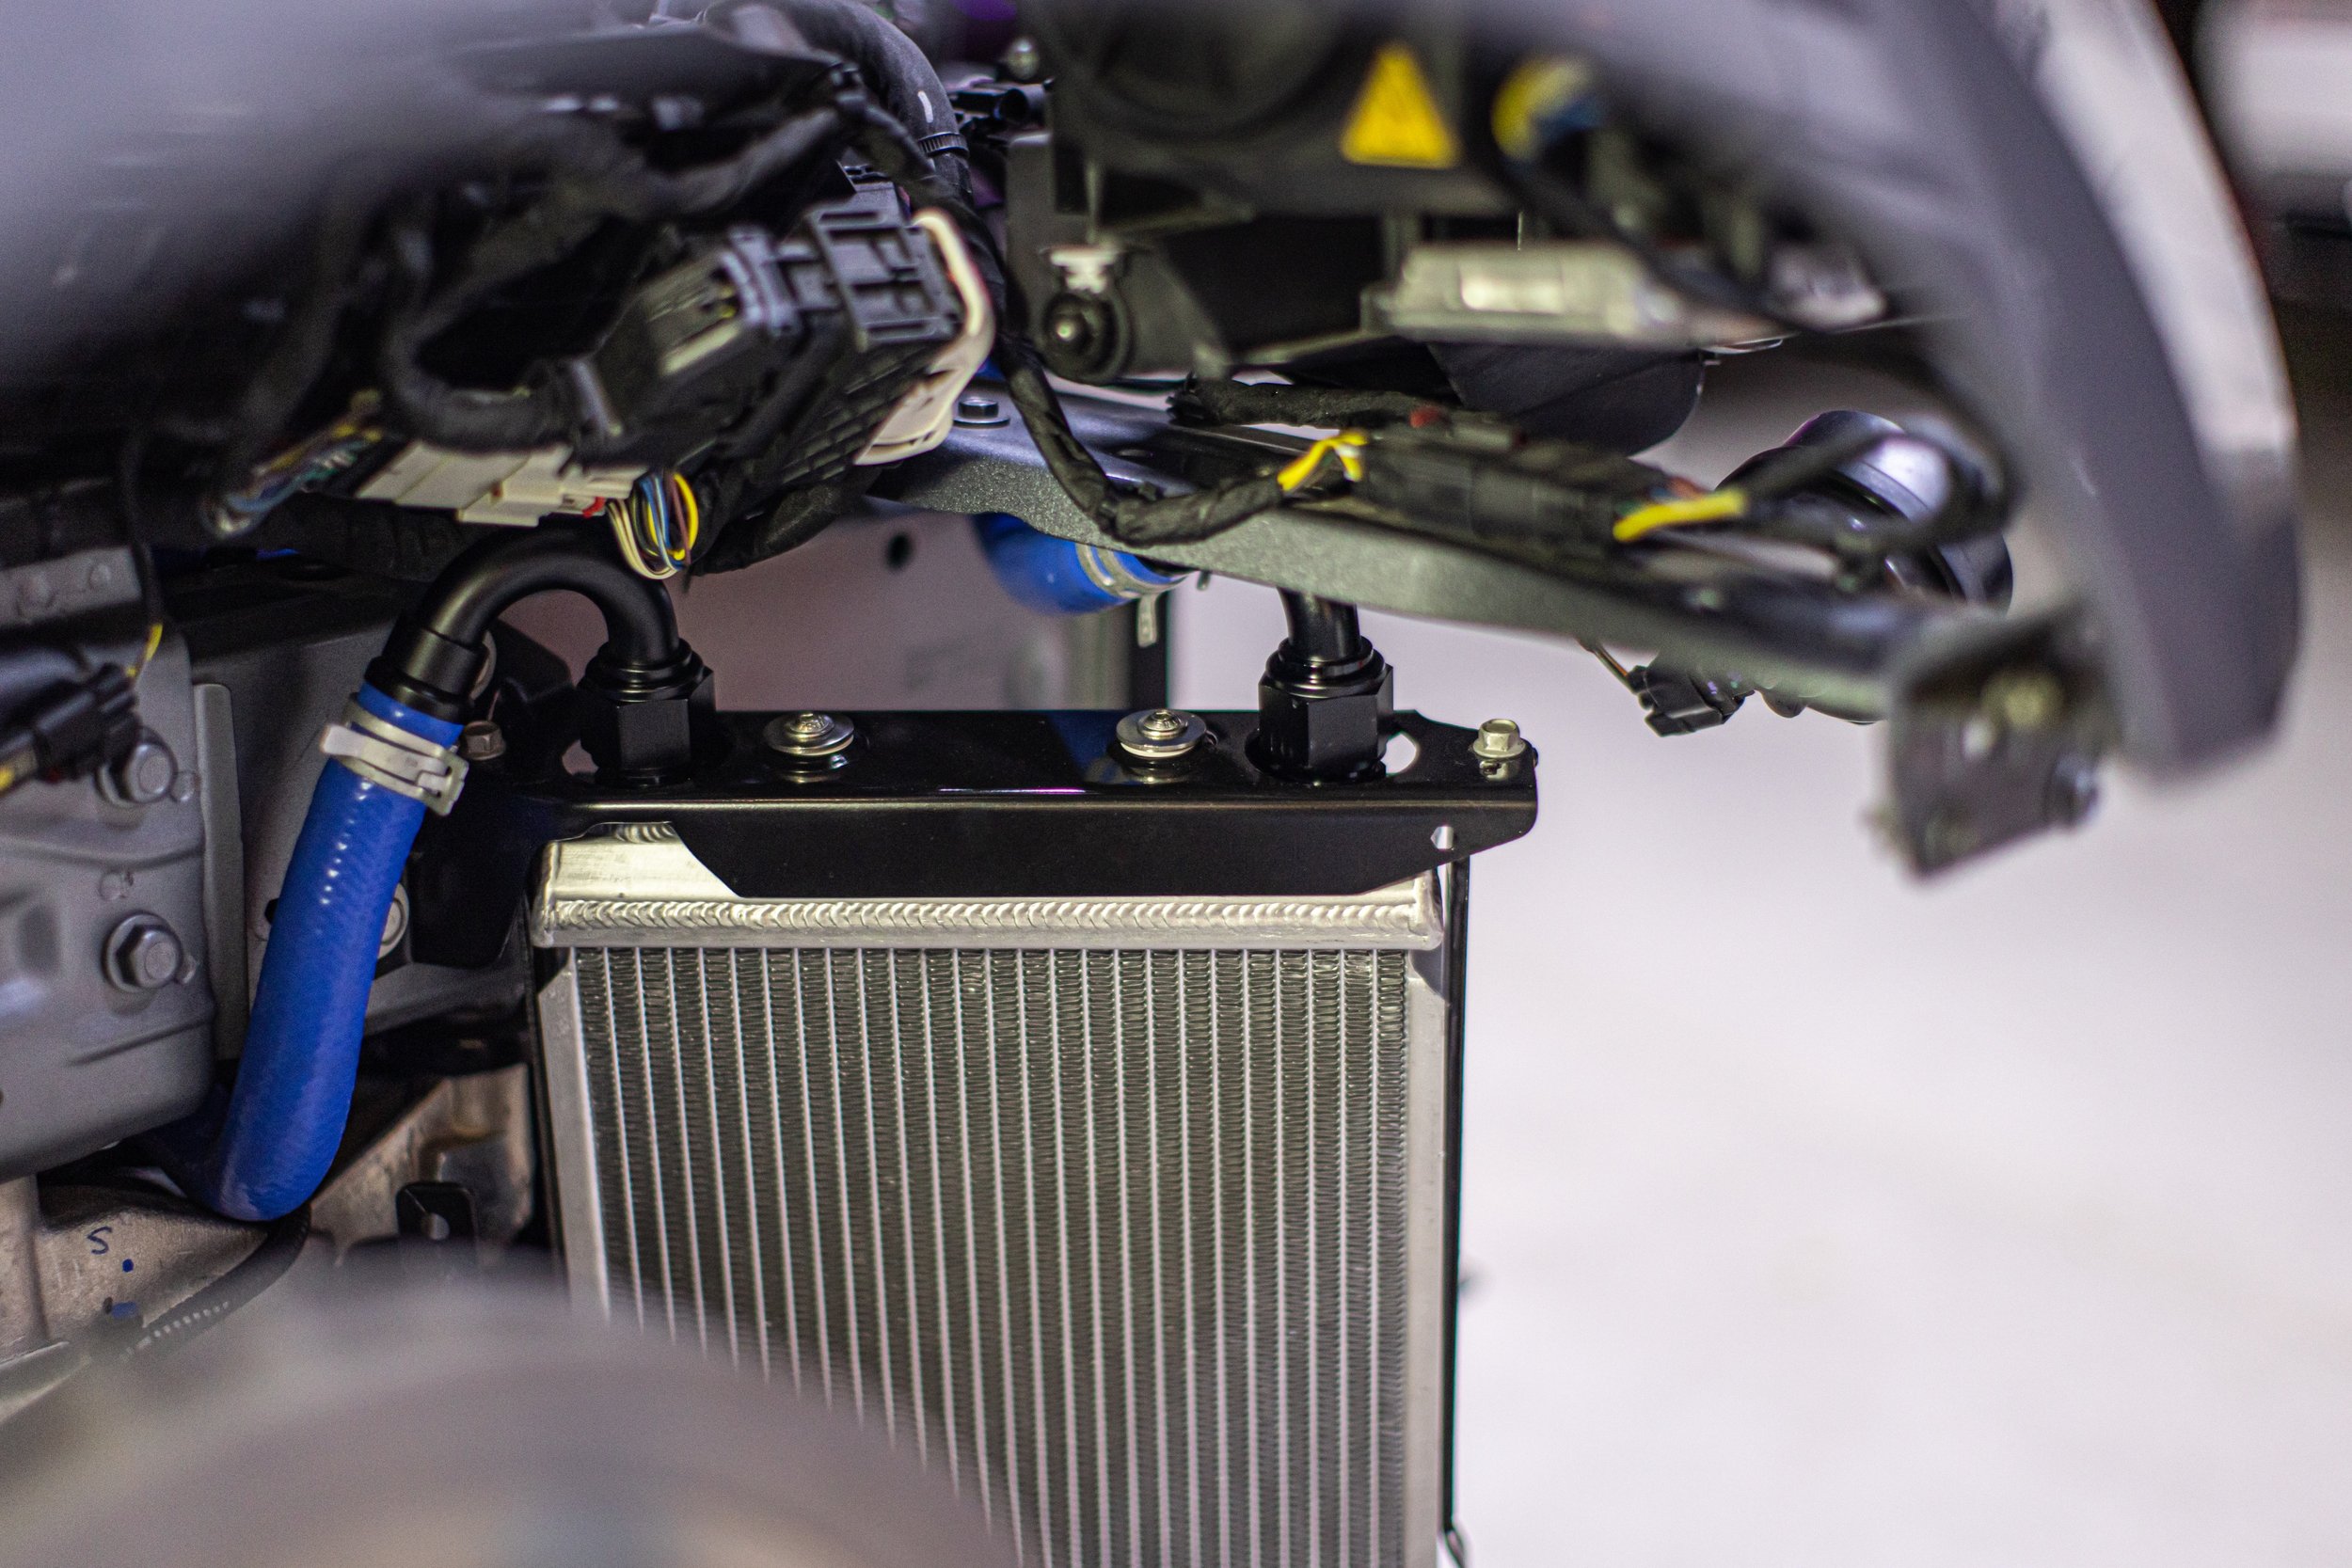
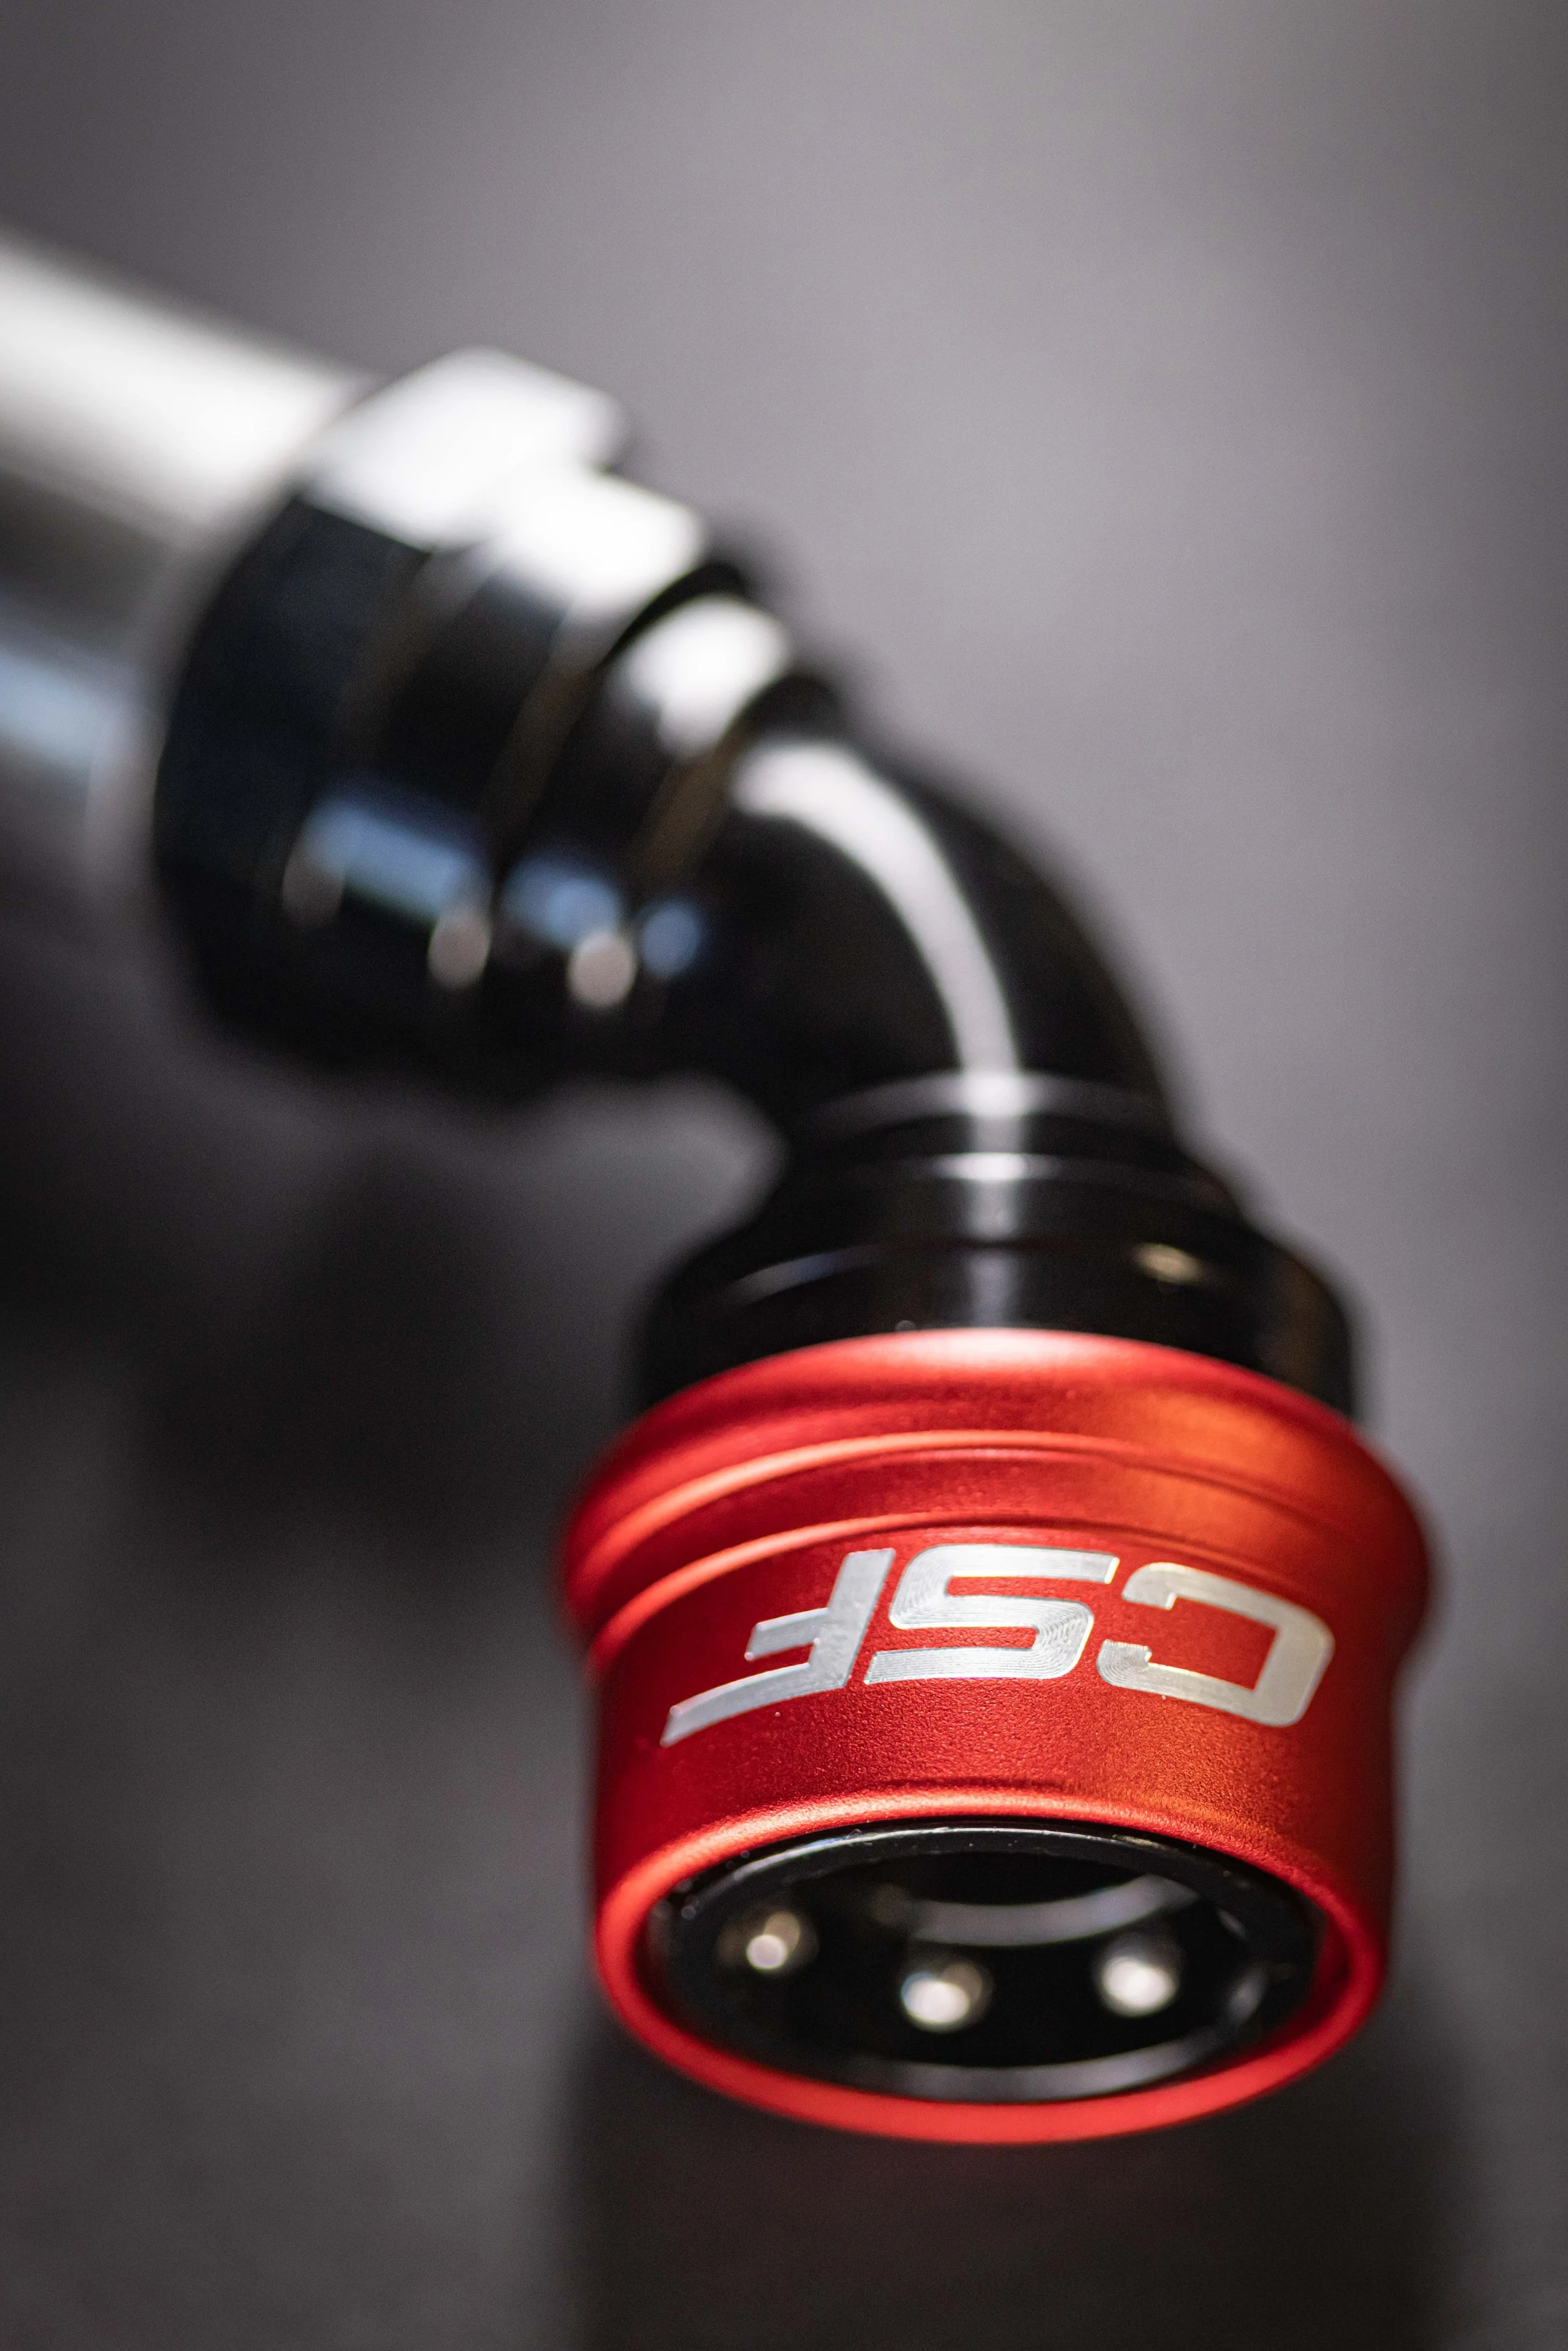
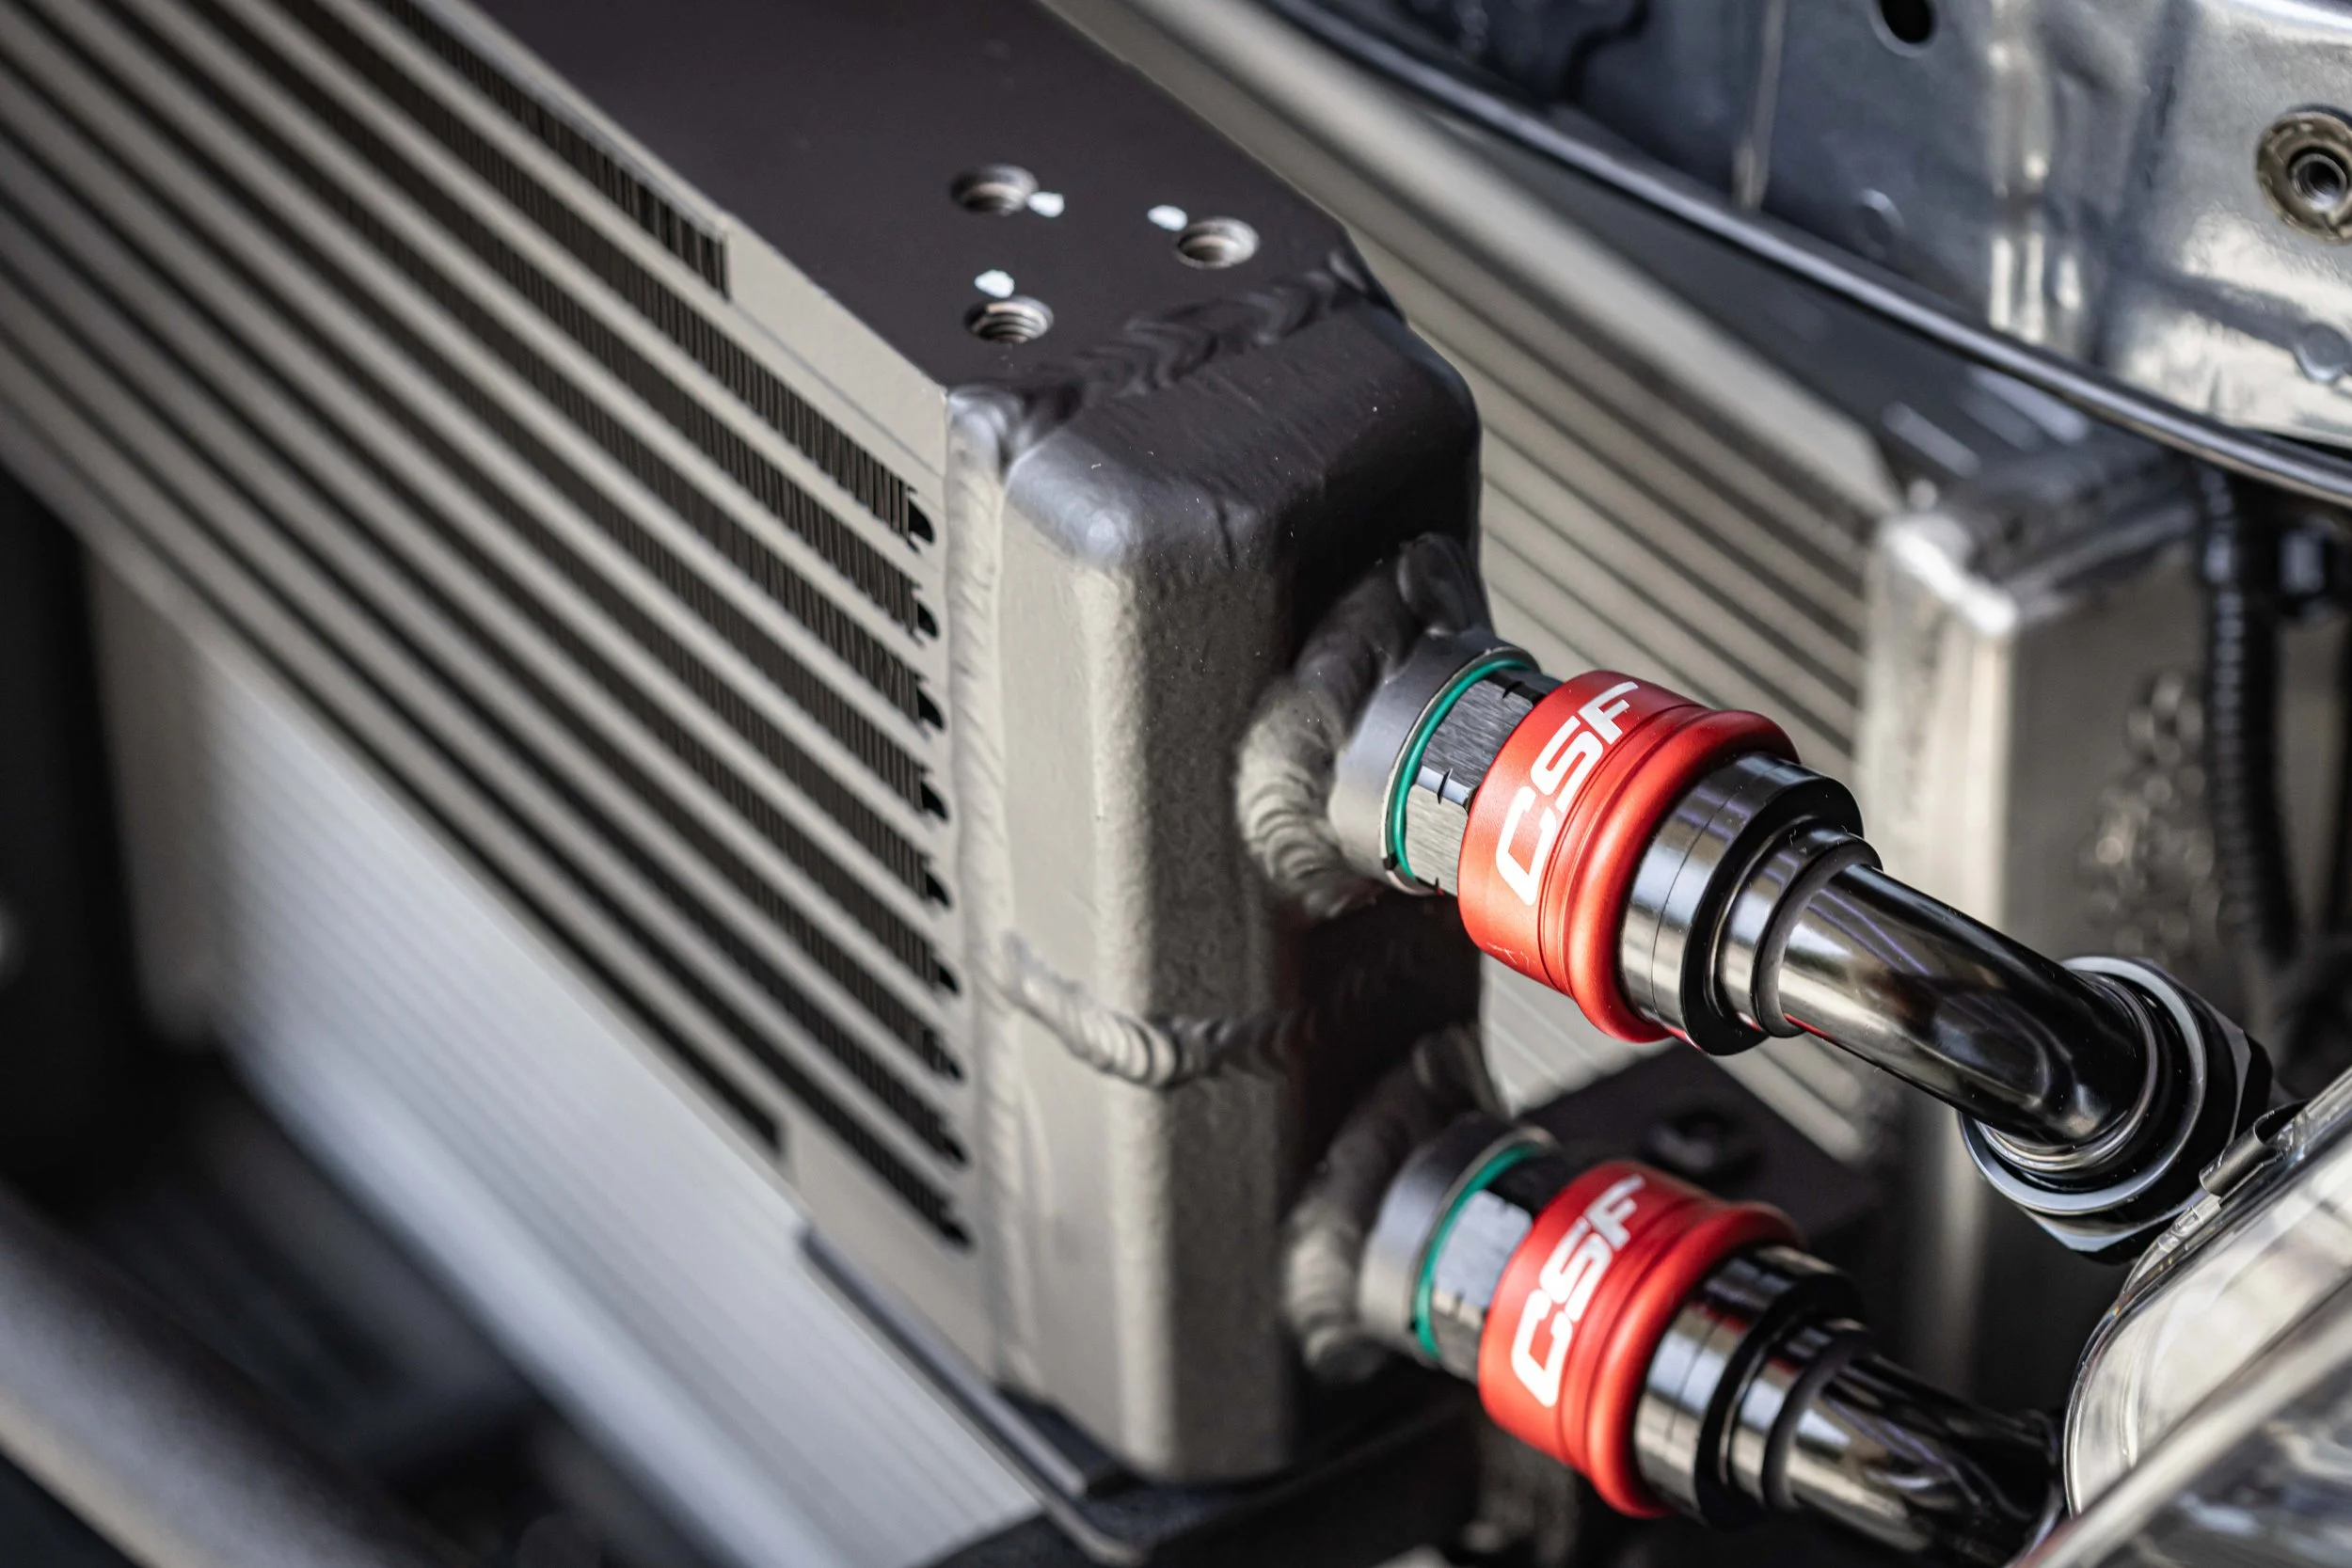
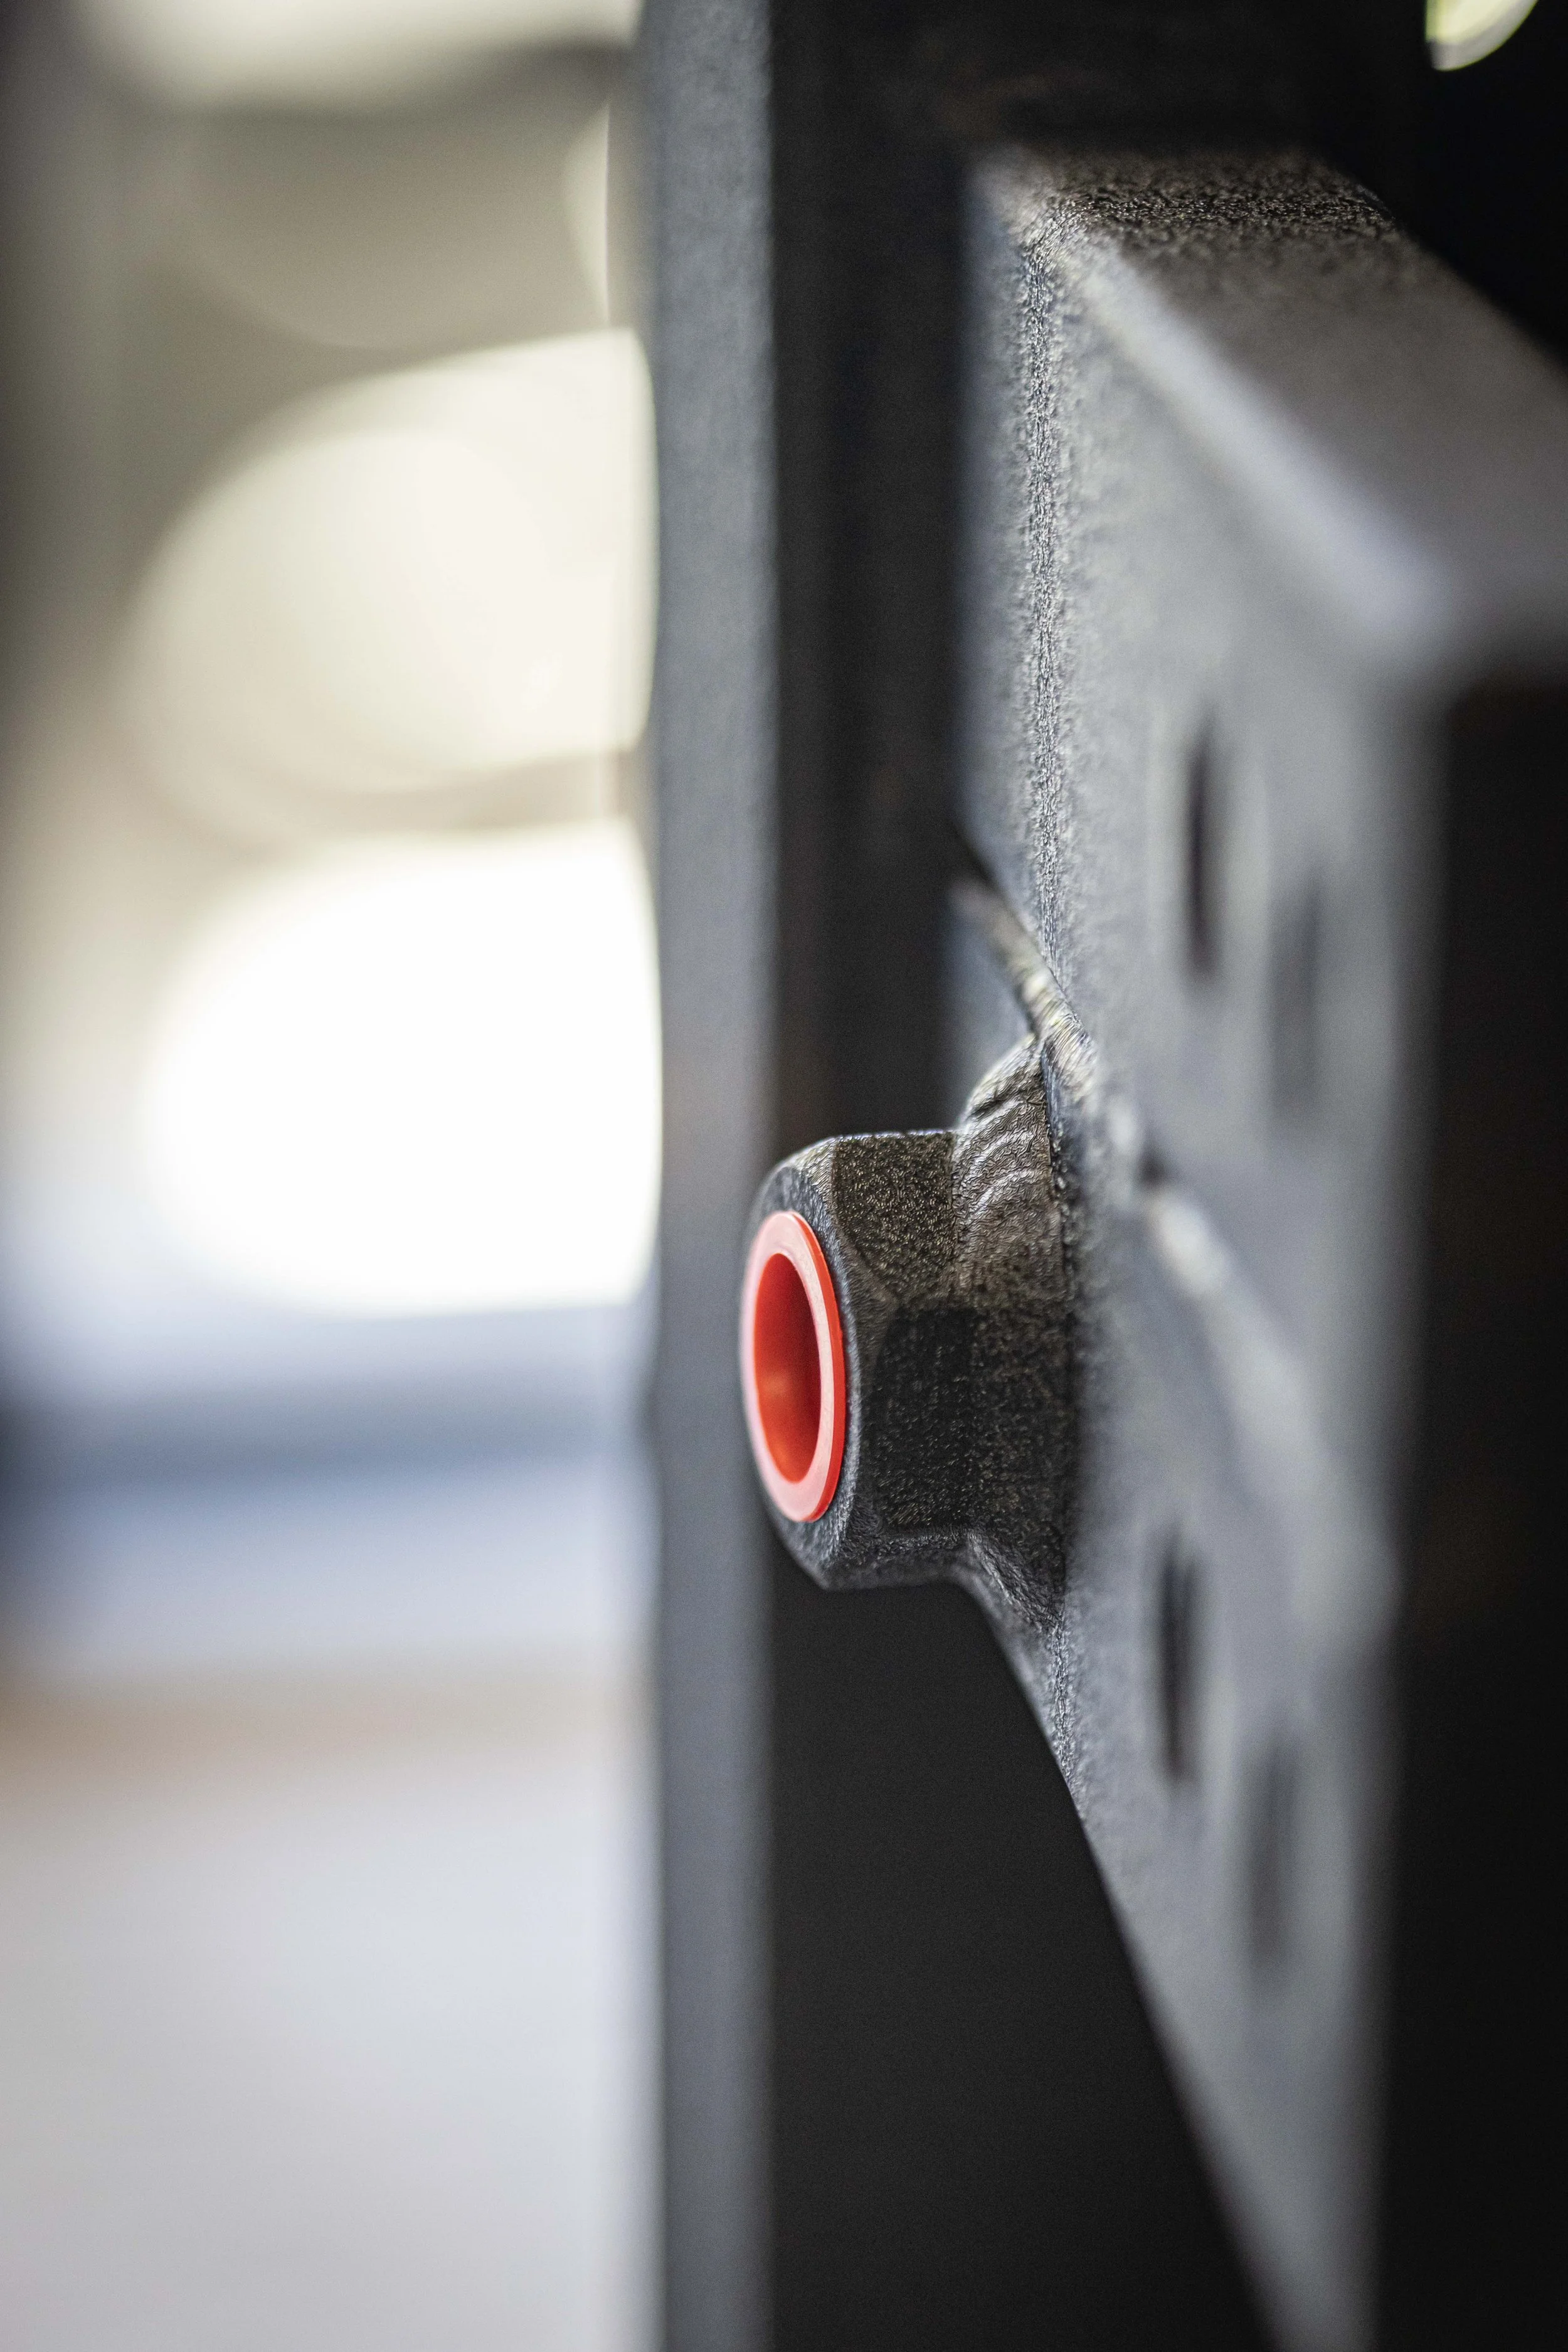
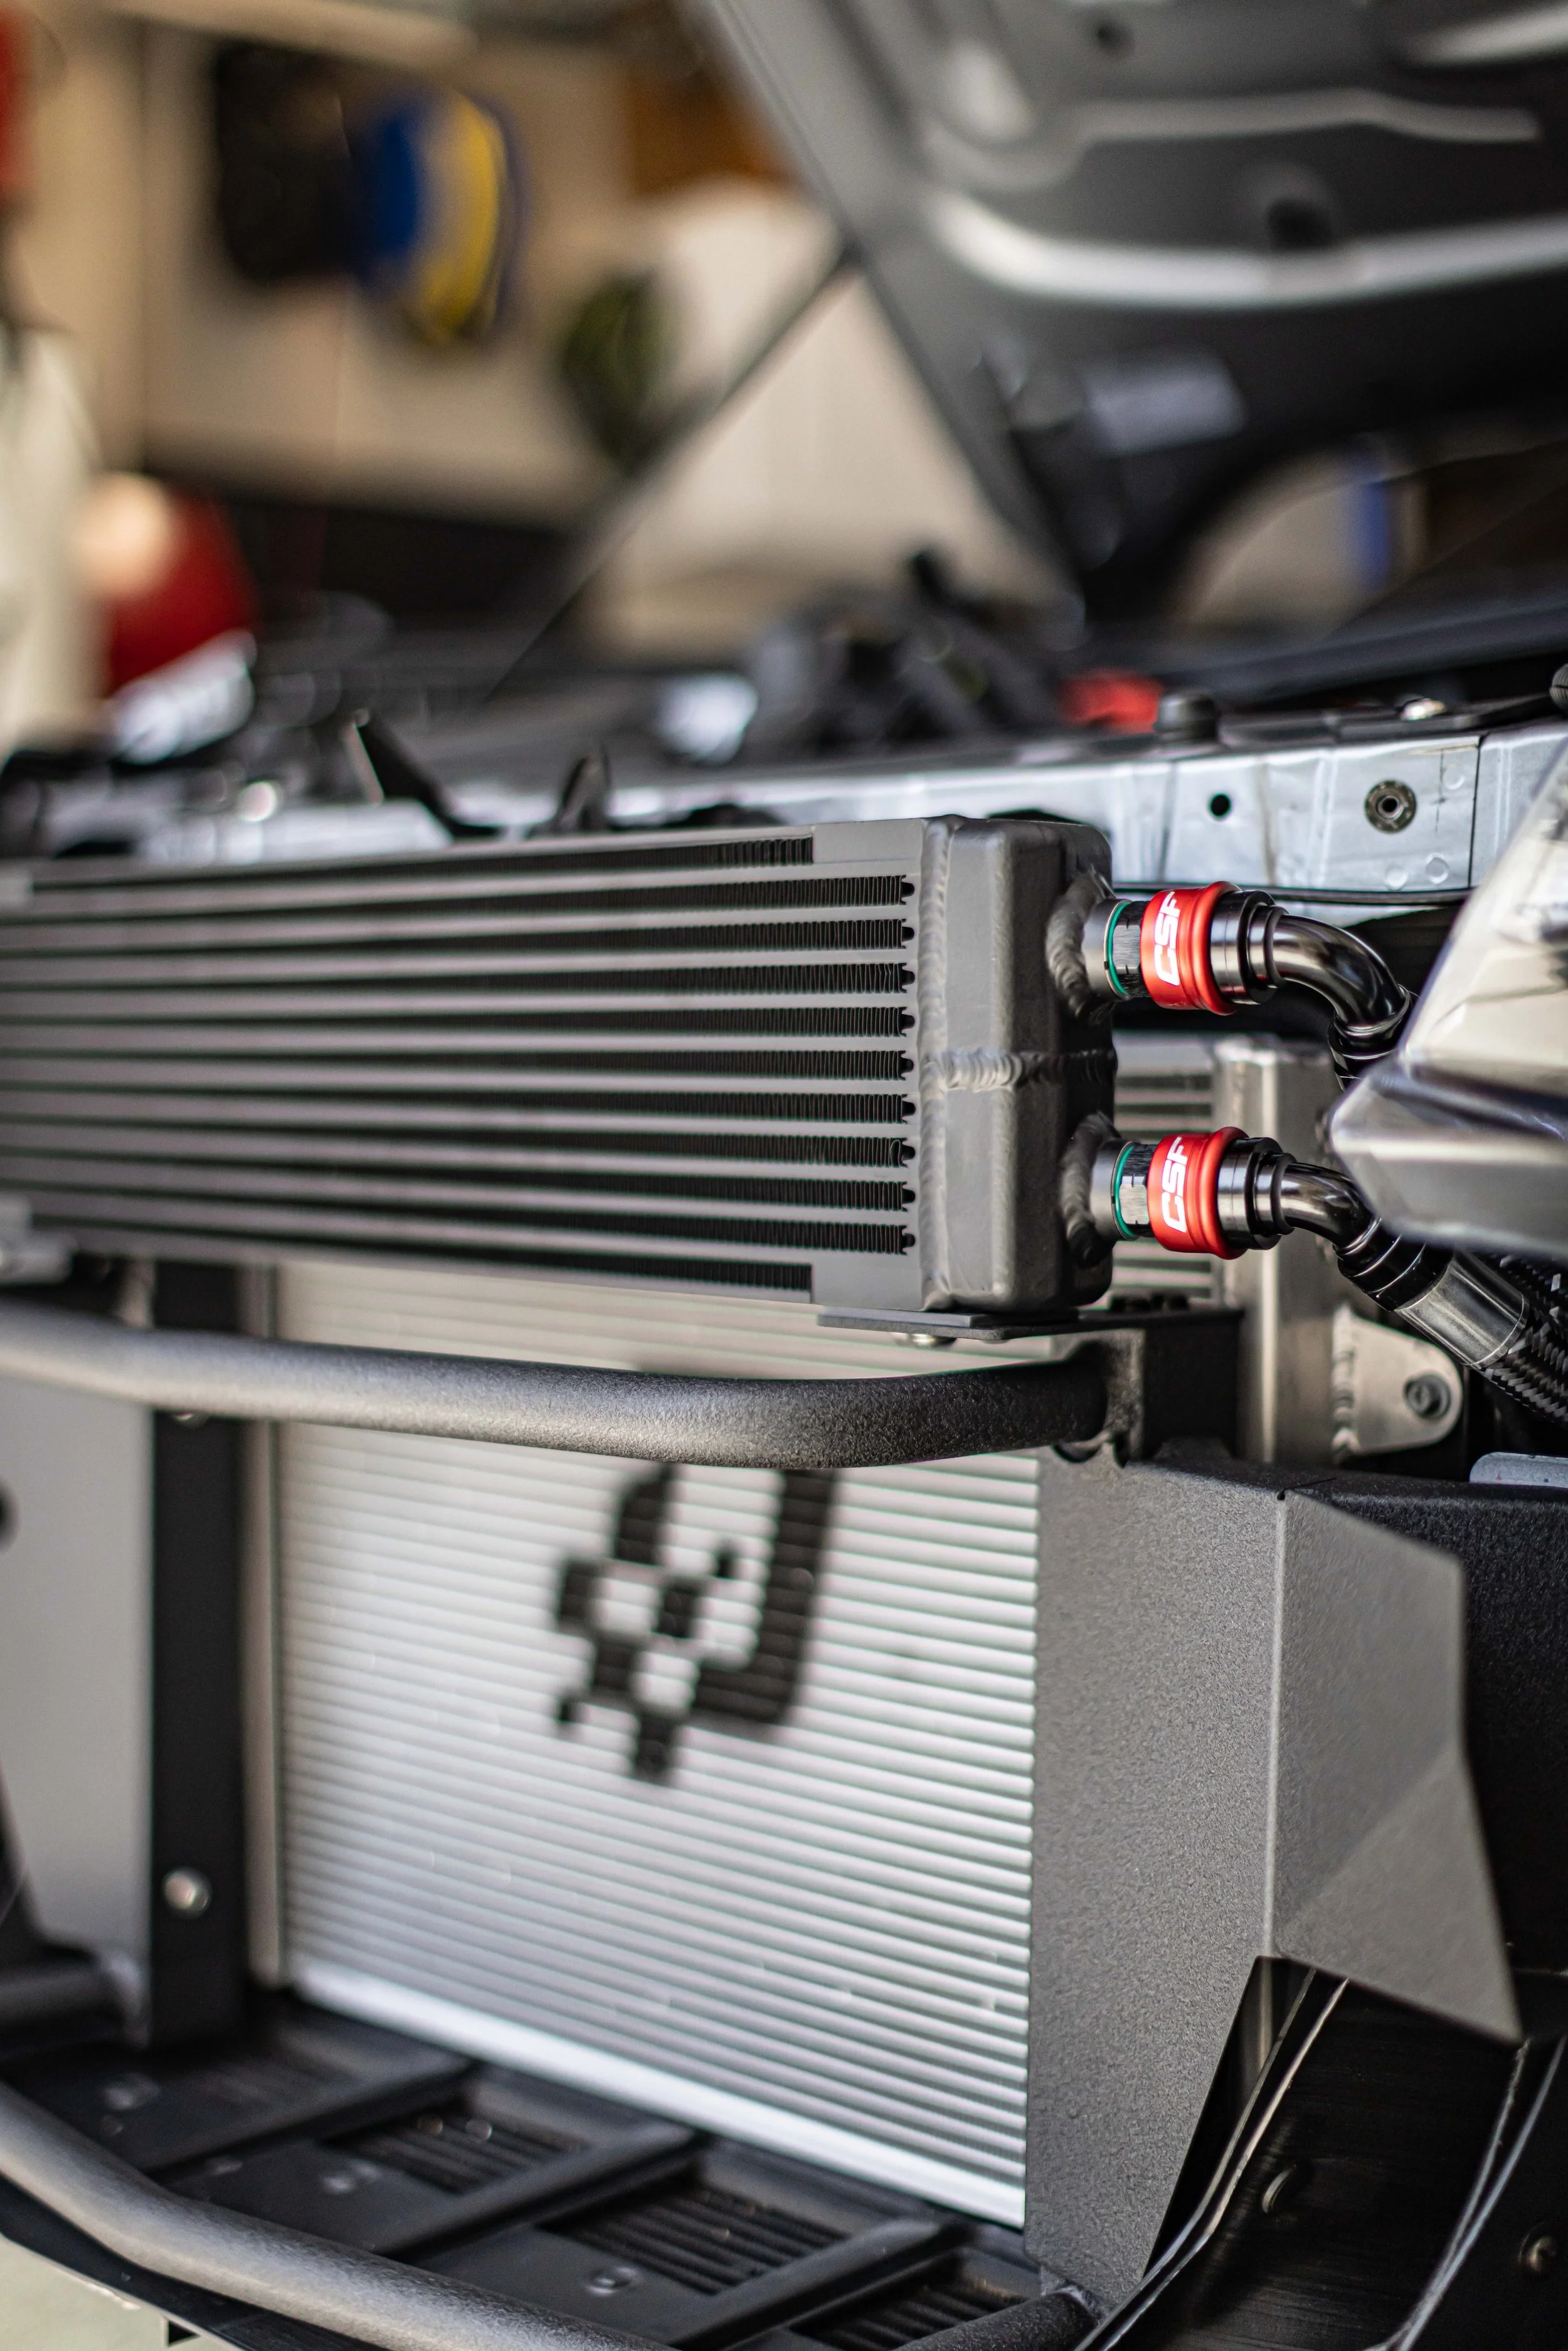
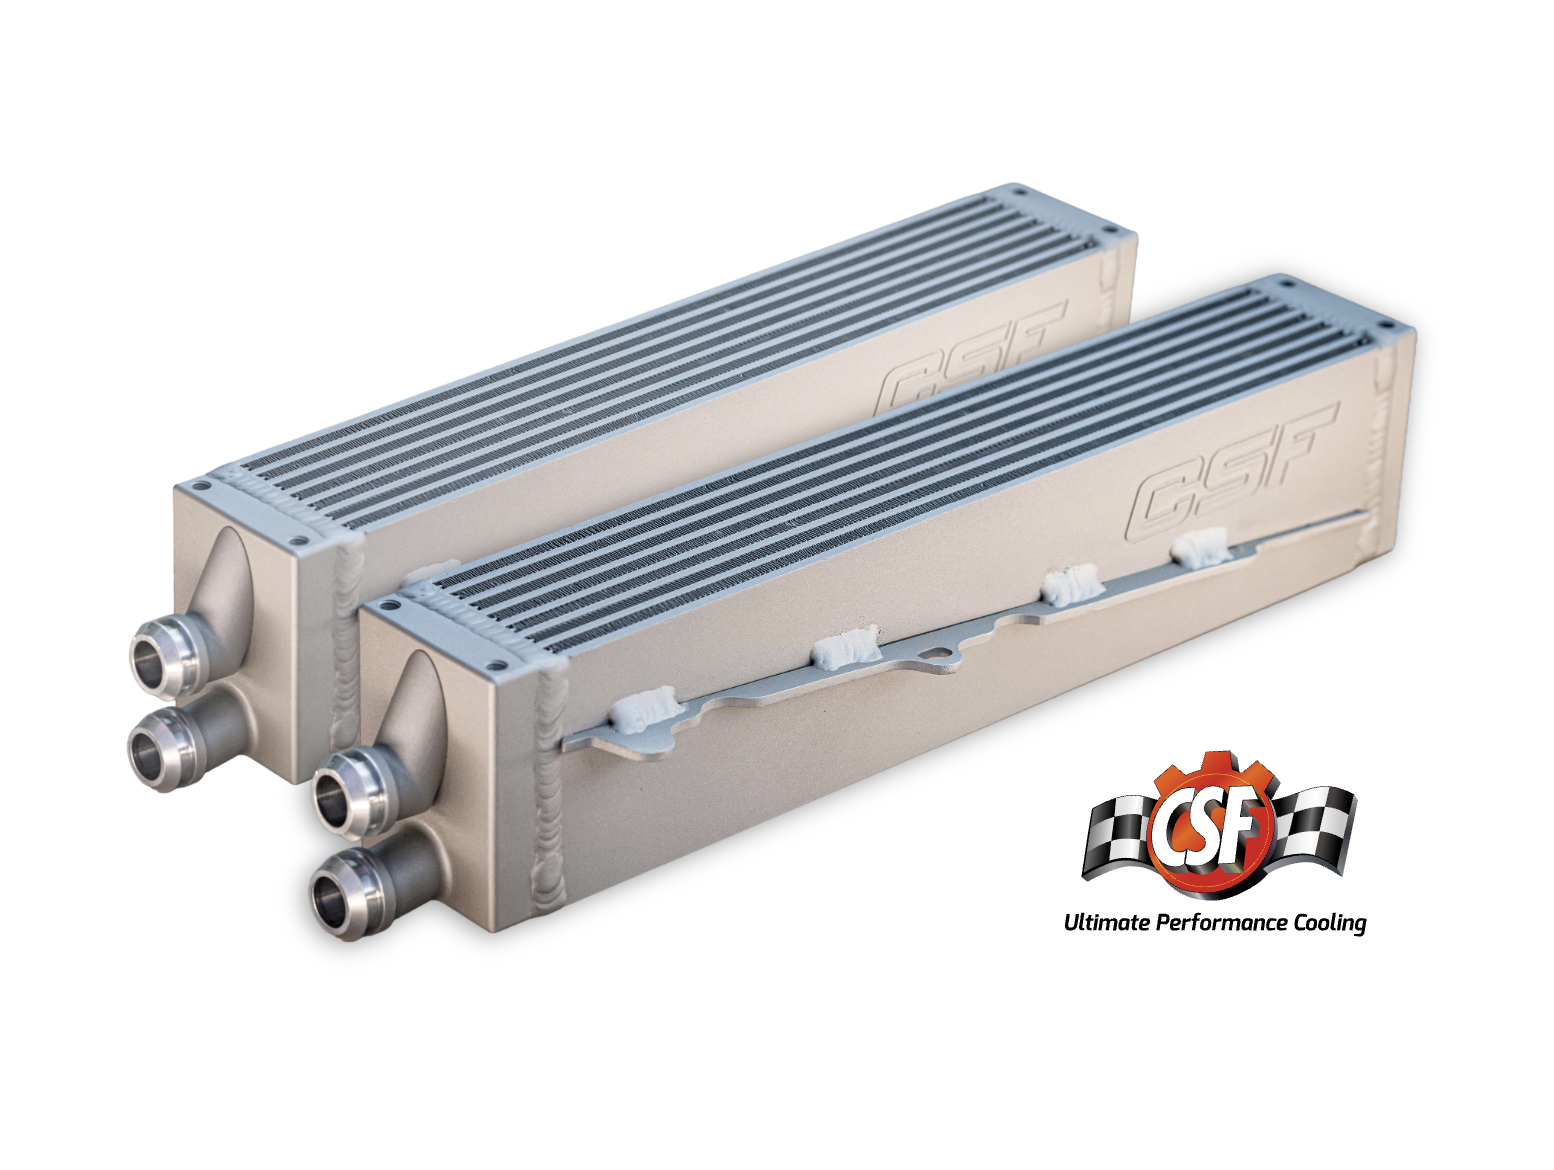
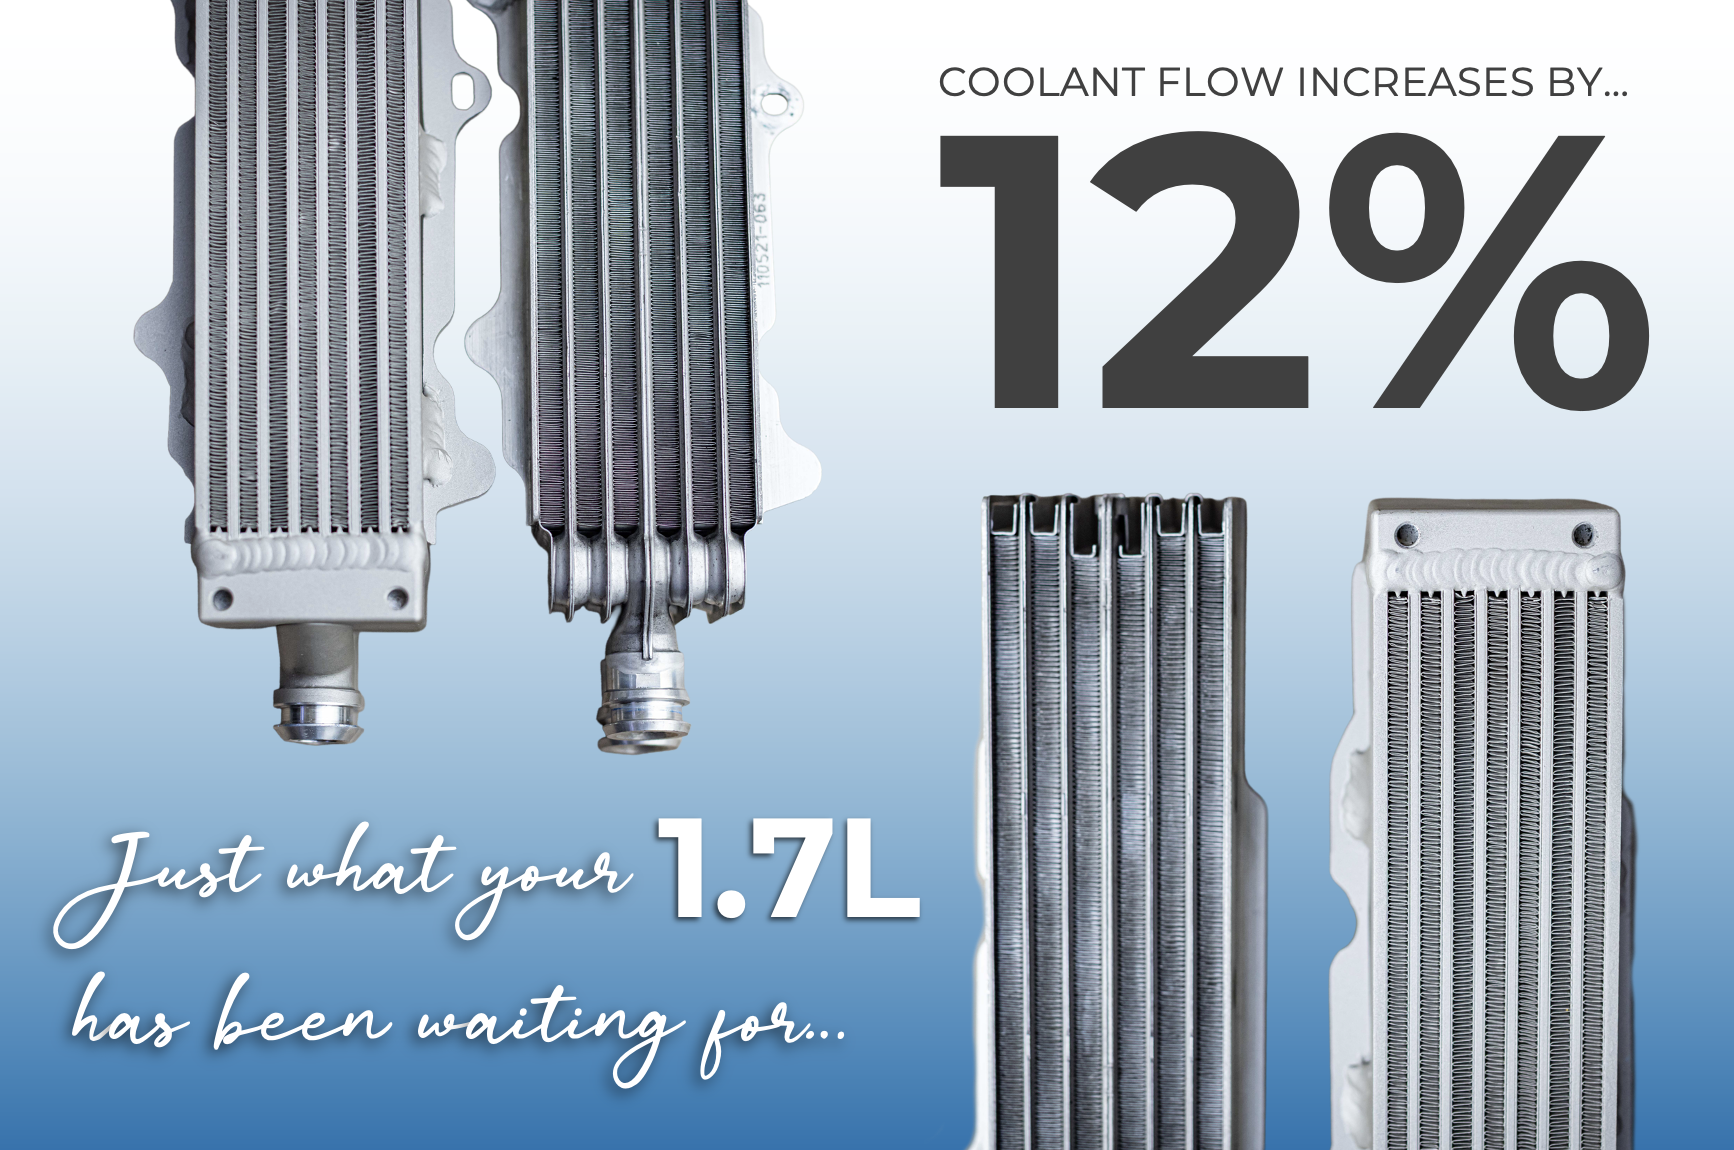
This location now provides the perfect place to add fluid in order to prime the pump, and keeps the canister away from the direct heat of the headers, while providing large 3/4” hose barbs which allows us to upgrade all of the hose in the HX system to 3/4” between the pump, fender tank and heat exchangers for even more flow, and system capacity.
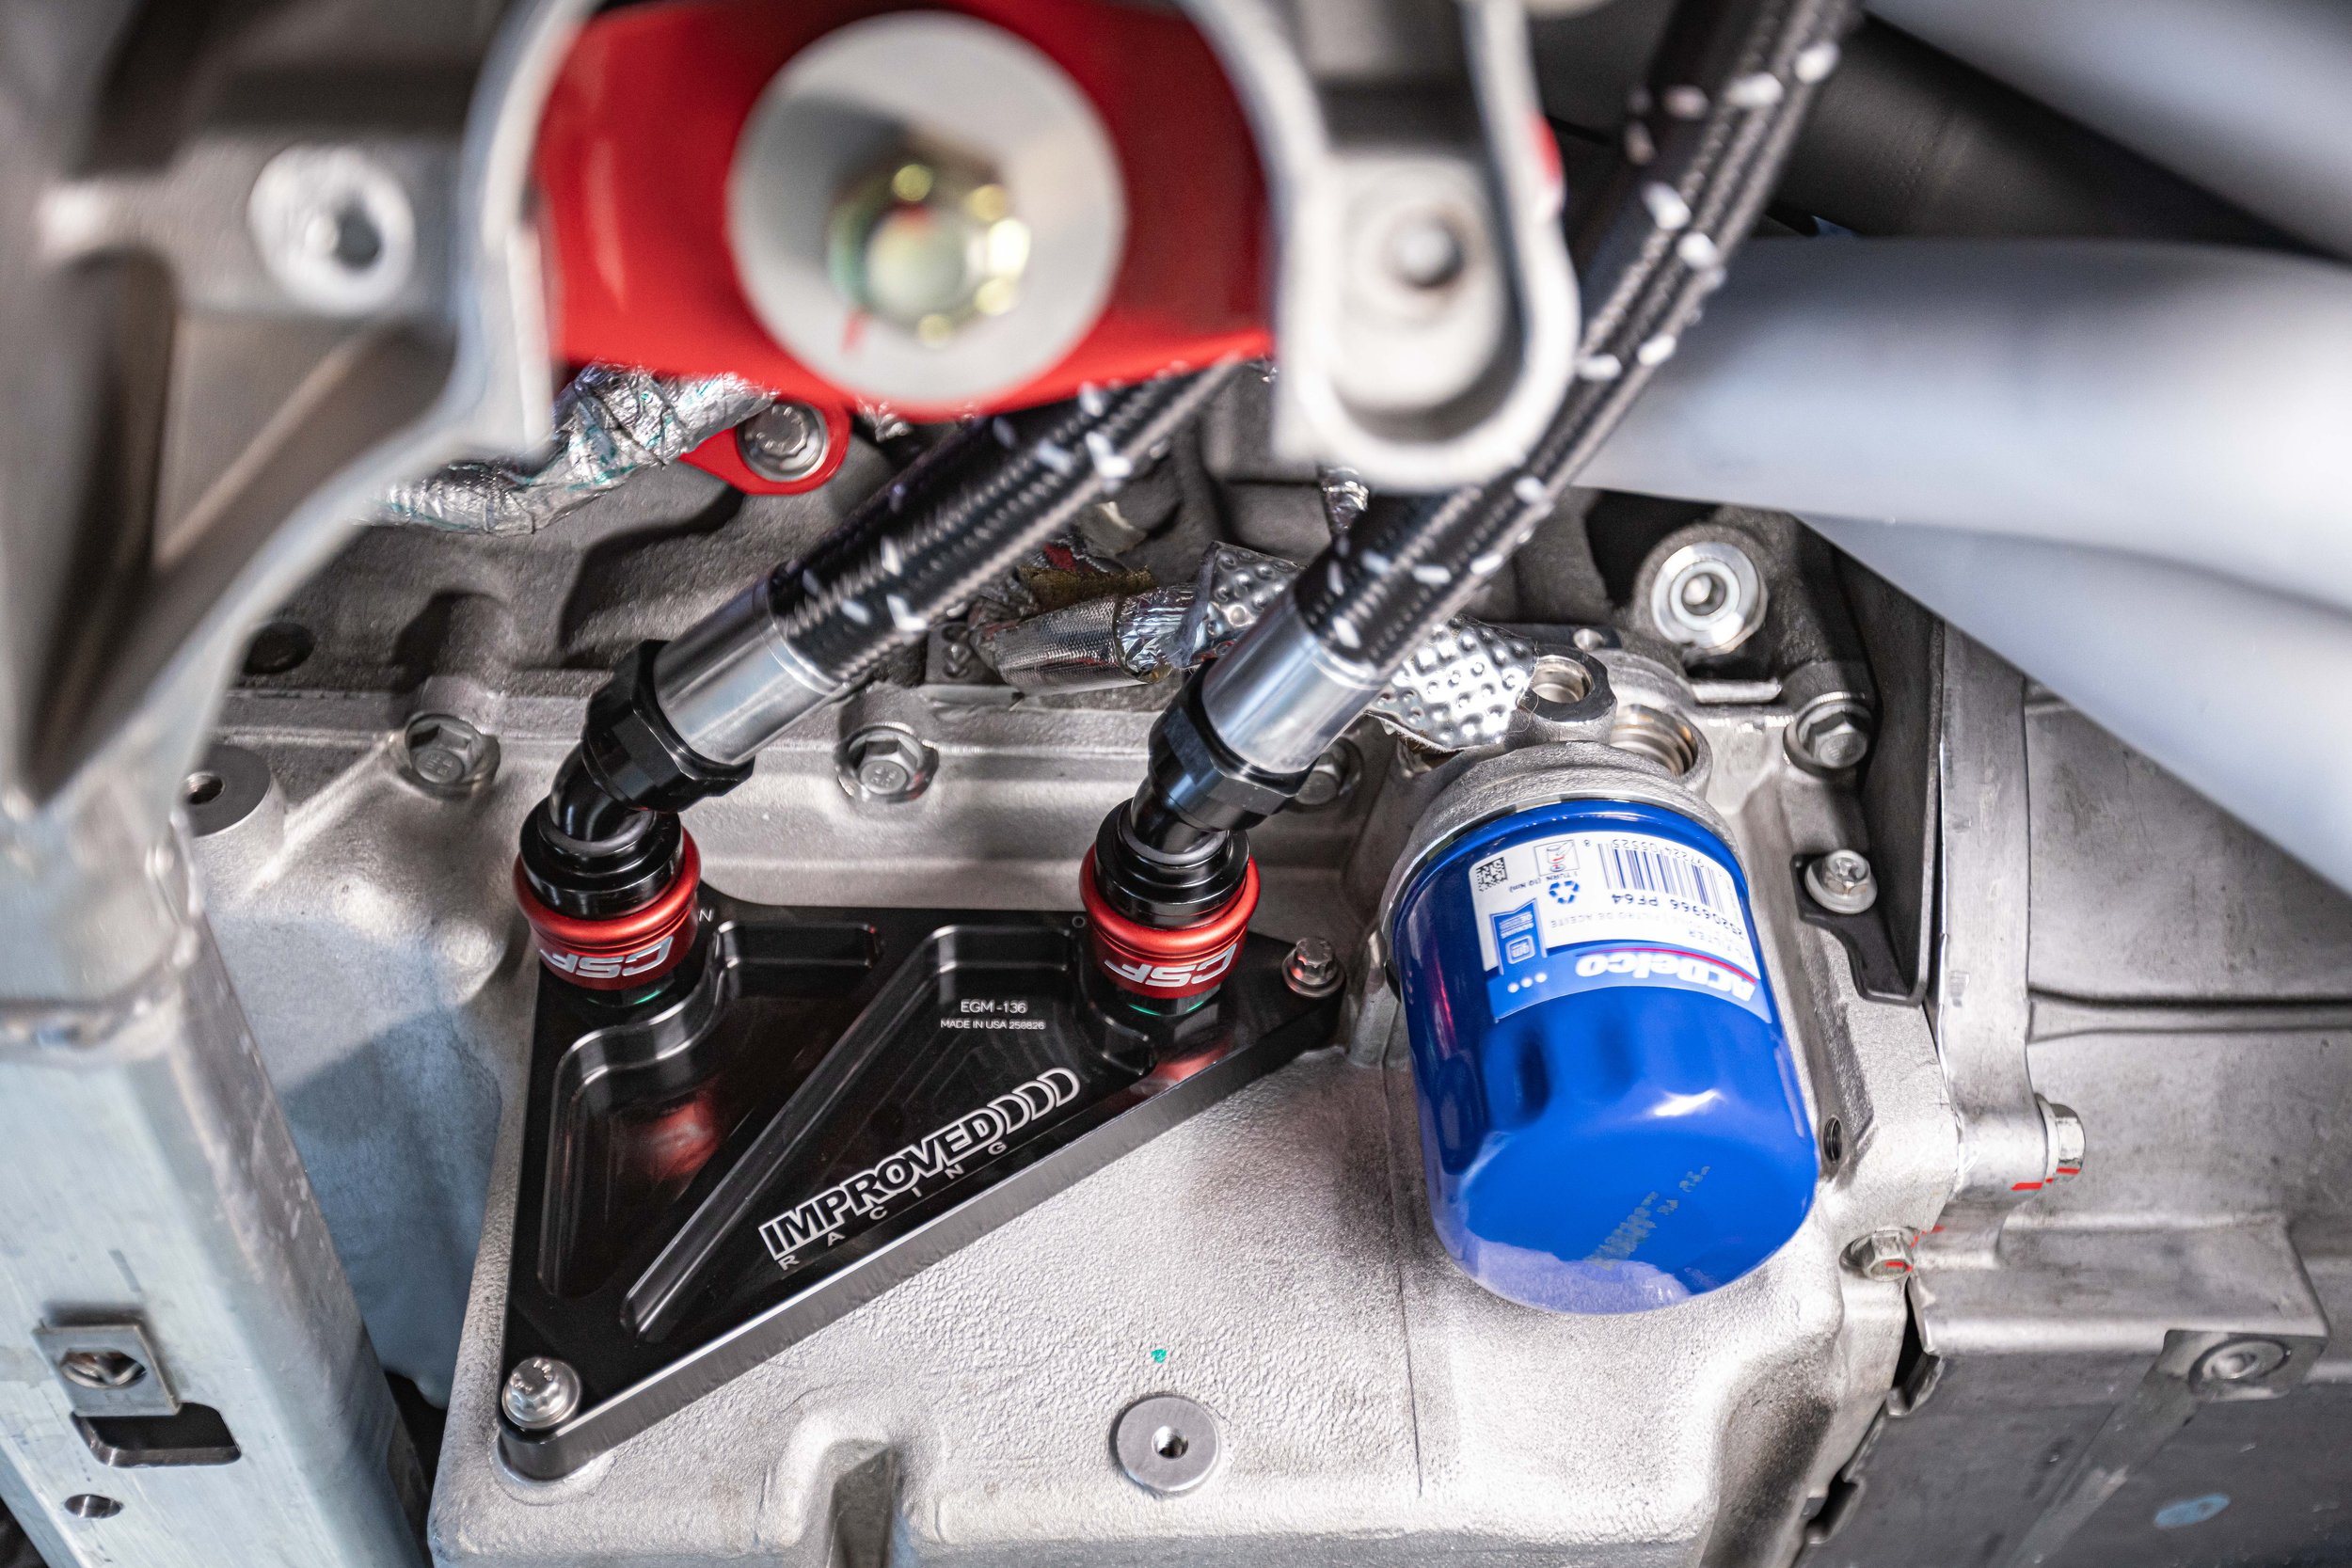
For those who already have or wish to use our DMS fender tank, they do work great in combination, but the fender tank does not replace the need for this reservoir. Although the DMS Fender Tank allows for easy system filling, and easy bleeding due to the “high point” of the system factor, it does not provide a pressure cap, and does not allow for easy pump priming. Which is why we added this perfectly fit Edelbrock coolant reservoir to the system and mounted it in a way that allows for easy pump priming as it’s placed between the ECU and engine coolant tank using a custom bracket that bolts to the top of the OEM PCV box.
When it comes time to fill / prime the system, we always begin filling from the reservoir while keeping the fender tank lid open until the system fills enough to remove all major air pockets, and the coolant reservoir is nearly full, and flowing freely. At that point we tighten the 16psi pressure cap, and allow the system to continue to bleed and burp from the fender tank and pressure relief valve provided for the top of the main front HX. Once the system is bleed and the fender tank is approximately 90% full we cap the fender tank and continue to circulate the system allowing it to build pressure and move any air bubbles to the highest point (the fender tank) After 5 minutes we crack open the tank to allow the air to escape, then cap and repeat a few more times for good measure. Note; once the system is full we do not recommend opening the small reservoirs pressure cap, as it sits below the supercharger bricks and will be full and under pressure. The reservoir is only opened when the system has been emptied and is ready to refill. Periodic fillings should be serviced from the fender tank.
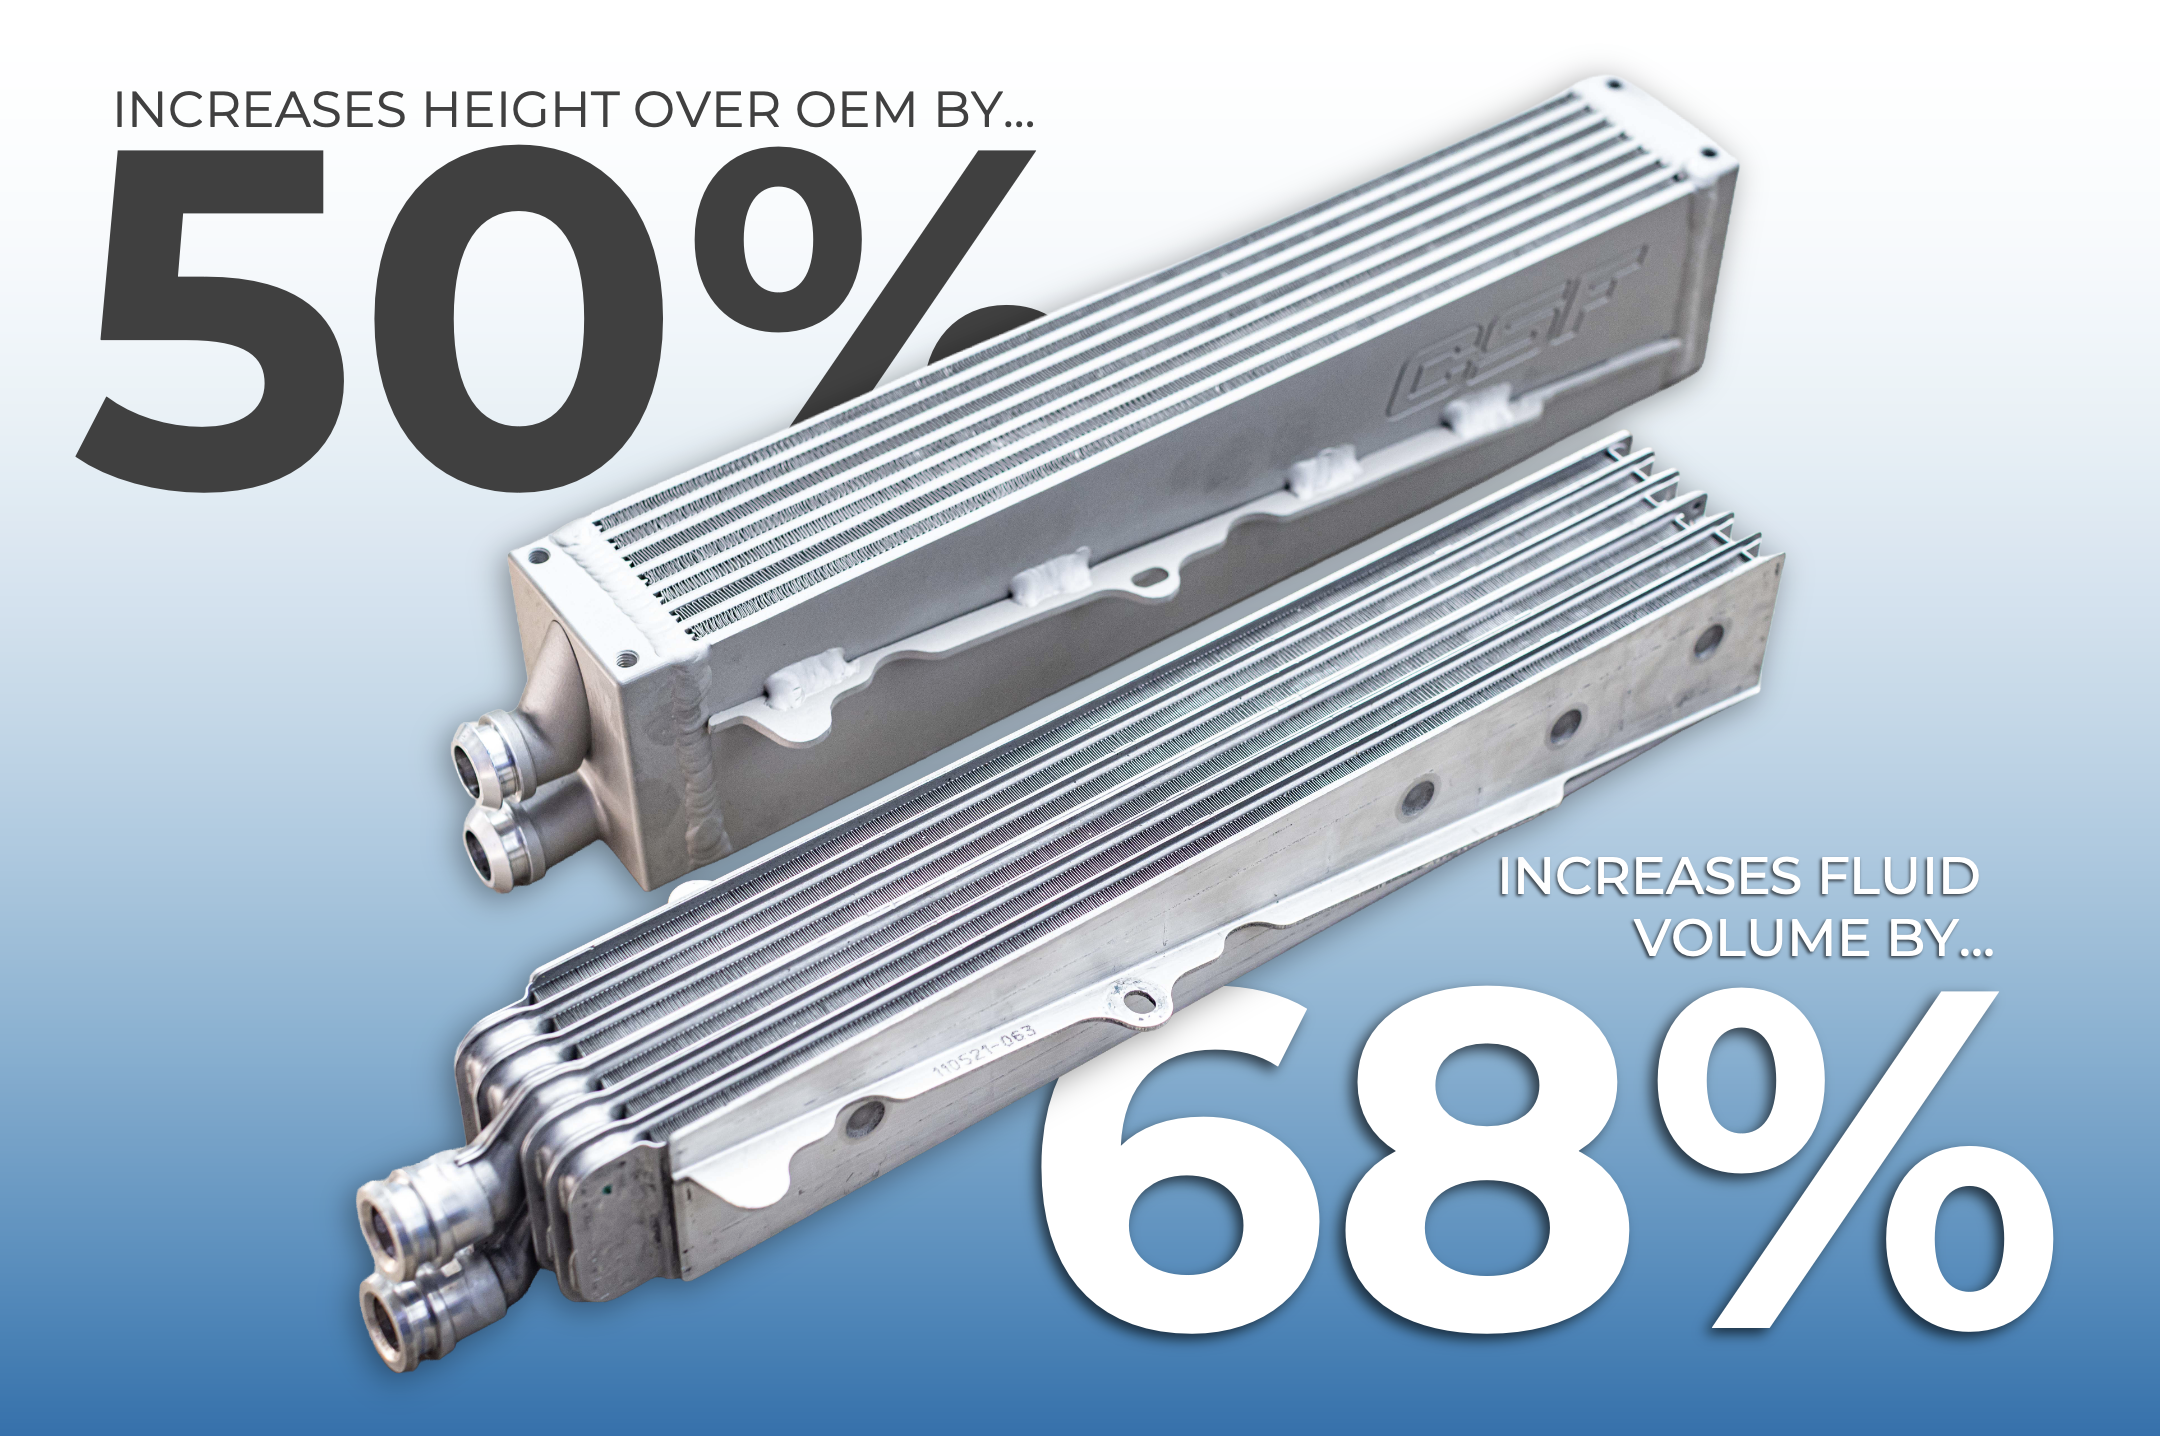
Note; Although this is technically an expansion tank, I am refraining to use that term, as it’s not designed to add capacity, it’s designed to be a filling / pump priming point. That said, this reservoir does holds approx. 3.5 cups or .85L of fluid and includes a bottom center mounted 3/4” barb and a top side inlet 3/4” barb. Expansion tank? not really…
Note: This is a universal kit, that comes with no hose, due to so many variations in everyone’s HX coolant set-up’s. Need help designing your cooling system? Email us at info@griffin-motorsports.com for help. We would love to design you the perfect cooling system for your application. Although this solution pairs best with our Crossover Delete Package, it can be used without it. Also; if you want some of the ugly blue silicone hose or black hose let me know… I keep both in stock :)
Whats in the box:
(1) 16psi Pressure Release Cap
(1) Edelbrock Coolant Reservoir “expansion tank”
(1) Pair of Powder Coated Brackets with SS Hardware
What YOU will need to provide:
Patience and attention to detail for installation... or, someone like that, who you trust with your beloved, adorned, magnificent, earth shaking, alarm sounding Camaro ZL1.
Additional connectors, 3/4” silicone hoses and fittings will be needed depending on your existing system design or preferred routing path. Email us at info@griffin-motorsports.com for help. We would love to design you the perfect cooling system for your application.
More 50/50 coolant. Some nice hose pinch clamps are not required, but a good addition for peace of mind.
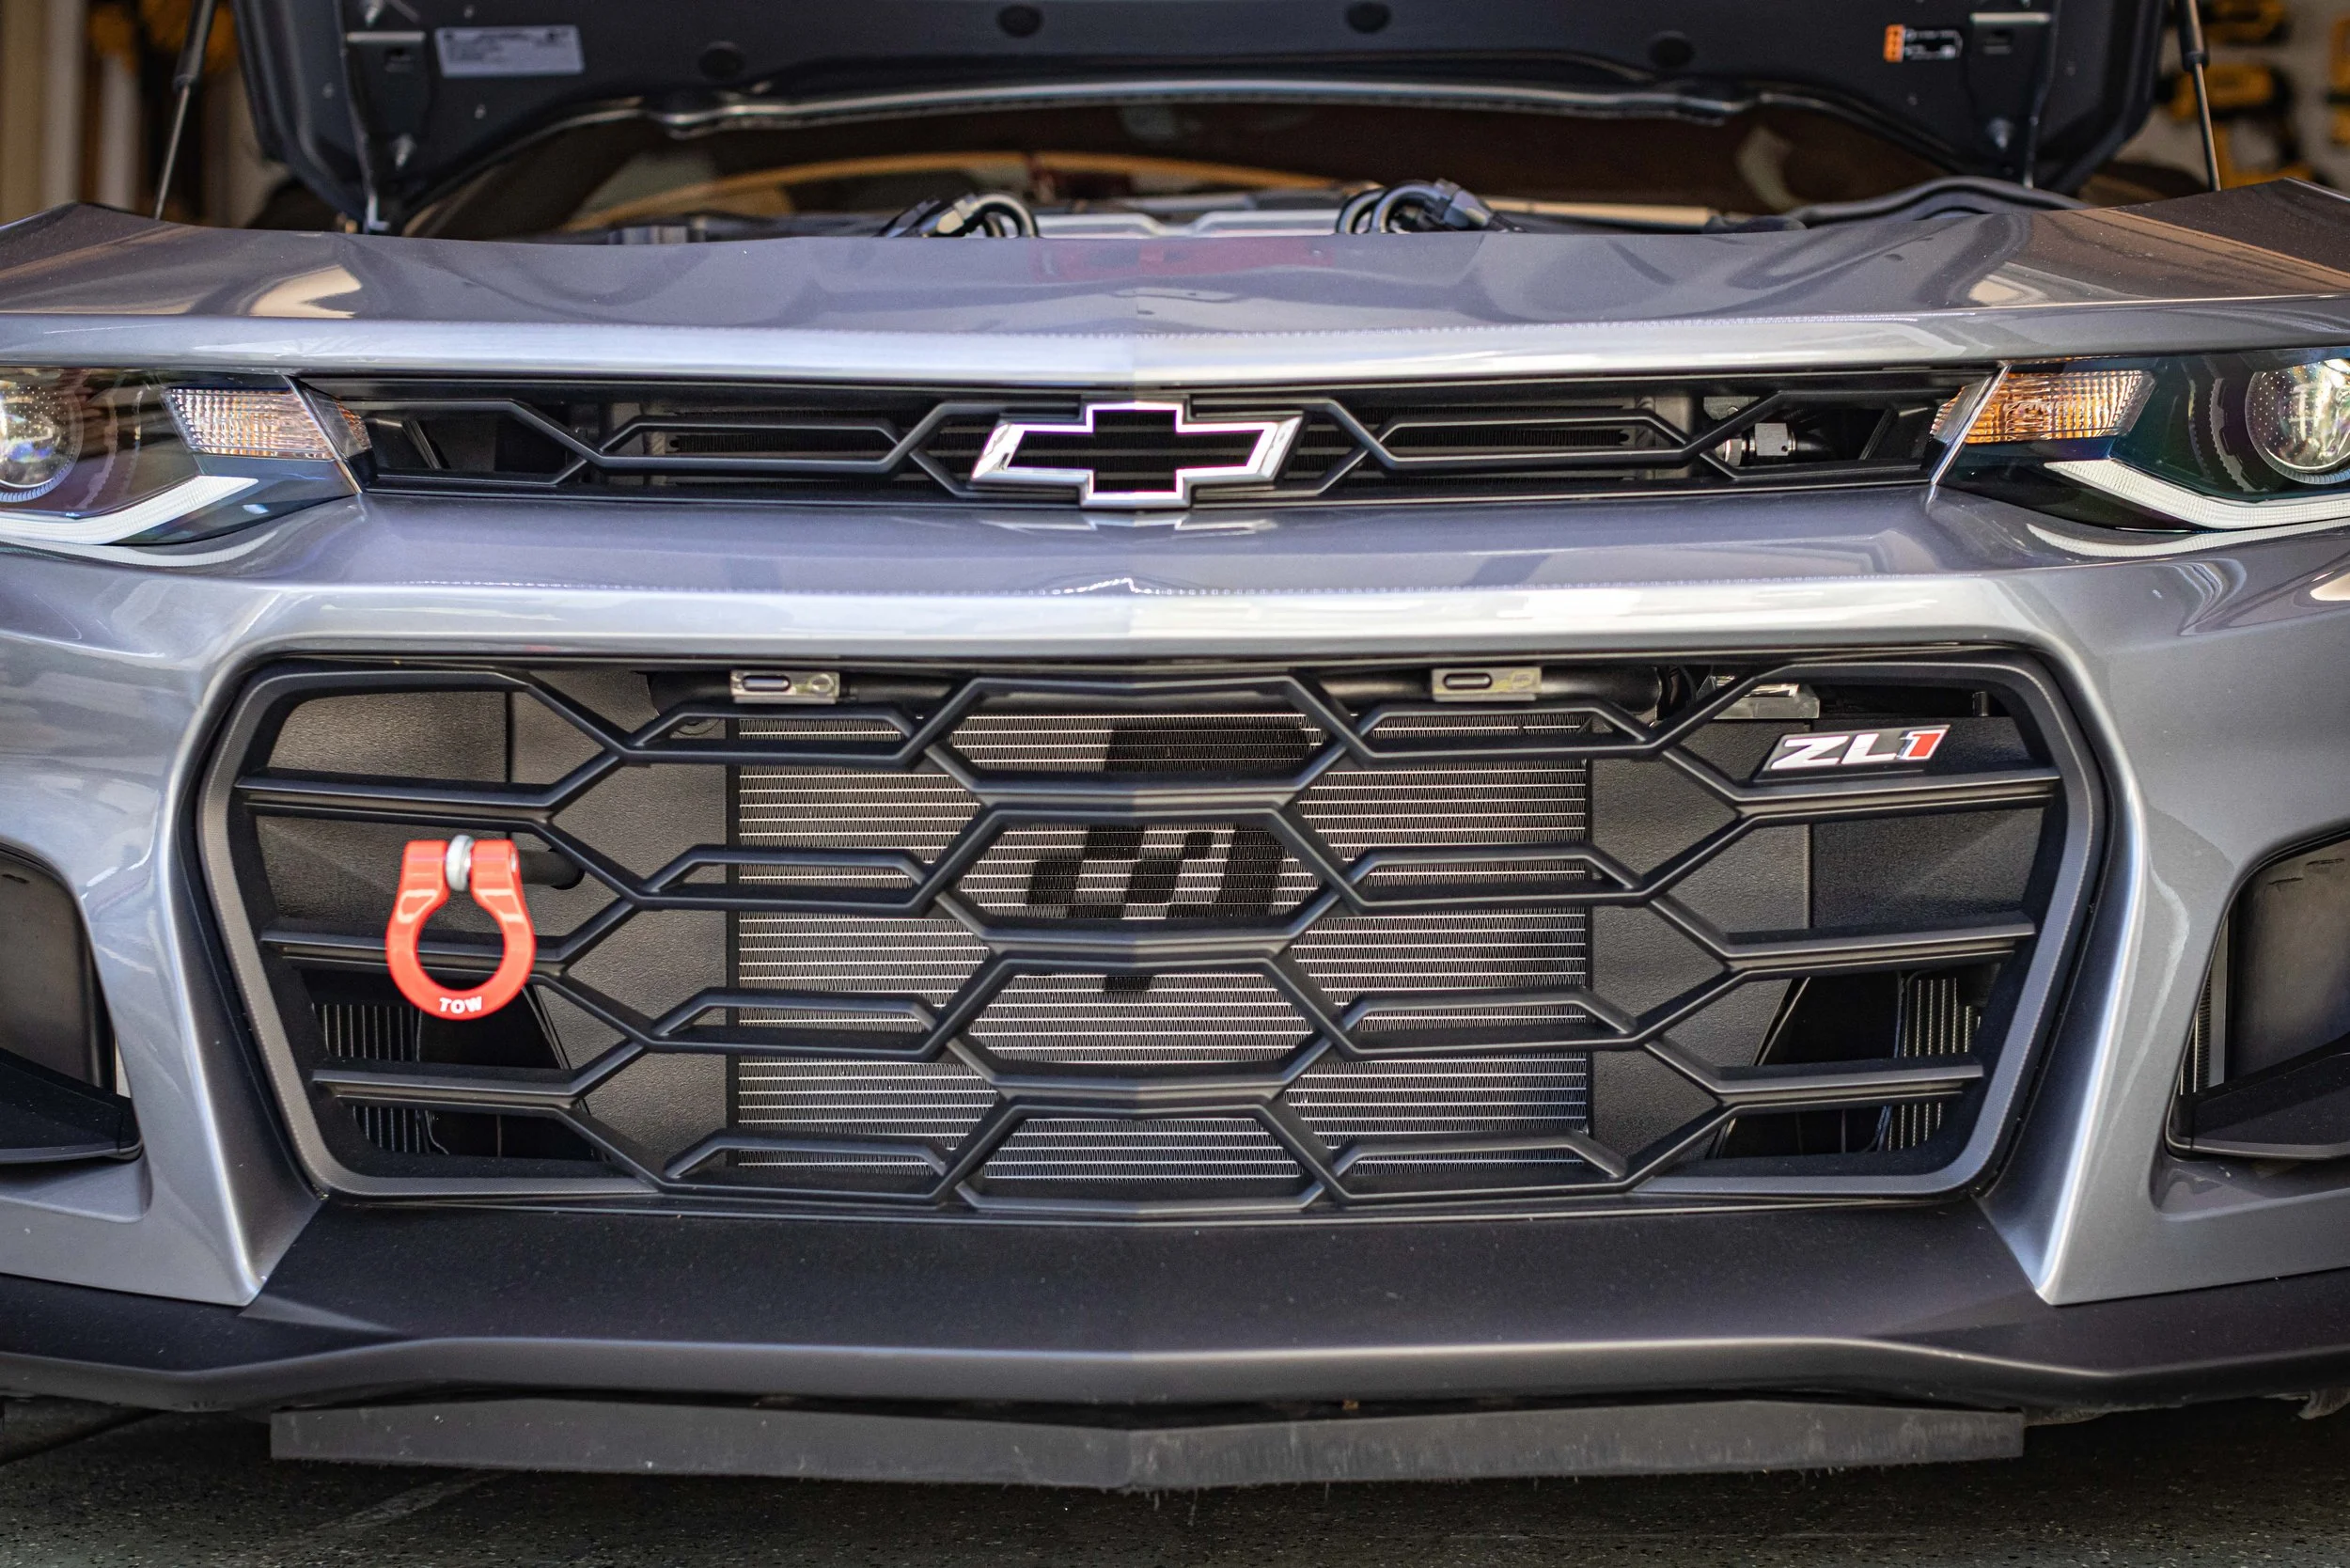
Fitment: 2017+ Camaro ZL1
INSTALL GUIDE CAN BE DOWNLOADED HERE.
During the development of our Stage.III Super Charger Cooling System, it was clear we needed an auxiliary coolant reservoir in order to not only help prime the OEM HX Pump, but to provide a proper pressure cap which allows the coolant within the heat exchanger system to expand and contract as needed during normal driving, and also prevents an overpressure situation which could damage the pump and or cause a leak in the system.
We tested several existing brands to start, hoping to be able to utilize a part that is already produced at scale in order to pass on maximum savings, and just when we about ran out of options, we found the hidden Edelbrock canister which is only found within the E-Force Supercharger Packages.
The location of the canister was just as important to us. Our goal was to keep it away from the heat of the headers which eliminated it from the common location on the drivers side strut brace which unfortunately places is directly above the red hot headers, and seems to be counter intuitive to the efforts of keeping this fluid as cool as possible. The other easy location is directly in front of the thermostat, but that is where most of the catch can offerings are used (including my Might Mouse Catch Can). That left us only one small space to try and use. One that required the perfect size reservoir, and a custom 2-piece bracket design in order for it to fit. After several weeks and 6 iterations, the solution was not only complete, it was effective, looked OEM and costs ½ of what some of the other customs solutions cost.
This location now provides the perfect place to add fluid in order to prime the pump, and keeps the canister away from the direct heat of the headers, while providing large 3/4” hose barbs which allows us to upgrade all of the hose in the HX system to 3/4” between the pump, fender tank and heat exchangers for even more flow, and system capacity.
For those who already have or wish to use our DMS fender tank, they do work great in combination, but the fender tank does not replace the need for this reservoir. Although the DMS Fender Tank allows for easy system filling, and easy bleeding due to the “high point” of the system factor, it does not provide a pressure cap, and does not allow for easy pump priming. Which is why we added this perfectly fit Edelbrock coolant reservoir to the system and mounted it in a way that allows for easy pump priming as it’s placed between the ECU and engine coolant tank using a custom bracket that bolts to the top of the OEM PCV box.
When it comes time to fill / prime the system, we always begin filling from the reservoir while keeping the fender tank lid open until the system fills enough to remove all major air pockets, and the coolant reservoir is nearly full, and flowing freely. At that point we tighten the 16psi pressure cap, and allow the system to continue to bleed and burp from the fender tank and pressure relief valve provided for the top of the main front HX. Once the system is bleed and the fender tank is approximately 90% full we cap the fender tank and continue to circulate the system allowing it to build pressure and move any air bubbles to the highest point (the fender tank) After 5 minutes we crack open the tank to allow the air to escape, then cap and repeat a few more times for good measure. Note; once the system is full we do not recommend opening the small reservoirs pressure cap, as it sits below the supercharger bricks and will be full and under pressure. The reservoir is only opened when the system has been emptied and is ready to refill. Periodic fillings should be serviced from the fender tank.
Note; Although this is technically an expansion tank, I am refraining to use that term, as it’s not designed to add capacity, it’s designed to be a filling / pump priming point. That said, this reservoir does holds approx. 3.5 cups or .85L of fluid and includes a bottom center mounted 3/4” barb and a top side inlet 3/4” barb. Expansion tank? not really…
Note: This is a universal kit, that comes with no hose, due to so many variations in everyone’s HX coolant set-up’s. Need help designing your cooling system? Email us at info@griffin-motorsports.com for help. We would love to design you the perfect cooling system for your application. Although this solution pairs best with our Crossover Delete Package, it can be used without it. Also; if you want some of the ugly blue silicone hose or black hose let me know… I keep both in stock :)
Whats in the box:
(1) 16psi Pressure Release Cap
(1) Edelbrock Coolant Reservoir “expansion tank”
(1) Pair of Powder Coated Brackets with SS Hardware
What YOU will need to provide:
Patience and attention to detail for installation... or, someone like that, who you trust with your beloved, adorned, magnificent, earth shaking, alarm sounding Camaro ZL1.
Additional connectors, 3/4” silicone hoses and fittings will be needed depending on your existing system design or preferred routing path. Email us at info@griffin-motorsports.com for help. We would love to design you the perfect cooling system for your application.
More 50/50 coolant. Some nice hose pinch clamps are not required, but a good addition for peace of mind.
Fitment: 2017+ Camaro ZL1
INSTALL GUIDE CAN BE DOWNLOADED HERE.
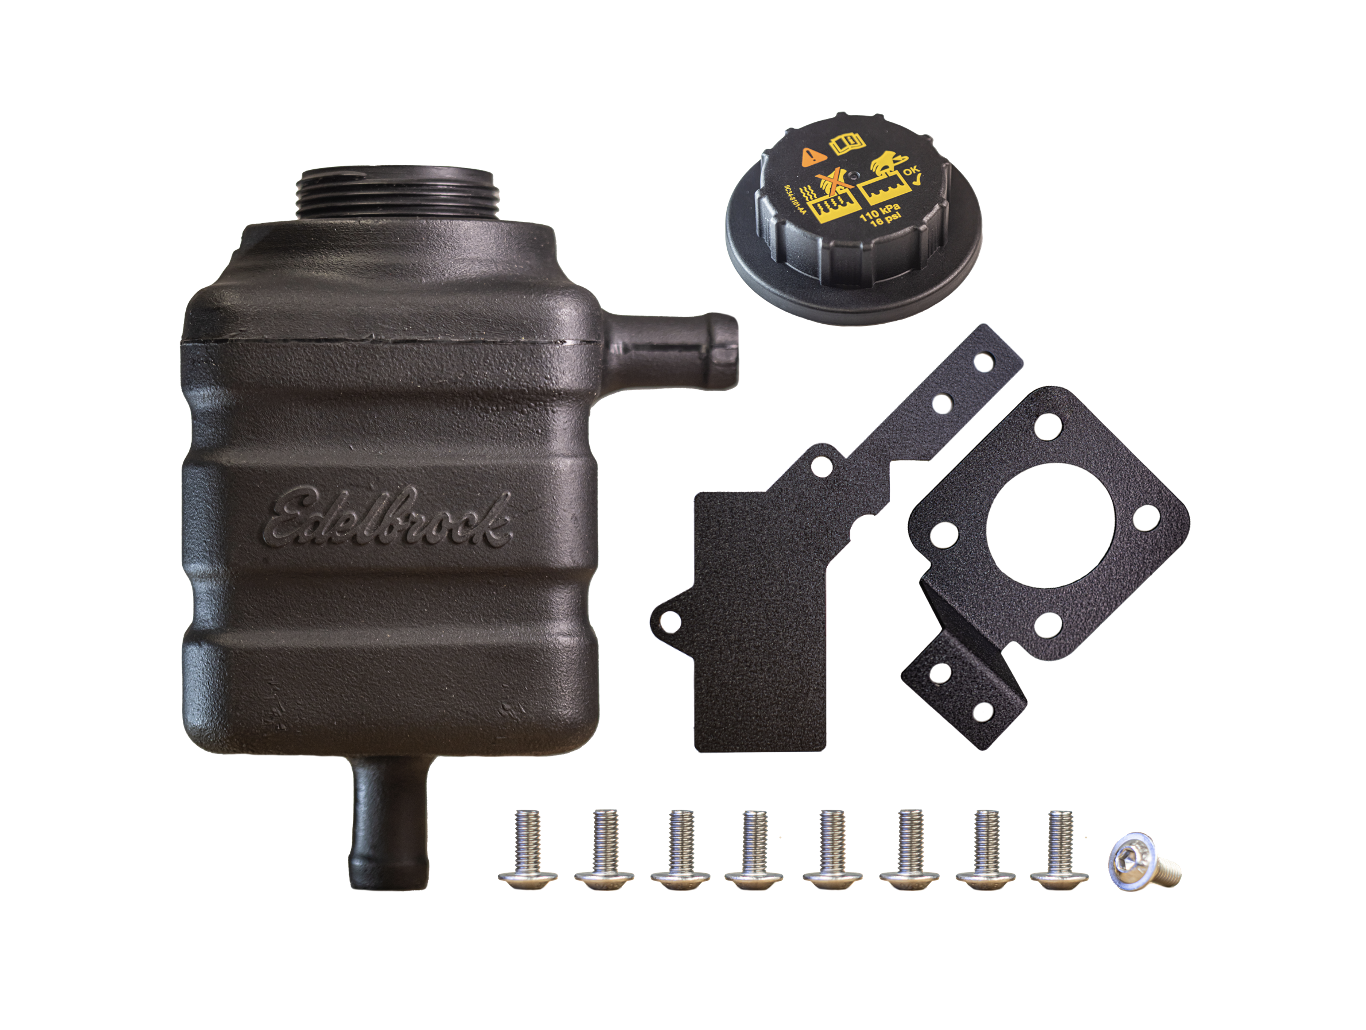 Image 1 of 20
 Image 2 of 20
 Image 3 of 20
 Image 4 of 20
 Image 5 of 20
 Image 6 of 20
 Image 7 of 20
 Image 8 of 20
 Image 9 of 20
 Image 10 of 20
 Image 11 of 20
 Image 12 of 20
 Image 13 of 20
 Image 14 of 20
 Image 15 of 20
 Image 16 of 20
 Image 17 of 20
 Image 18 of 20
 Image 19 of 20
 Image 20 of 20